It happens to the best of us. We take a selfie with a dear friend we haven’t seen in a while or you ask someone to take a picture of you and your husband out on a rare date night – only to look back at the photo and think, “Ugh, I look SO WASHED OUT!” The same can go for Zoom call meetings, where the face staring back at you on the computer screen, appears colorless and tired! So today, I have 7 Makeup Tips for Looking Your Best in Photos.
Here’s the thing we all have to understand. As we age, our skin texture, coloring, and face shape, undergo various changes. And when we don’t use the appropriate makeup products and techniques, this can sometimes lead to feeling washed out and looking less than our best, in photos, FaceTime, and Zoom calls!
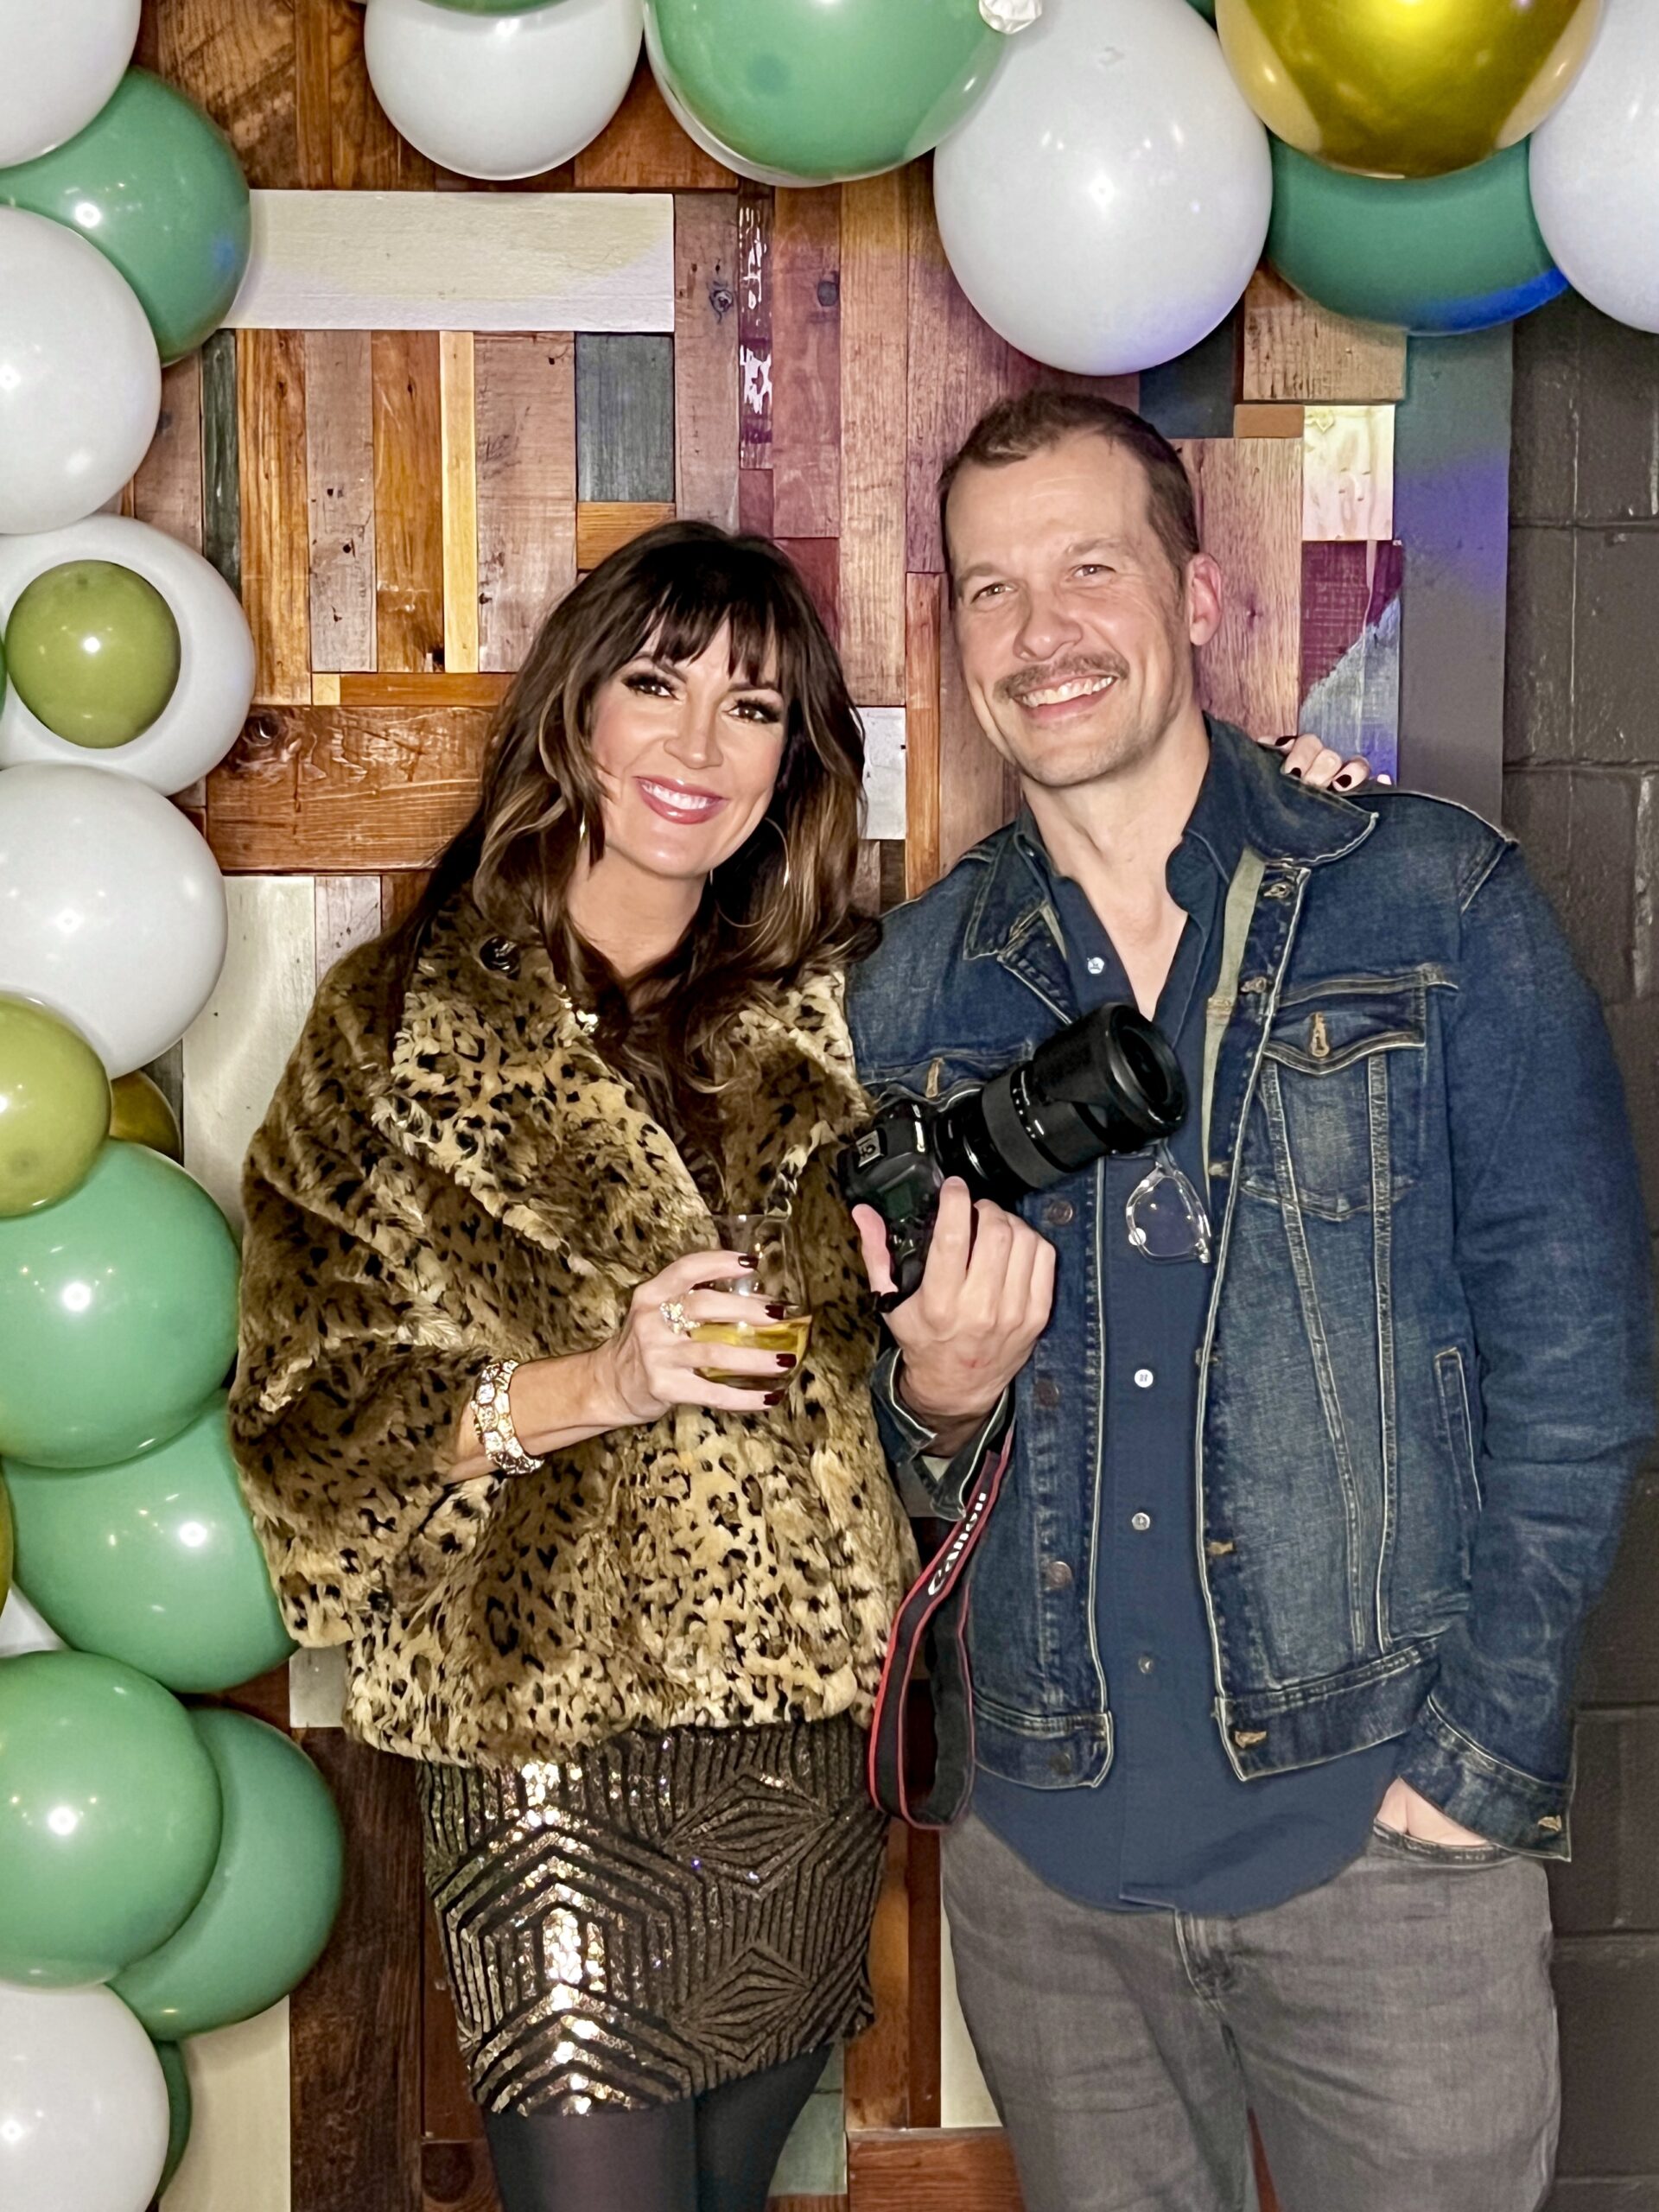
I love to routinely share with you all here on SAACA my favorite tips, tricks, and hacks in beauty to help you navigate the aging process and look fabulous while doing it!
So in today’s post, we’ll explore the makeup tips (and products) to ensure you always look, radiant, confident, and overall super photogenic whenever you’re in front of the camera.
TL;DR
Jennifer shares 7 makeup tips to look your best in photos
Jennifer’s product recommendations are shoppable via text links and image widgets
Makeup Tips for Looking Your Best in Photos
1. Grab A Great Makeup Mirror
This might seem like a strange thing for me to start with, but hear me out. As a 45-year-old with aging eyes (I need my readers for everything!) I know that if I can’t SEE well to put on my makeup, it will definitely look terrible once I’m out in the open.
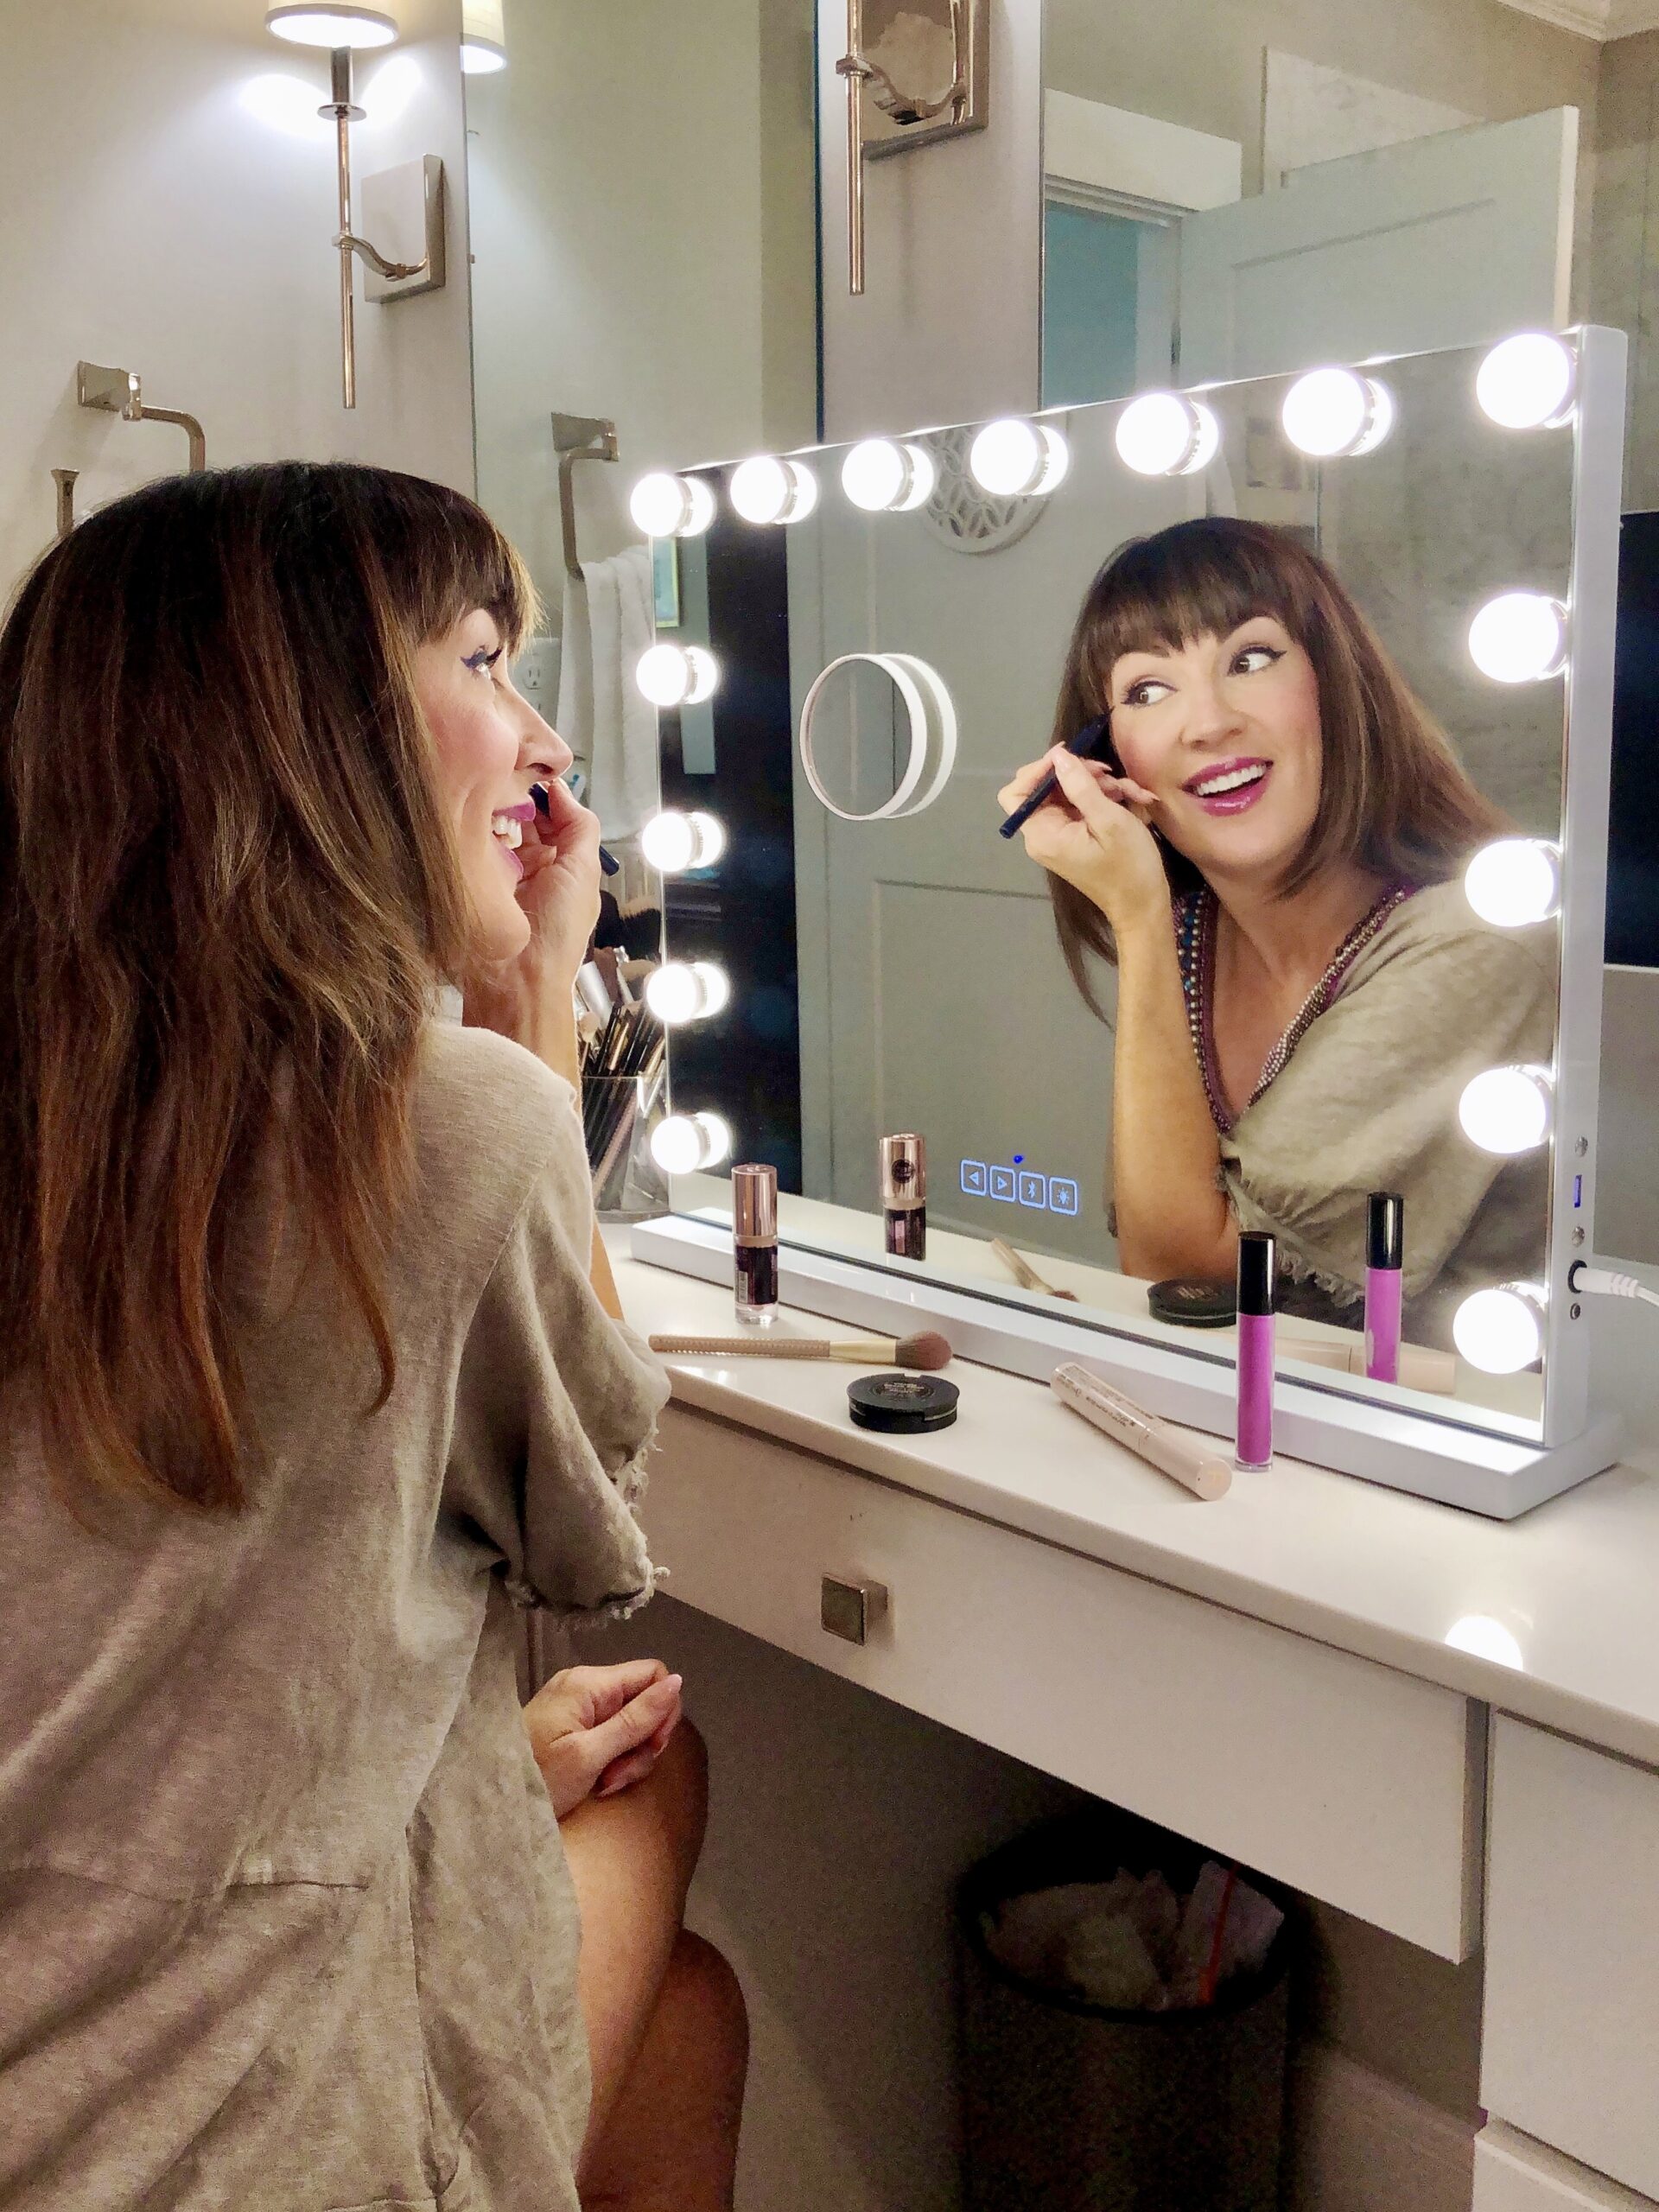
Once I bought myself this Fenchilin Vanity Mirror with Hollywood lights, $110, (that are adjustable) that I can place on my countertop in my bathroom, my makeup changed for the better! It’s amazing what happens when you can SEE what you’re doing! And I can connect my music to it via Bluetooth which makes putting on my makeup more enjoyable. If you can’t use something this large, try this portable fold up mirror with LED lighting, $29.
Do not trust the mirror on your bathroom wall for doing good makeup – you need to be able to see up close before you do anything well.
Shop The Products in This Post
2. Pregame With Skincare + Masking
Now if you know you’re going to be photographed for something, go the extra step beyond moisturizer and do yourself a favor and enjoy a face mask! It’s a great way to go deeper and get plumper more hydrated skin in less than 20 minutes before applying makeup.
Try the Kora Organics Tumeric BHA Pore + Brightening Treatment Mask, $52 if you want a mask that can address congested pores, uneven texture, and dullness in one easy step! It can be used as a polishing scrub OR as a leave-on solution to soften the appearance of discoloration and pigmentation.
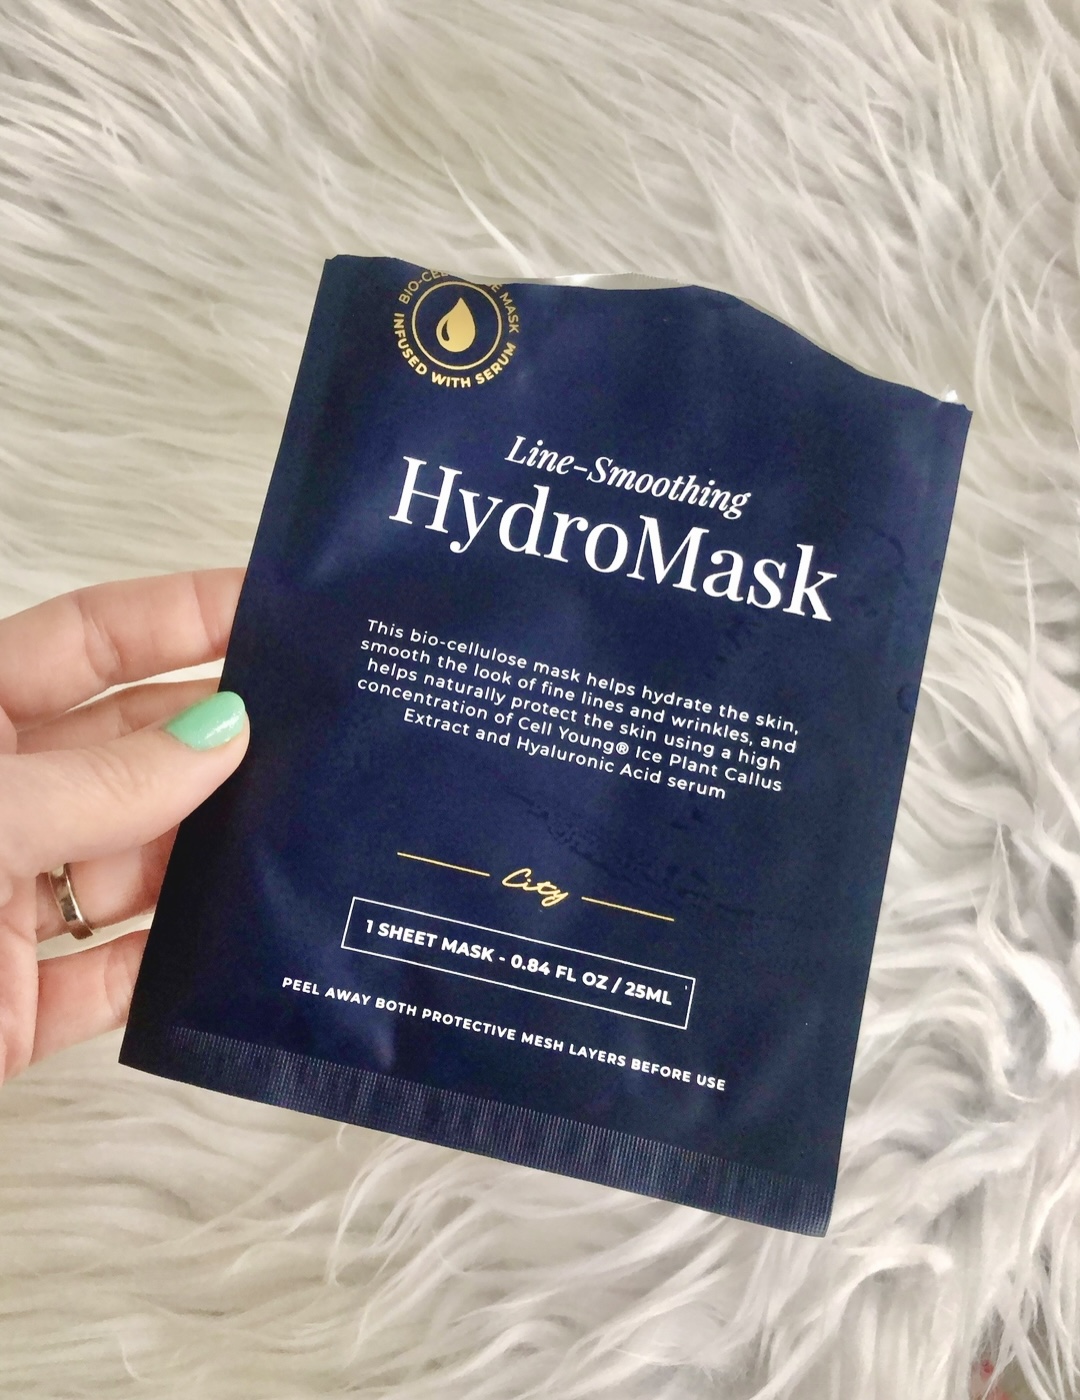
Or if you love a sheet mask, this line smoothing Hydro Mask, $60 by City Beauty is one of my all time favorites with SUCH a noticeable difference right after using!! I love these things and how plump and silky my skin feels after using it!
Shop The Products in This Post
3. Play Up Those Eyes!
Eyes are often the focal point of photos (even in real life!), so make them pop! First, reach for eyeshadow shades that complement your eye color. Rule of thumb to find your colors – remember the primary color wheel from grade school? Find your eye color on the wheel and look directly across the wheel for your contrasting color, and use eyeliners and shadows in similar shades! This will enhance their beauty.
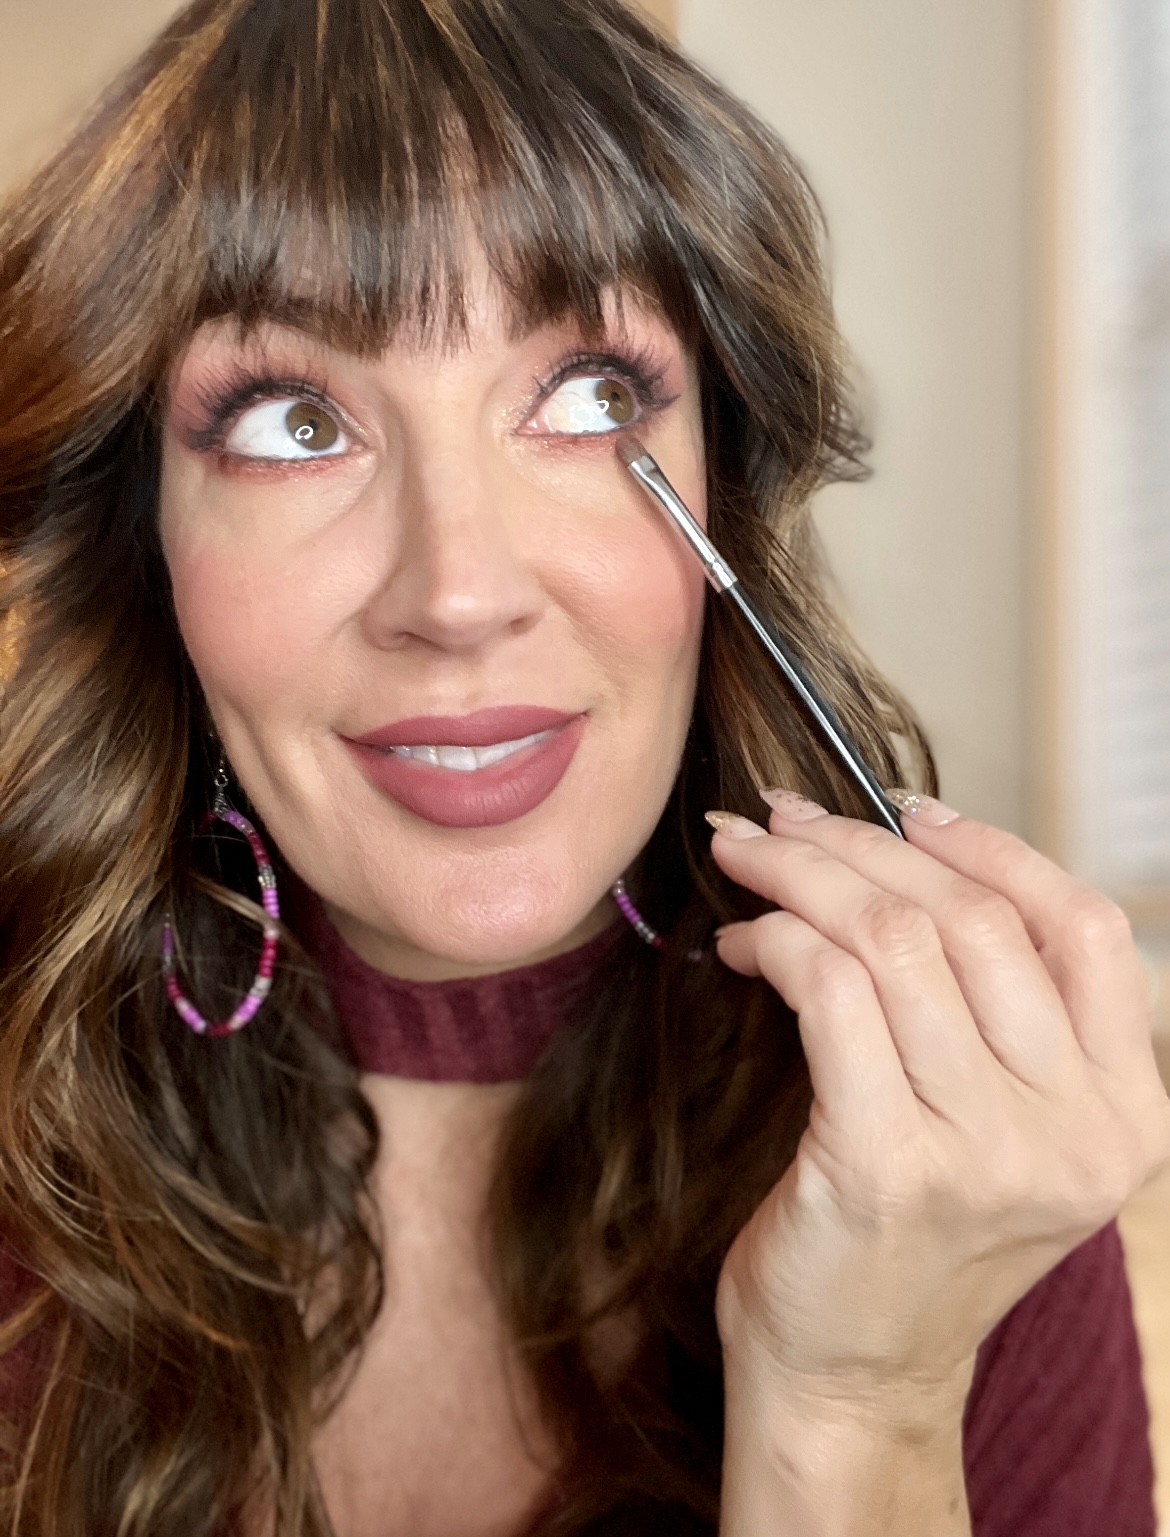
For example: Green is directly across from red and purple on the wheel, which translates in wearing shades of burgundy, violets, and pinks! Blue is directly across from orange and yellow, which means you’d look great in shades of bronze, apricots, and peaches. Brown eyes can be enhanced by many shades like navy blue, shades of greens and purples!
My favorite brand to pull from for eyeshadow palettes lately are the mini collection of shadows from Natasha Denona, $27. Her pigments are exquisite in all of the palettes!
Curl those lashes and use two coats of a super volumizing mascara, like Lash Idôl, $30, to really make your eyes stand out. Do not skip this step whatever you do! Mascara is a game-changer.
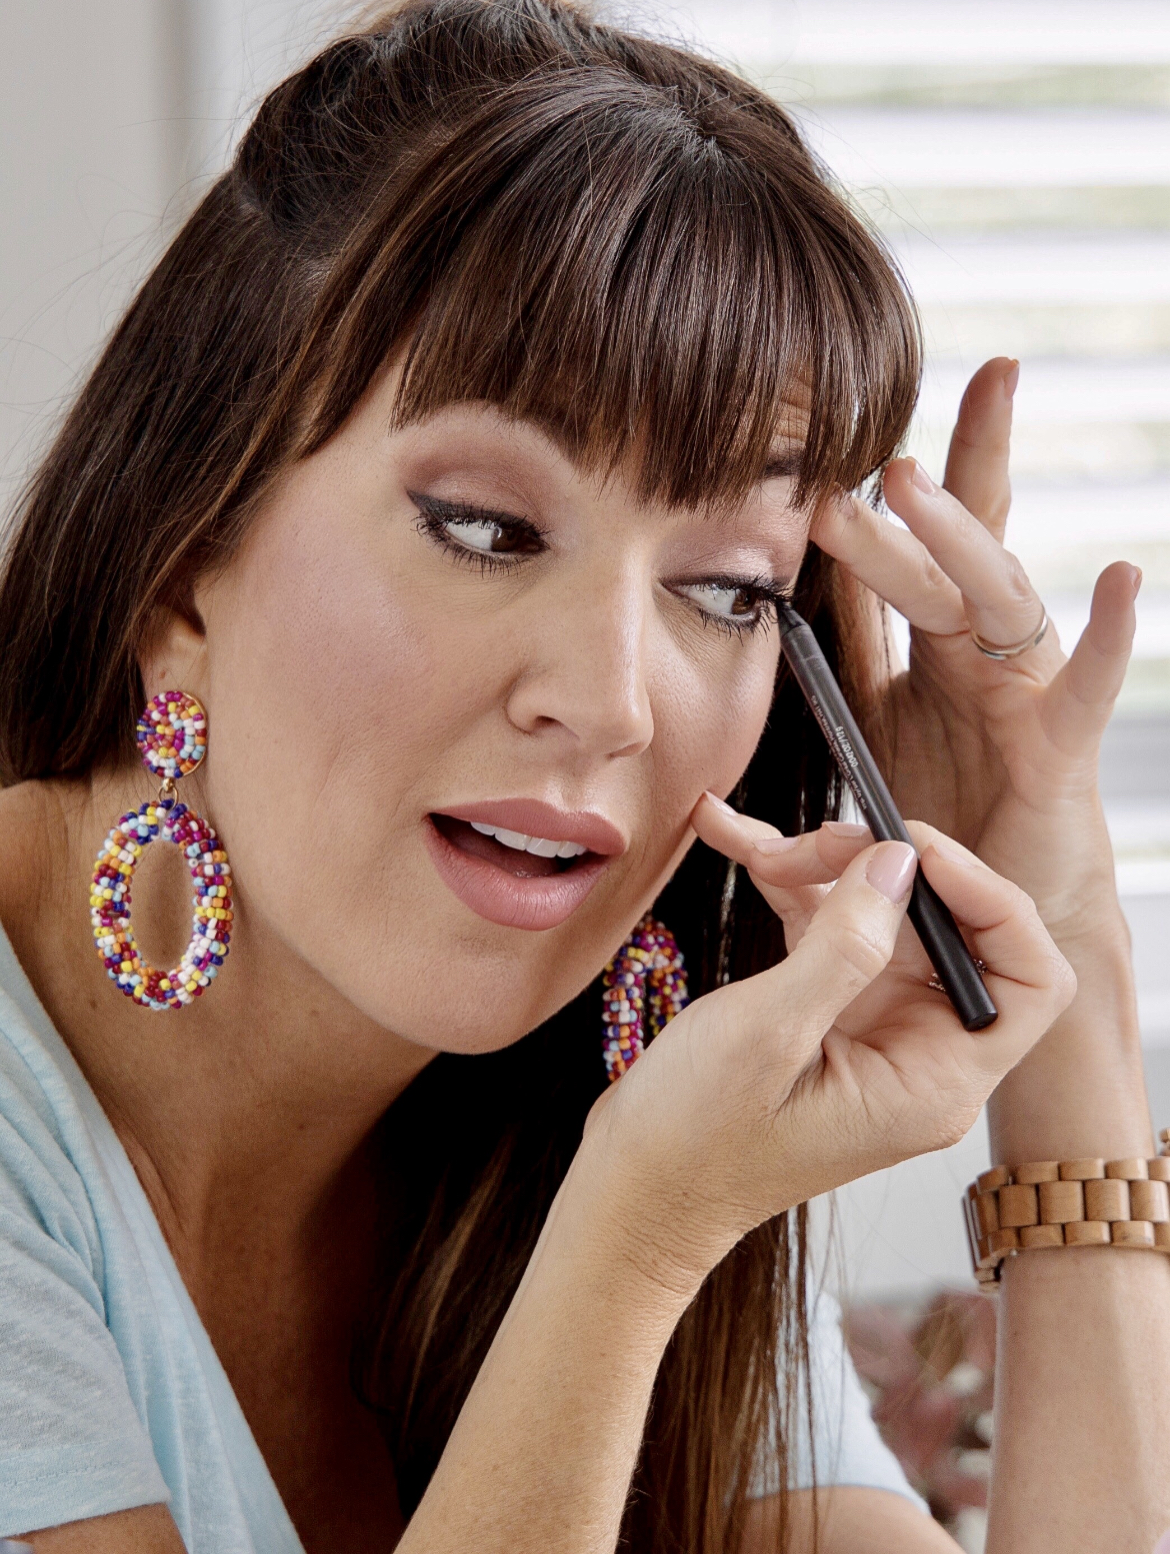
Extra credit if you place a nude eyeliner in the inner waterline of the lower lash line to help take away any natural redness in this part of the eye. This will make small eyes appear a tad bigger and brighter!
SHOP THE products in this post
4. Define Your Brows
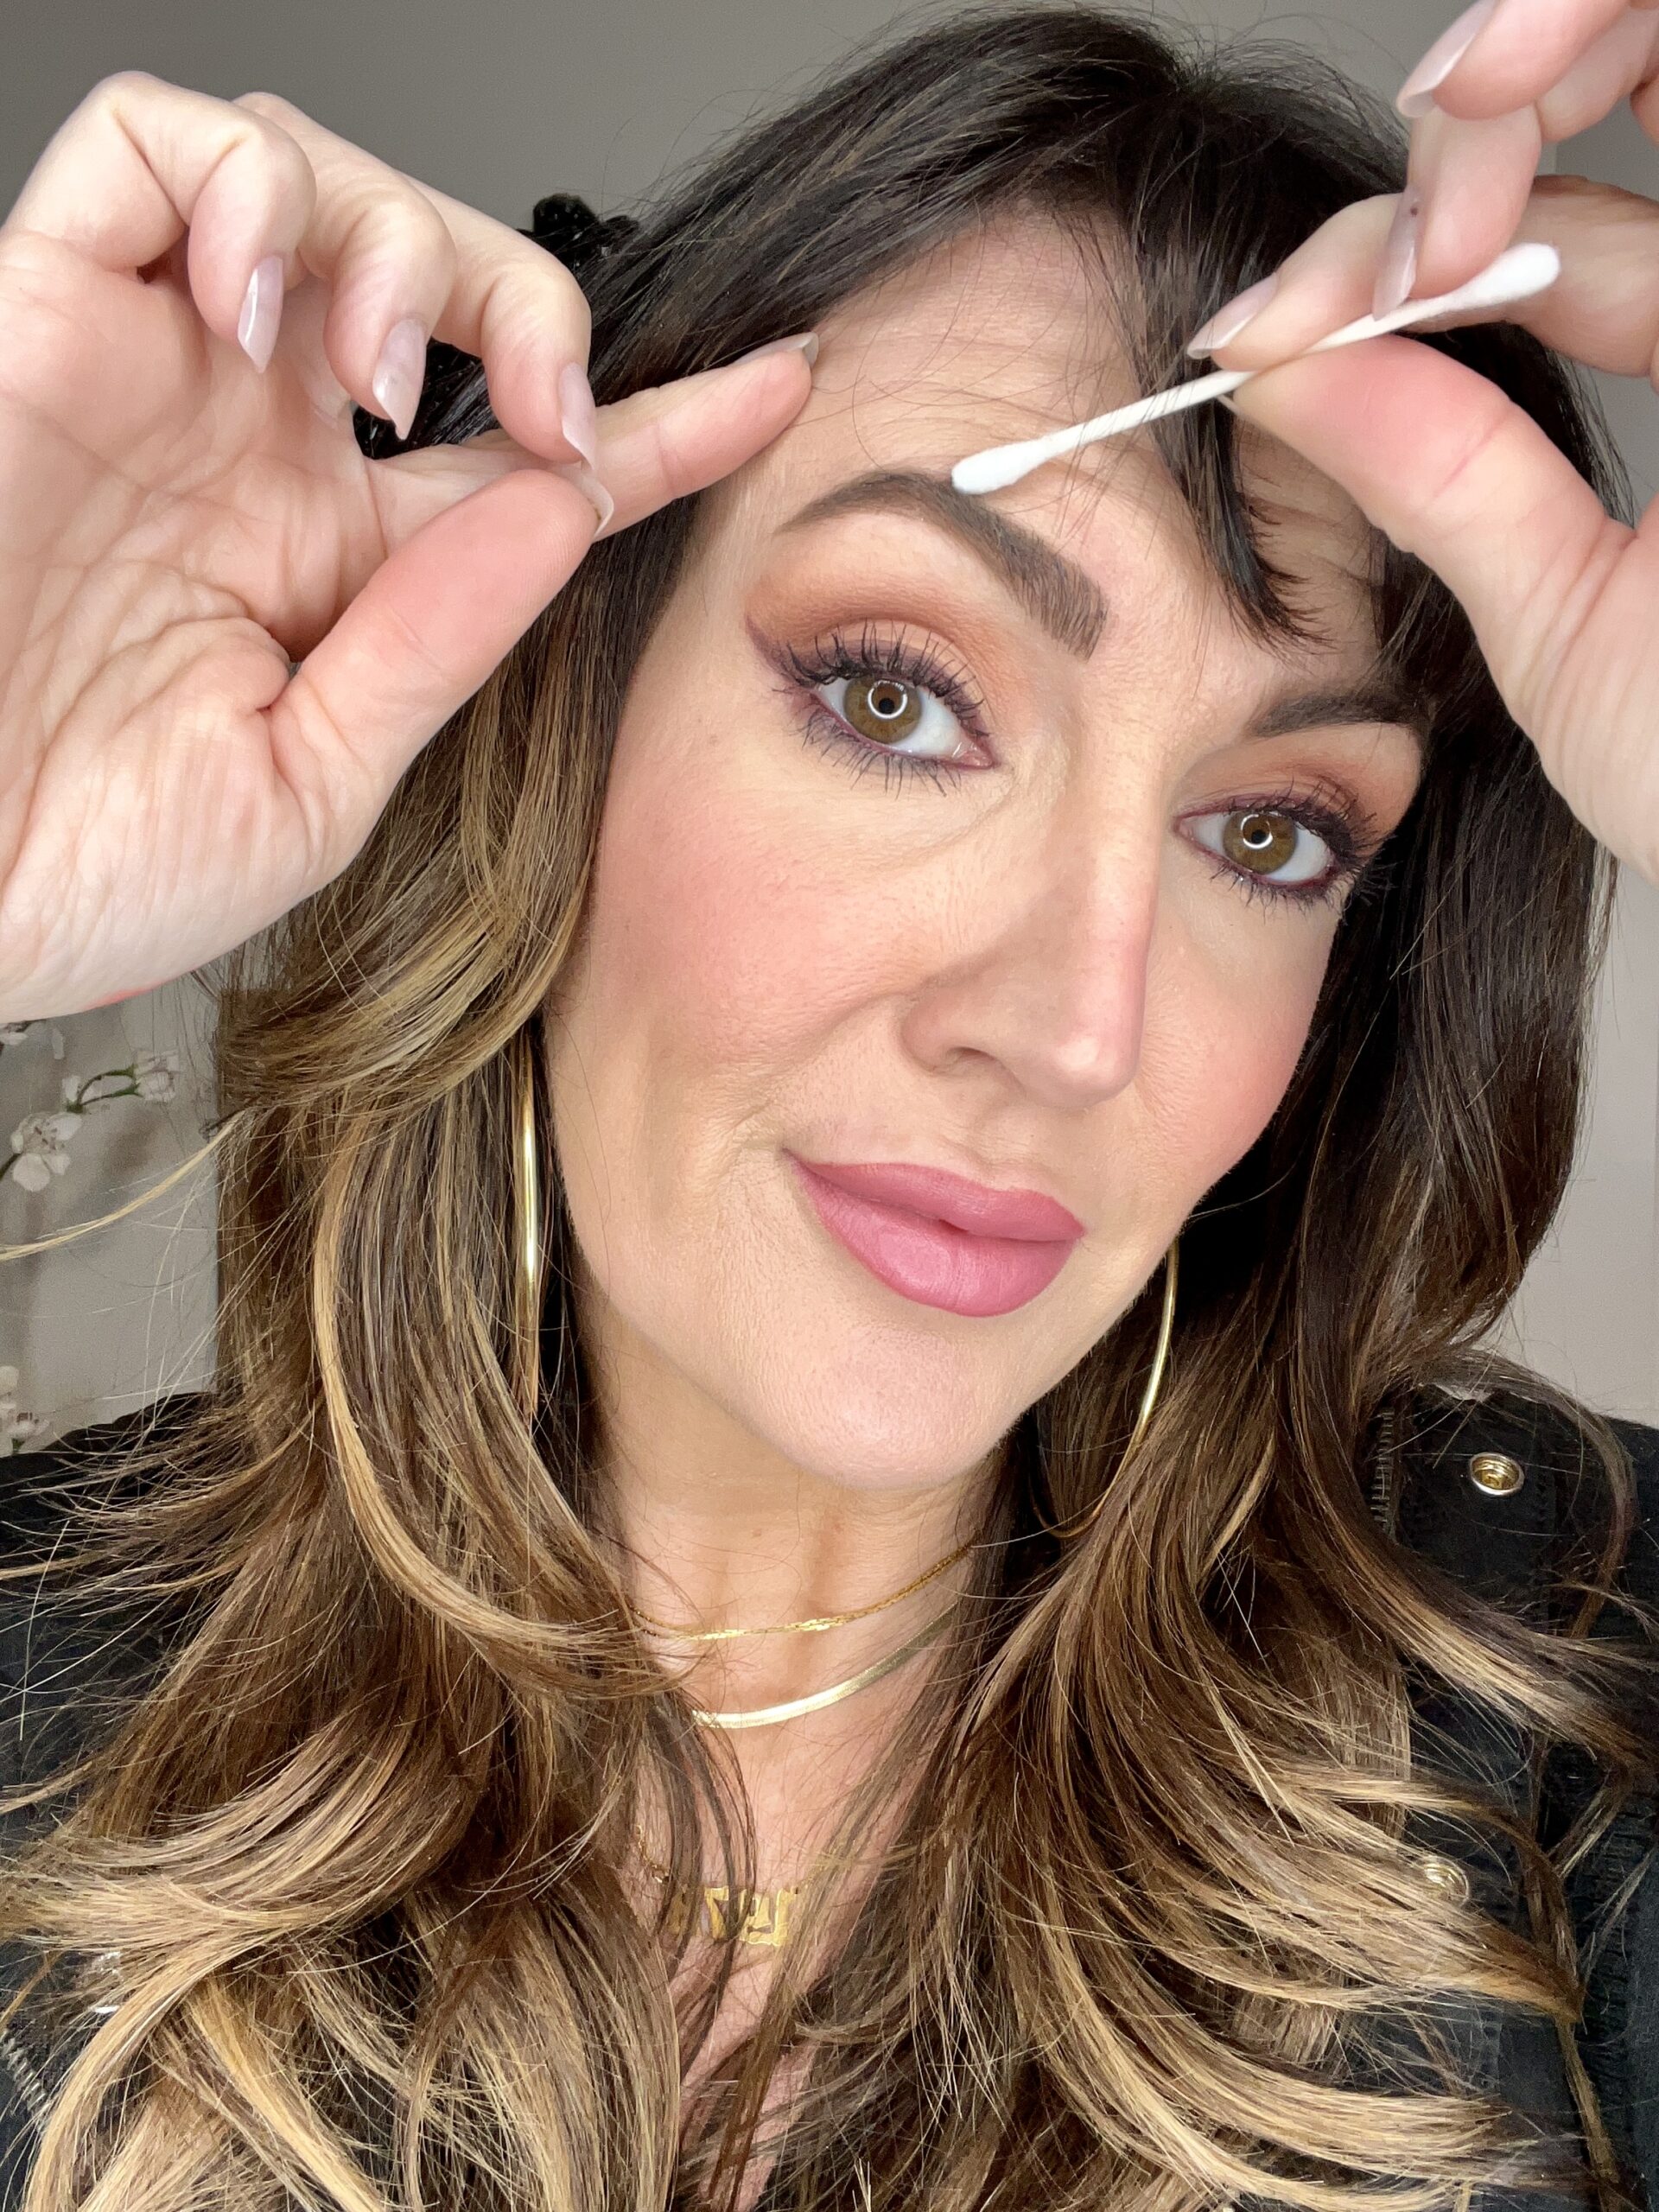
Well-groomed brows are a literal “frame” for your face and can make a significant difference in your overall appearance. Fill in sparse areas with a brow pencil or powder to create much-needed fullness. Watch my Youtube video on the secret to perfectly shaped brows!
SHOP THE products in this post
5. Lean Into Warm Flawless Skin!
We must even out that complexion now! Typically a hydrating and lightweight foundation with a satin finish is key. And be sure to spot treat any dark circles or blemishes on the face after applying foundation. If you haven’t tried the Natasha Denona HyGlam concealers, $30 yet, please do. I am obsessed with the coverage and it’s THE most crease proof formula I have ever used – seriously.
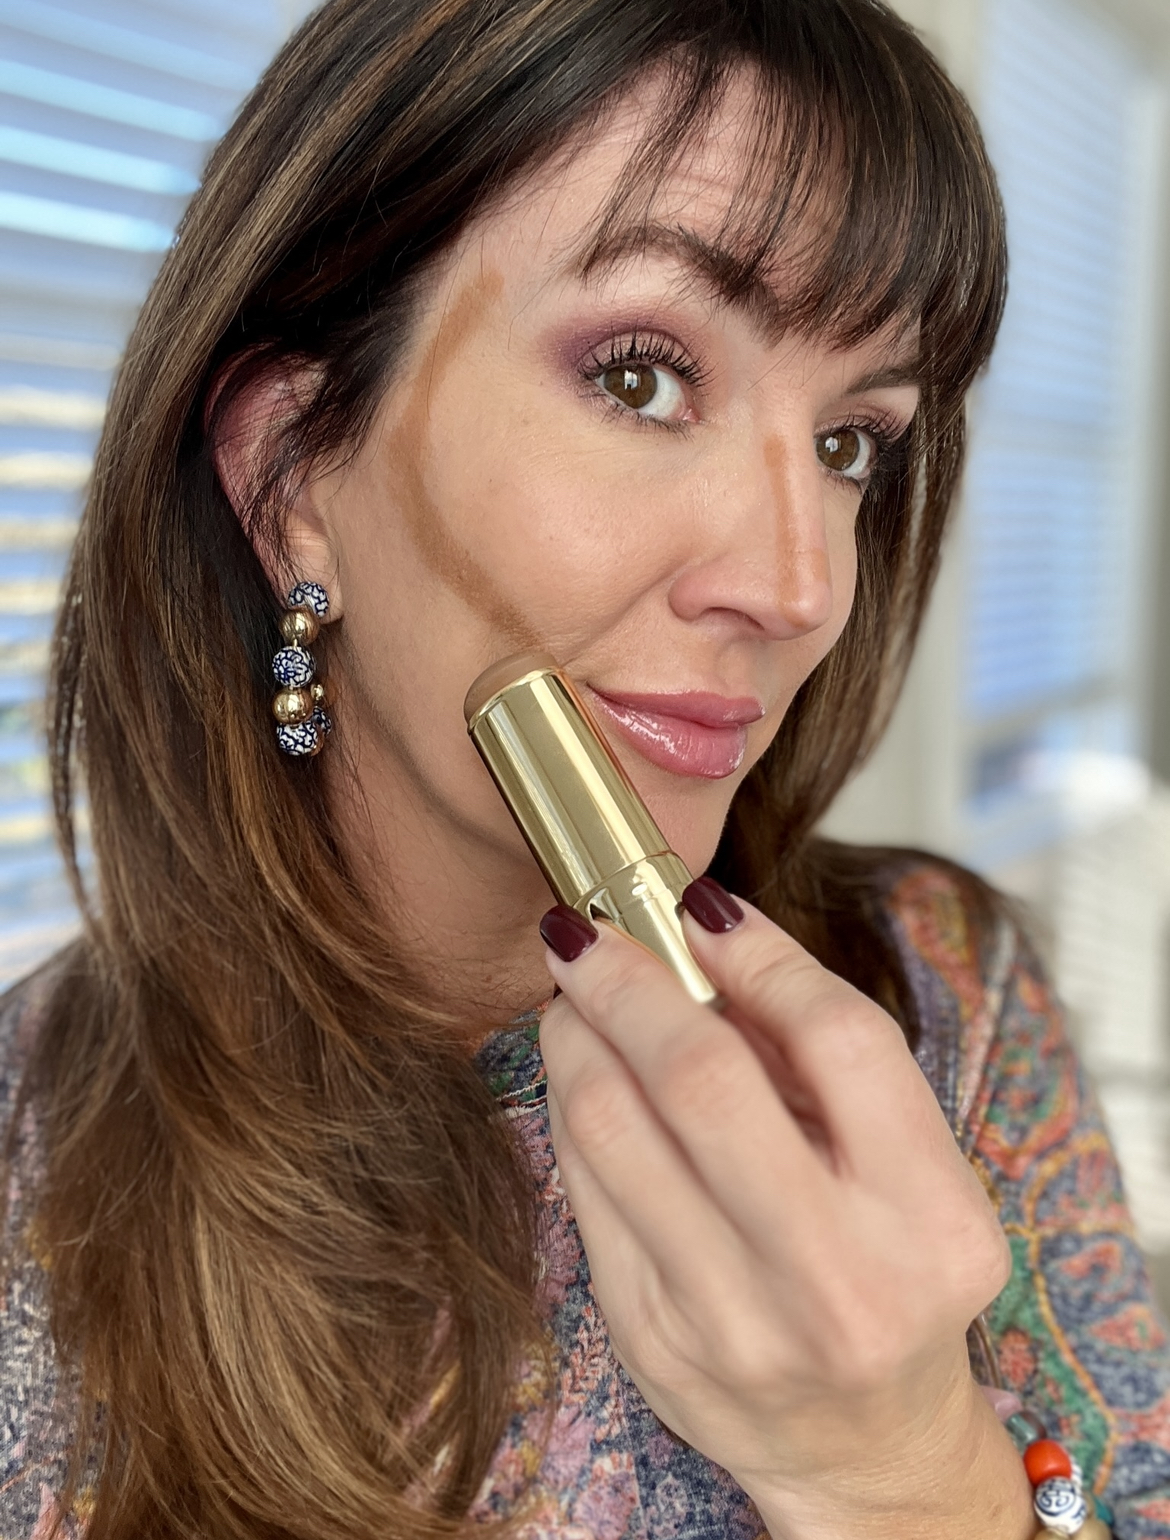
Now, make sure to not skip on the bronzer! Use it in specific areas of the face to enhance structure of the face and give warmth to your skin. Pasty skin with no color or dimension, NEVER looks good in photos, I promise. Check out this blog post I wrote on the Underpainting technique which will show you exactly where to place bronzers, concealer and such.

This is where most women just don’t apply enough color in my opinion. You need to go a bit heavier than normal with bronzer and even blush to really brighten the face, give it warmth, and color. This makes you look so much healthier in photos!
Current bronzers I’m using are Charlotte Tilbury Glow Cream bronzer, $50, and the L’oreal Infallible Fresh matte powder bronzers, $12, seriously work like a prestige powder bronzer if you want to go budget-friendly! I wear shade light/medium in the powder and medium in the cream bronzer for reference.
SHOP THE products in this post
6. Avoid Powders With Silica
There’s an ingredient that can be included in many facial setting powders, called silica, which has a tendency to flash out and read white on camera. Which means you need to avoid these types of powders that will blow you out. But it is also important to eliminate shine where it shouldn’t be.
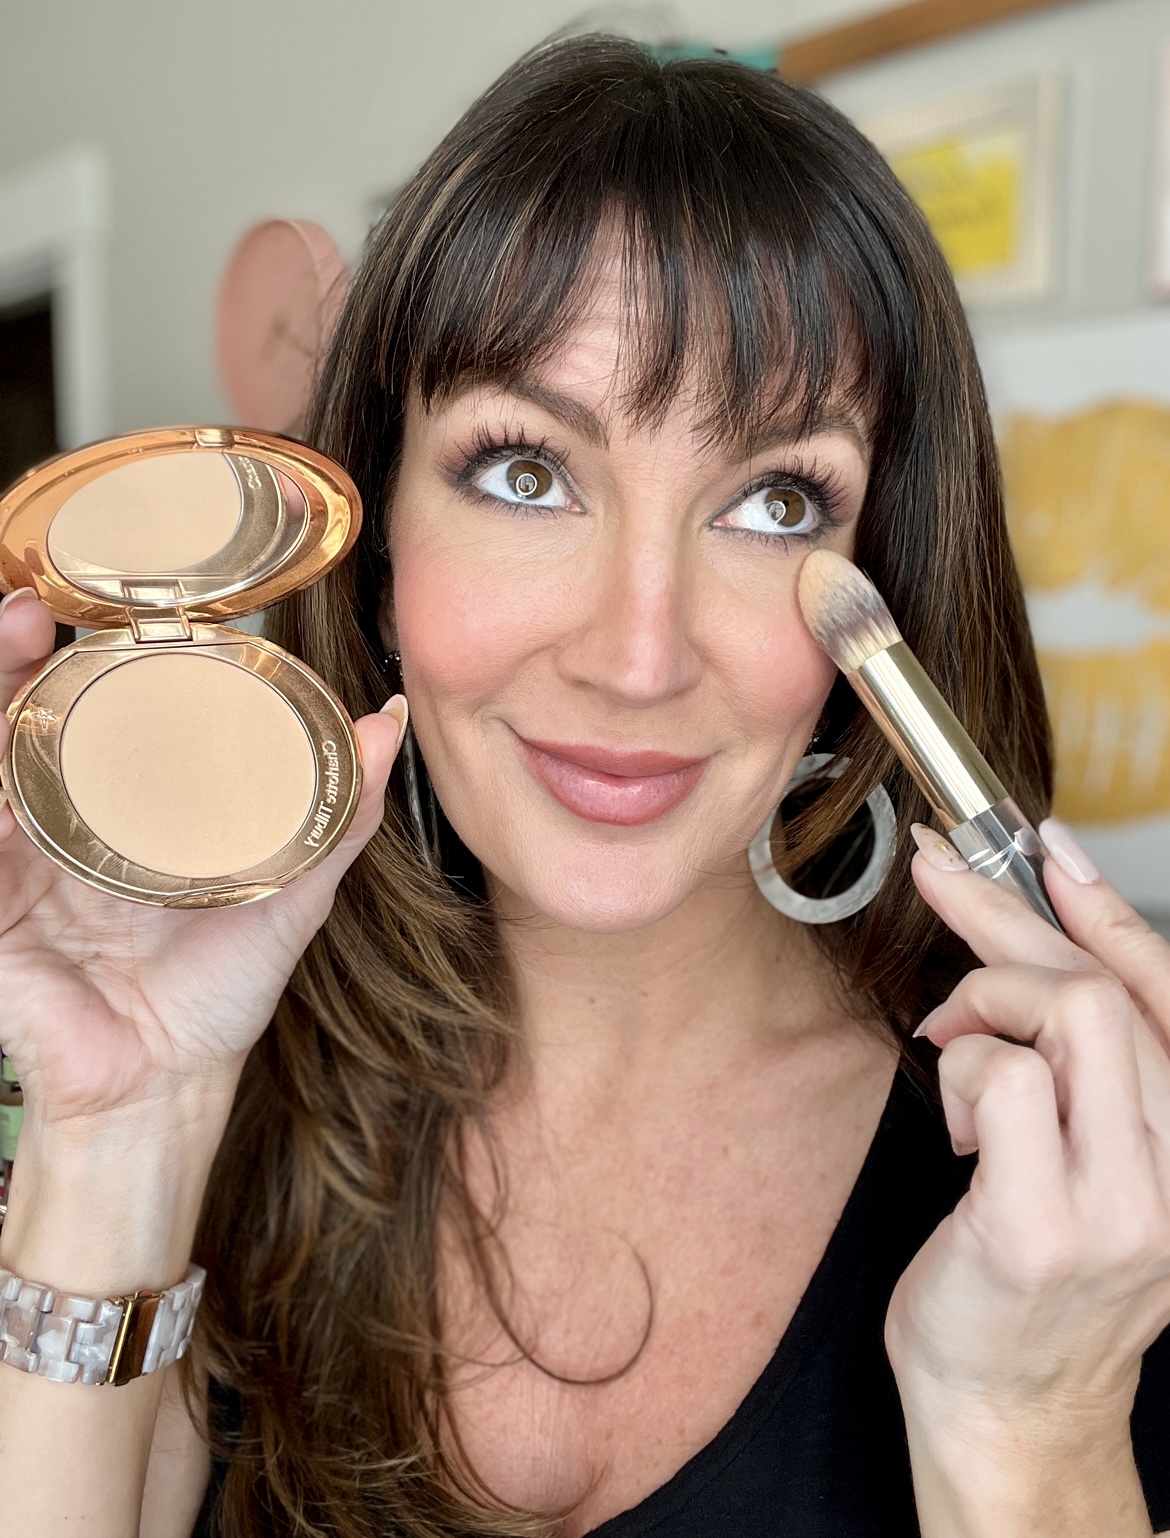
Places you want to be matte on the face, would be: the center of the forehead, under the eyes to set concealer, sides of nostrils, and middle of chin. For a beautiful blurred skin, try the Charlotte Tilbury Airbrush Flawless Finish Setting Powder, $48.
SHOP THE products in this post
7. Add A POP Of Color To Cheeks + Lips
Most of us lose a lot of natural color in our lips and cheeks as we age. Here’s where you should really lean into color! Find a blush that contains a hint of shimmer to it, so you don’t have to do an extra highlighting step. You cannot beat the Hourglass Ambient Lighting Blushes, $45 for adding soft dimension and color to the cheeks. These are some of the more gorgeous blushes I have ever owned. Favorite shades are : Sublime Flush and Luminous Flush.
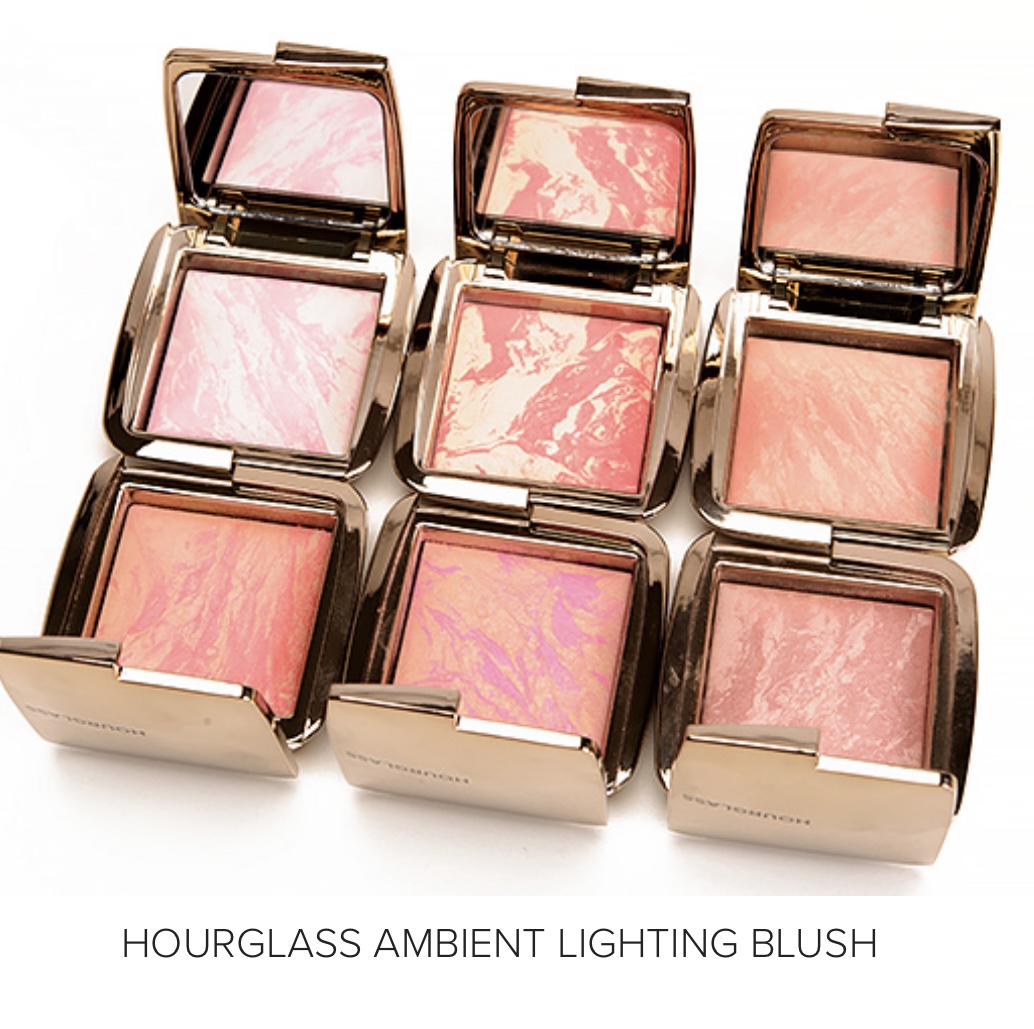
Once you’ve applied your bronzer and blush, just quickly snap a photo selfie of yourself to make sure you’ve got enough color. You’d be surprised how little color mature women apply these days because they’re scared of looking like a clown. But in reality, it’s usually not enough once you look thru the lens of a camera!

Let’s forgo the clear chapstick when it comes to photography! There is usually natural volume loss to the lips as we age, so we need to fake the fullness. You can best do this by choosing creamy, satin, or glossy finishes so that they reflect the light and give the illusion of fullness.
To inject color into the lips go for warmer tones like peachy nudes, warm rose, and deep mauves. Revlon Super Lustrous lipsticks, $9, are a wonderful inexpensive formula with beautiful satin and pearl finishes with so many color options!
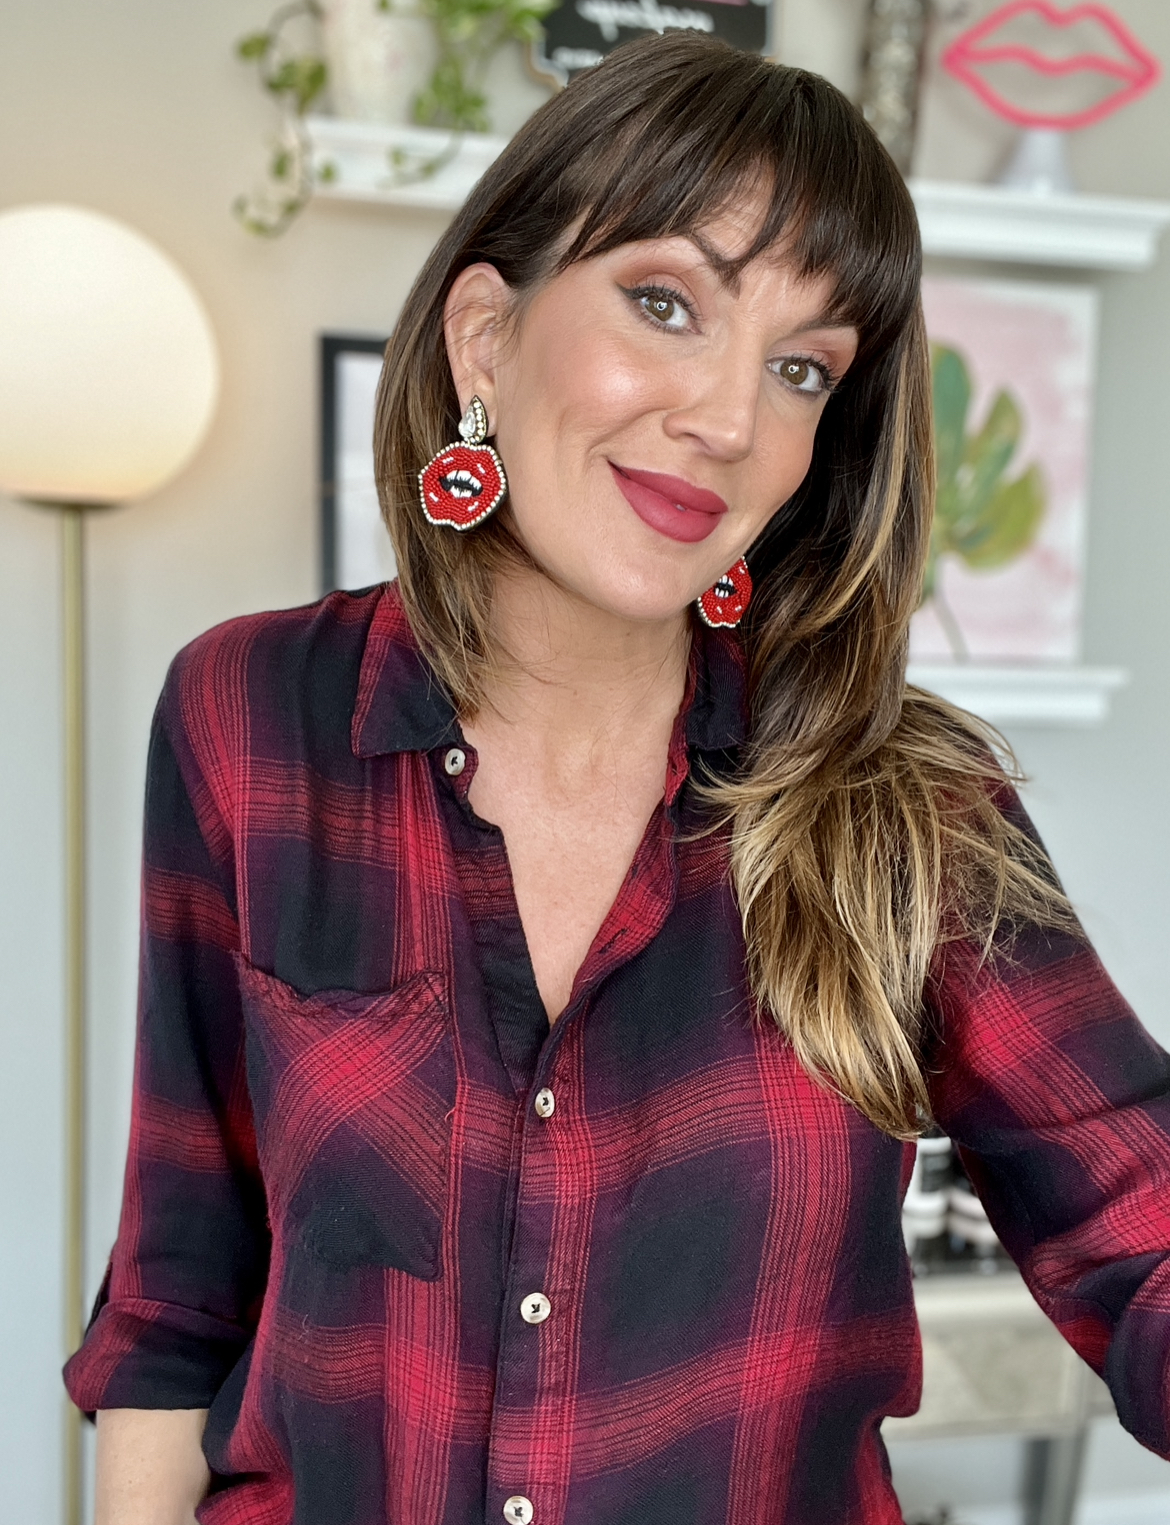
All in all, looking washed out in photos is the most common concern, but it’s entirely avoidable with the right makeup products and techniques. Prioritize skincare, use makeup to enhance your natural beauty, and embrace products that provide hydration and illumination. And make sure you can SEE what you’re doing with a fabulous makeup mirror when applying all of these products!
Shop the Products in this post
In Case You Missed It
Yesterday, Beth and Kelly shared prints and patterns for fall. Click the title or image below to read the article.











Which brown eyeliner pencil is Jennifer using in this post? It appears to goes on smoothly and easily which is hard to find. The brand was not listed in the products. Thanks!
Hello Darlene. This was a L’Oreal liner, but honestly, they’ve made a new one that is a twist up mechanical pencil I love love in black/brown that is very simple to use and draws on easily. Give it a try at this great drugstore price >> https://bit.ly/45fTaez
Jennifer,
The photo of you and your husband is precious! Thanks for sharing.
The masks look like an option for botox – I am 72 and will try the product.
Mary
Jennifer love all your tips! Shout out from LA!! Expecially appreciate all your common sense suggestions for drug store cosmetics and most savy makeup tricks! Carry on !!X
I so appreciate this comment Shannon and thrilled to hear that you have liked my variety of product suggestions so far – Hello from Georgia!!
Hi Mary! I like to throw in some personal pics every now and then to show you some of the behind the scenes of my family that I love so much! So I’m glad to hear you like that too. Give masking a try – it will definitely be cheaper and less invasive than Botox!