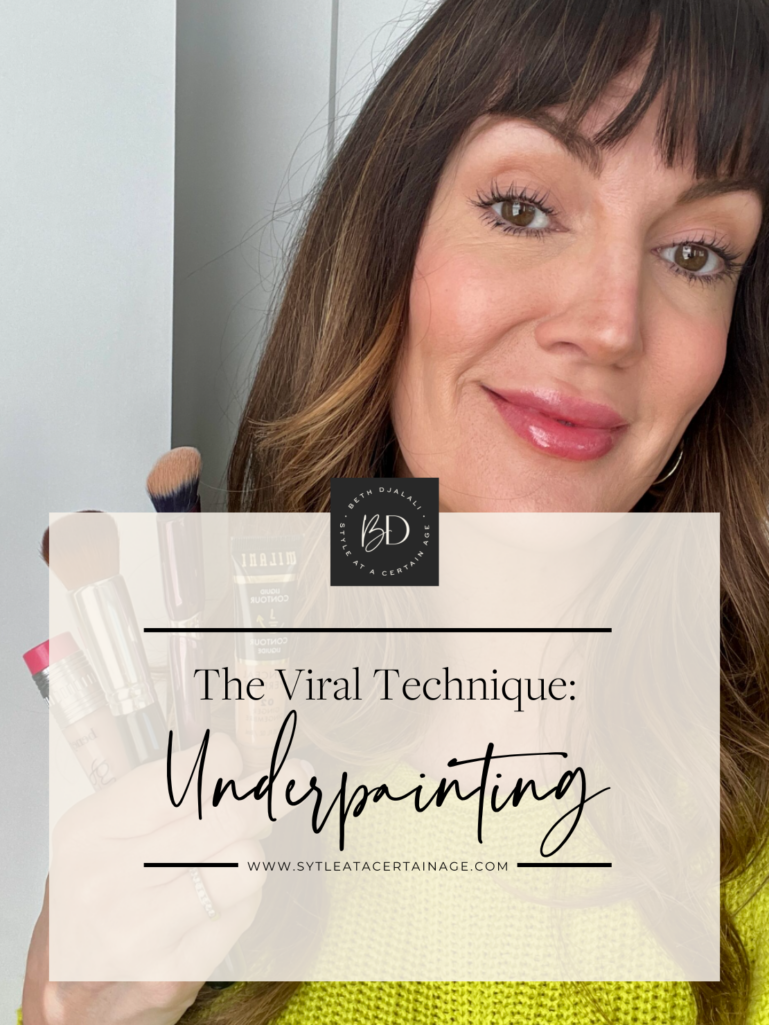
This isn’t a brand-new makeup technique, it’s actually been around for quite some time. But recently this technique has seen a huge revival under a new name, and they’re calling it “underpainting” on many social media outlets!
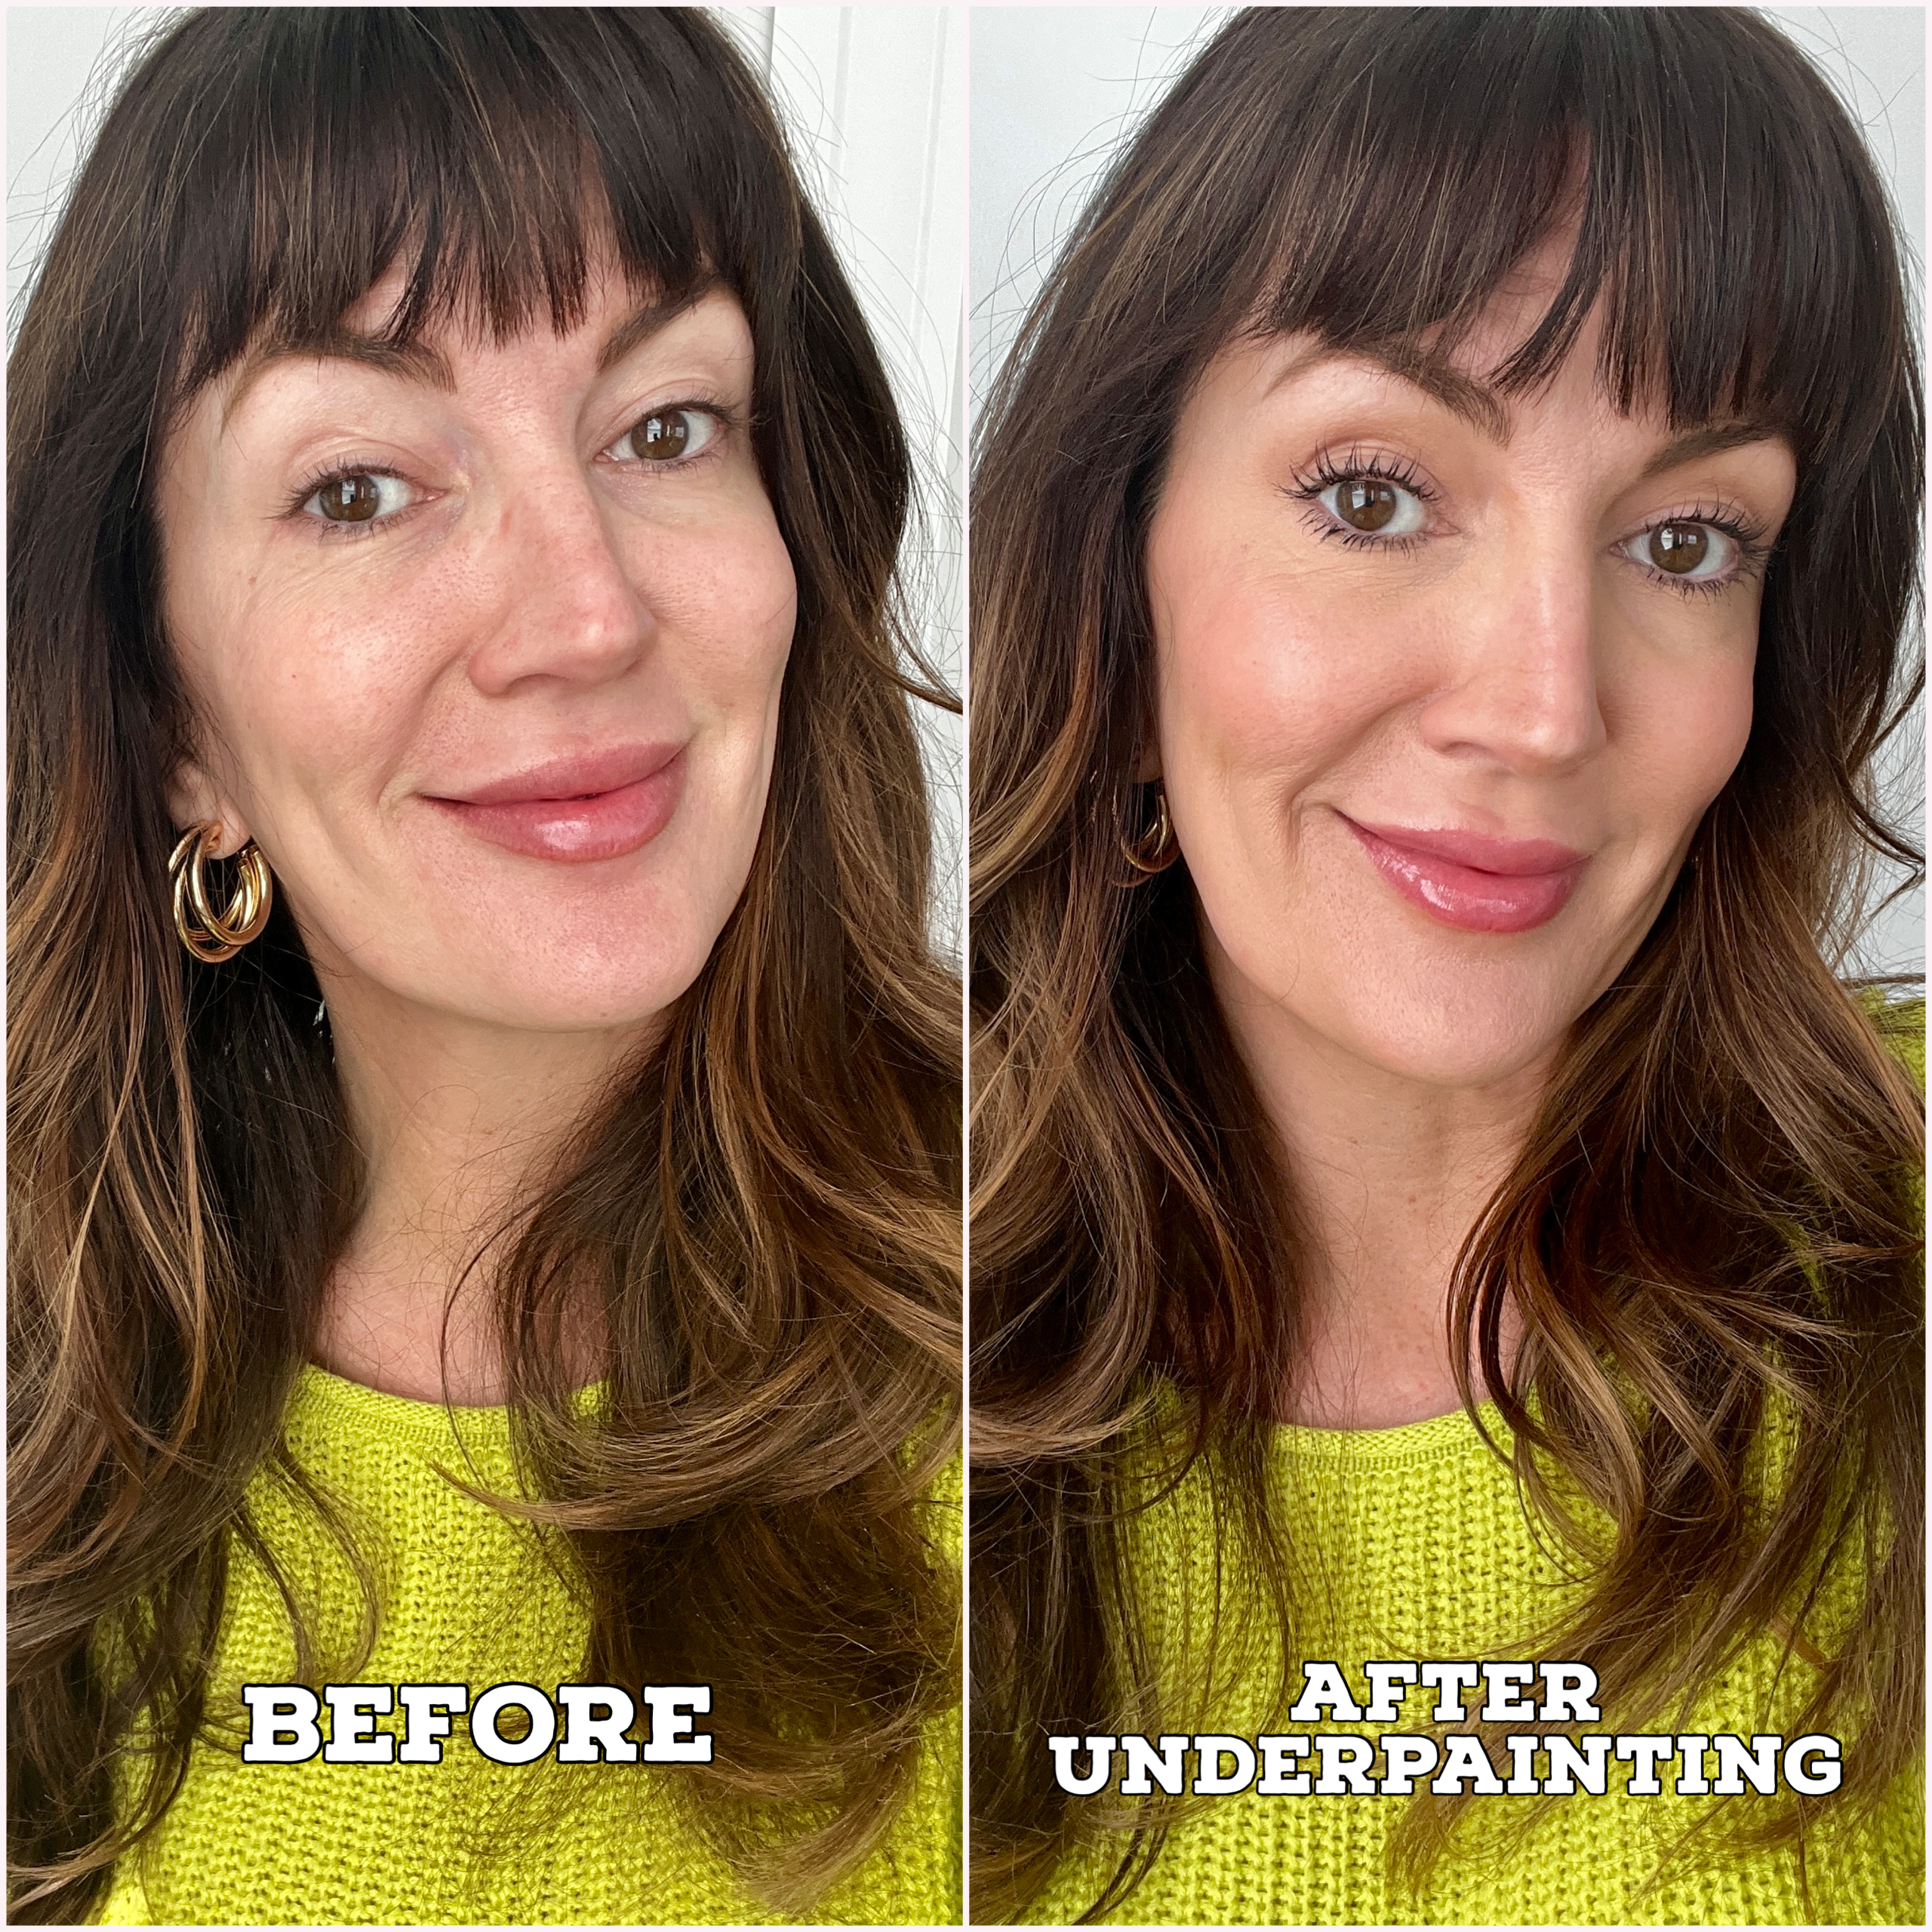
So what exactly is underpainting??
It’s basically when your contour, concealer, and sometimes even blush, goes on FIRST. Then you finish it off by applying a sheer layer of your complexion product – i.e., your foundation to blend everything together. The goal is to give a soft focus effect to the skin while creating dimension.
Why is underpainting so popular?
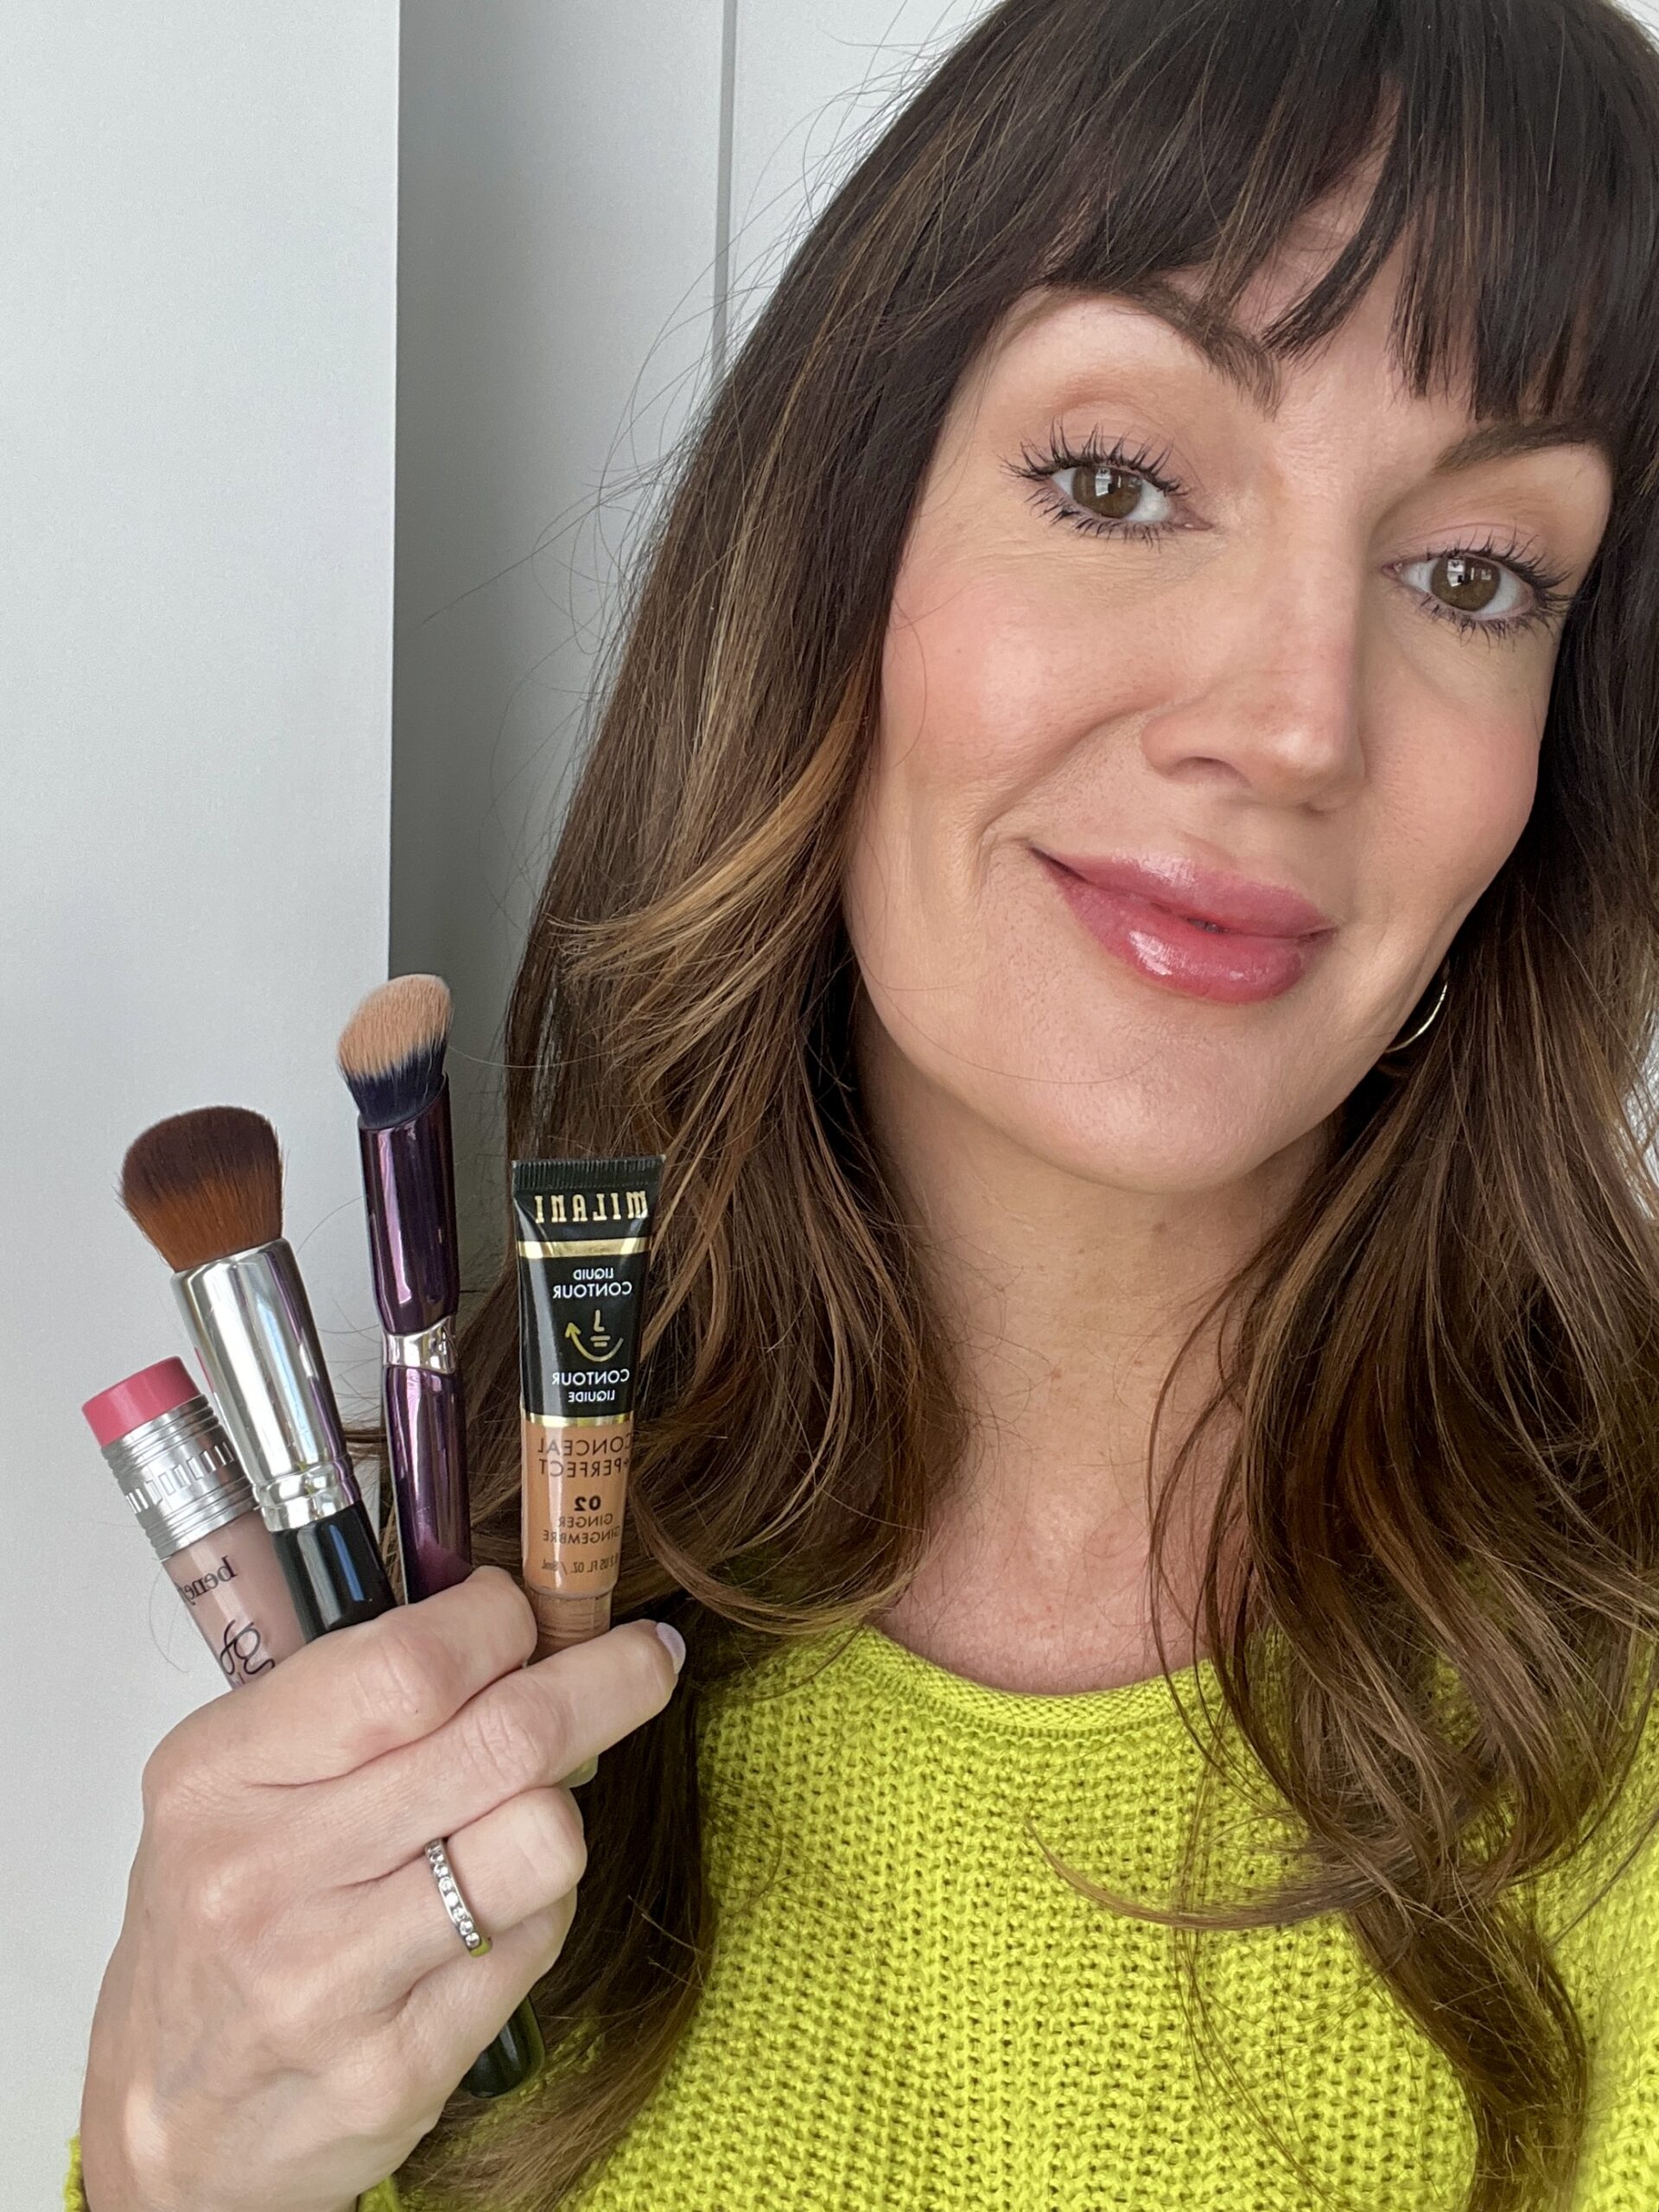
I think this technique has become a big deal again because by applying your colored products first (like the darker bronzer and blush) then adding your foundation, this gives you a softer shadow peeking through that wouldn’t be as strong or dramatic because of the veil on top. For those intimated by the art of contouring, this could be an easier way to try it.
TL;DR
Today, Jennifer is sharing the hottest viral makeup technique: underpainting
Jennifer has put together an easy-to-follow, 4 step tutorial
All of Jennifer’s tool and product suggestions are shoppable inline and image-widgets
The Hottest Viral Makeup Technique: Underpainting
What You’ll Need
Of course, you’ll need to prep your skin nicely before doing any of this. Having clean exfoliated and hydrated skin is a must. If you’d like to see some of my favorite exfoliants and moisturizer recommendations for dry mature skin, check out my recent article on no-cake foundation prep here.
Then you’ll need to grab:
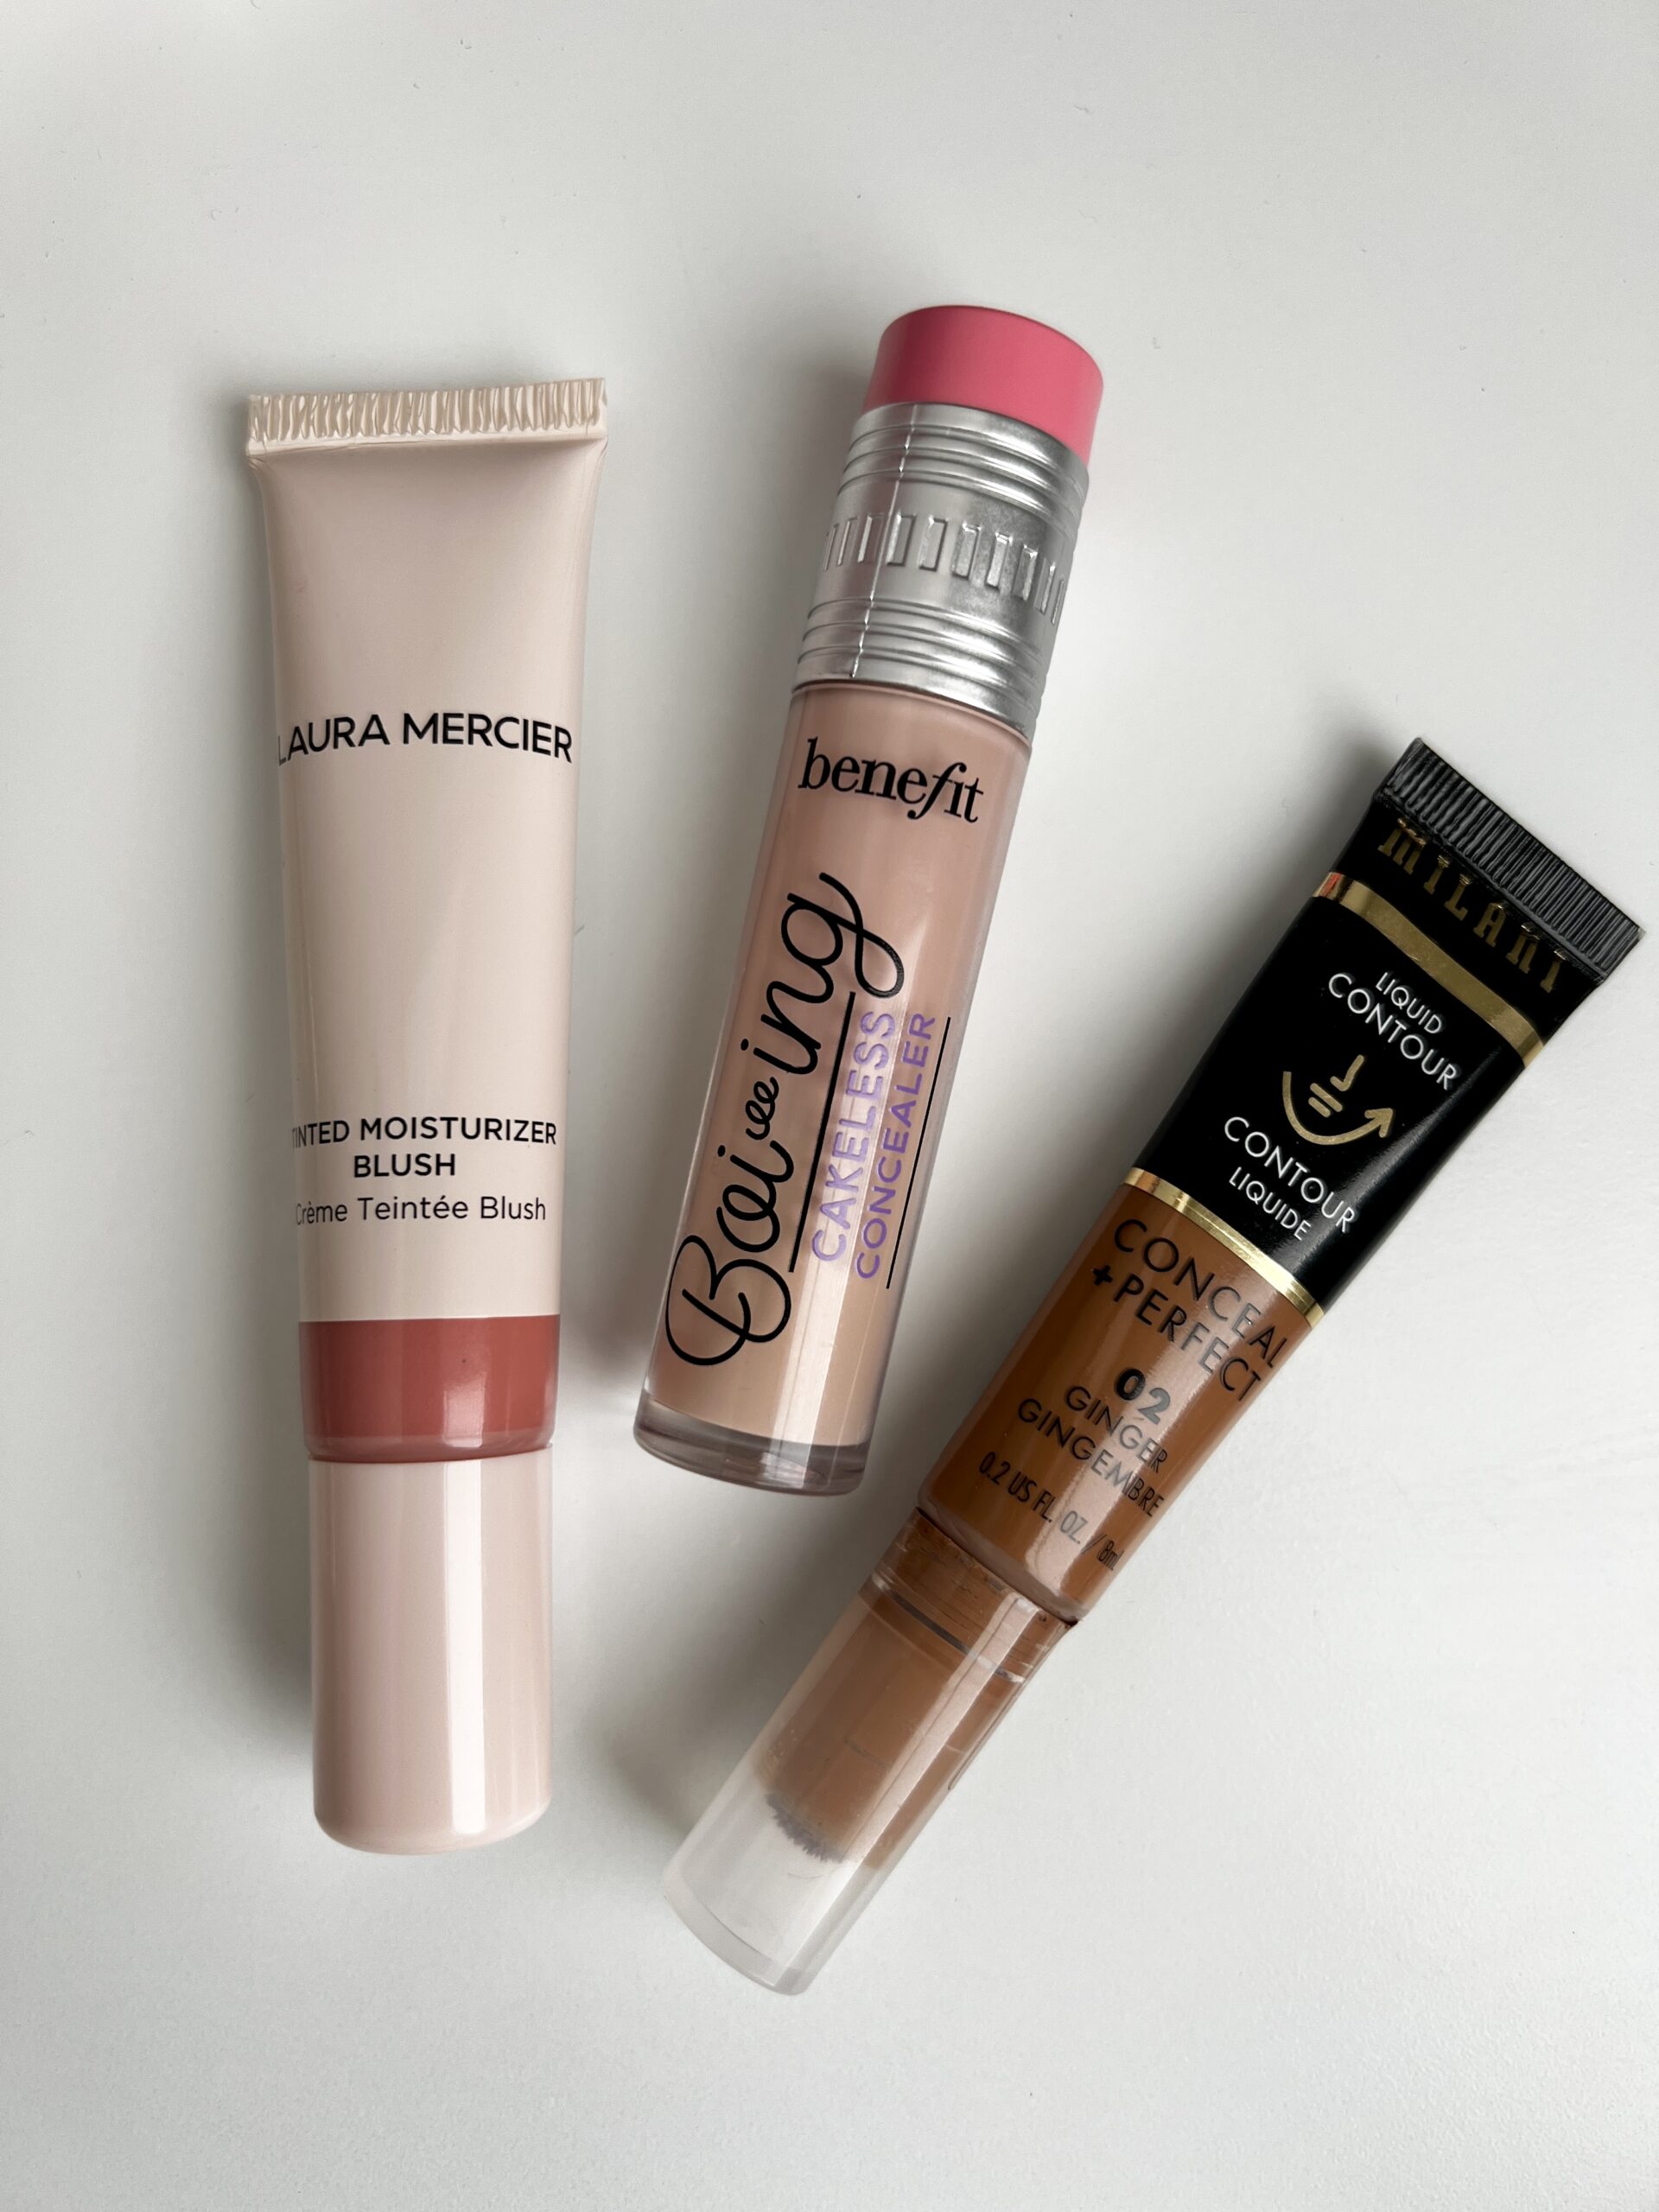
- Contour product. I’m using the Milani Conceal + Perfect liquid contour, $11, in 02 Ginger.
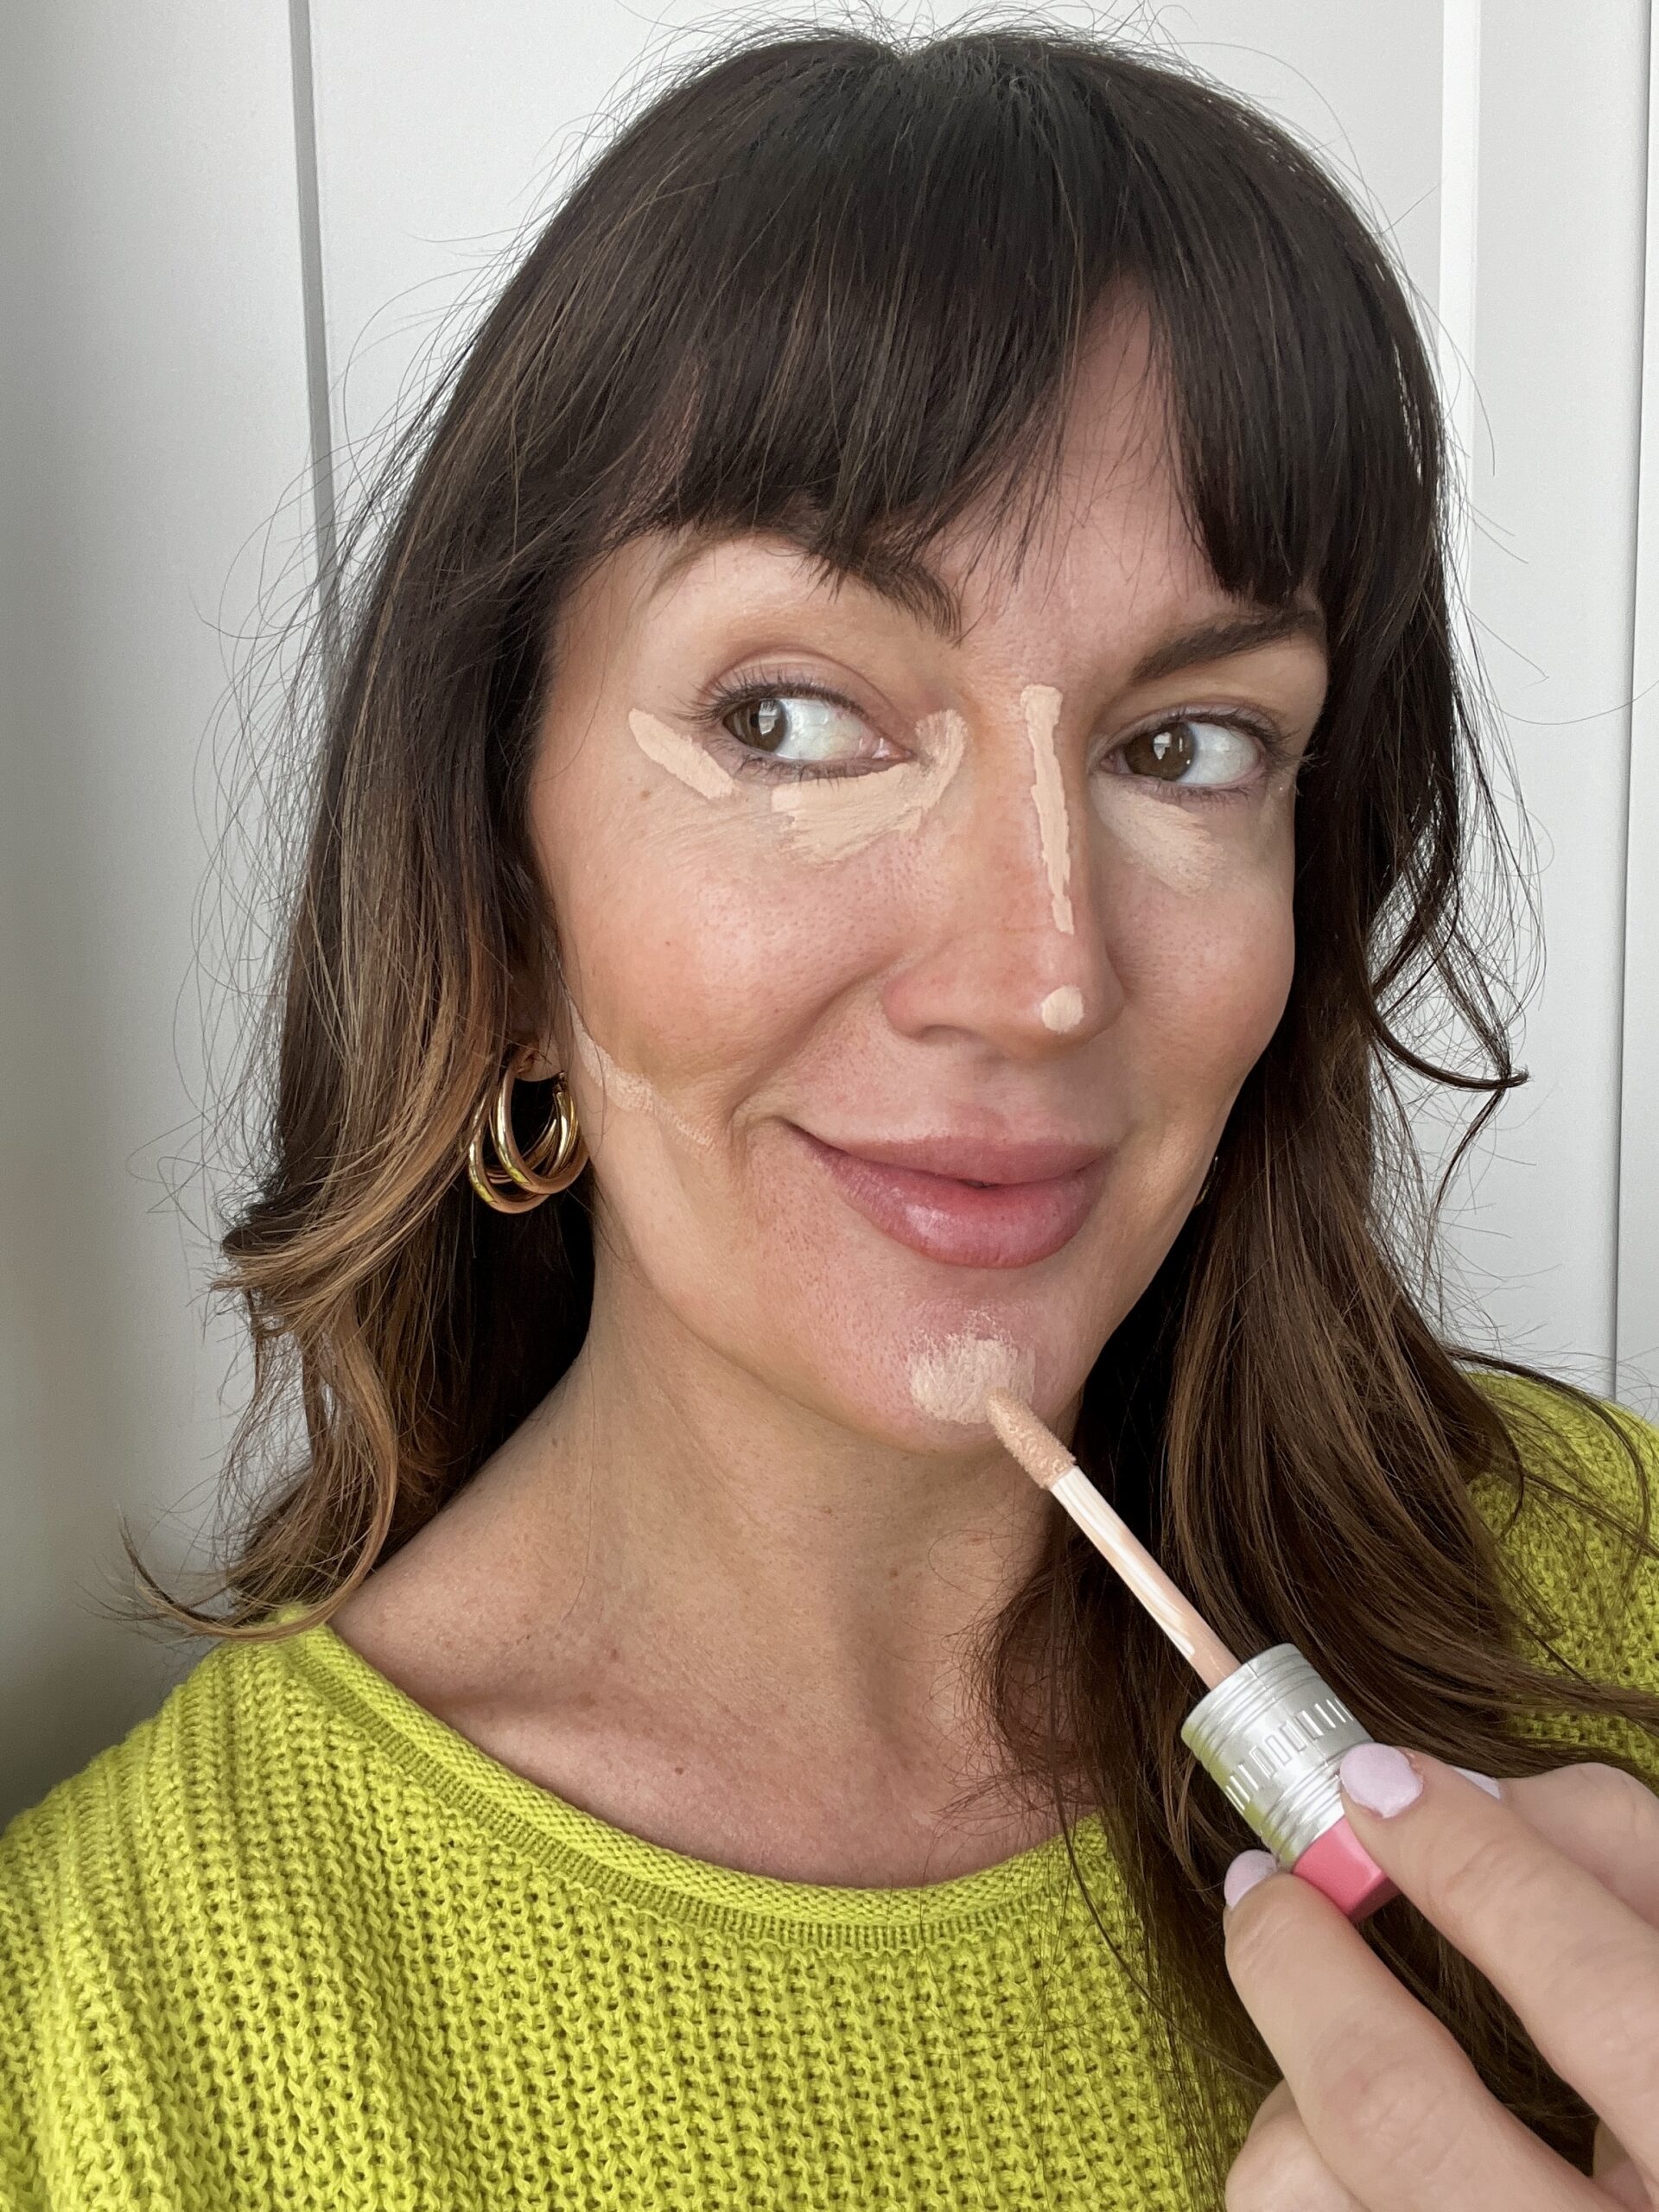
- Concealer. I’m using the Benefit Boi-ing Cakeless Concealer, $27, in 4.25 Carry On
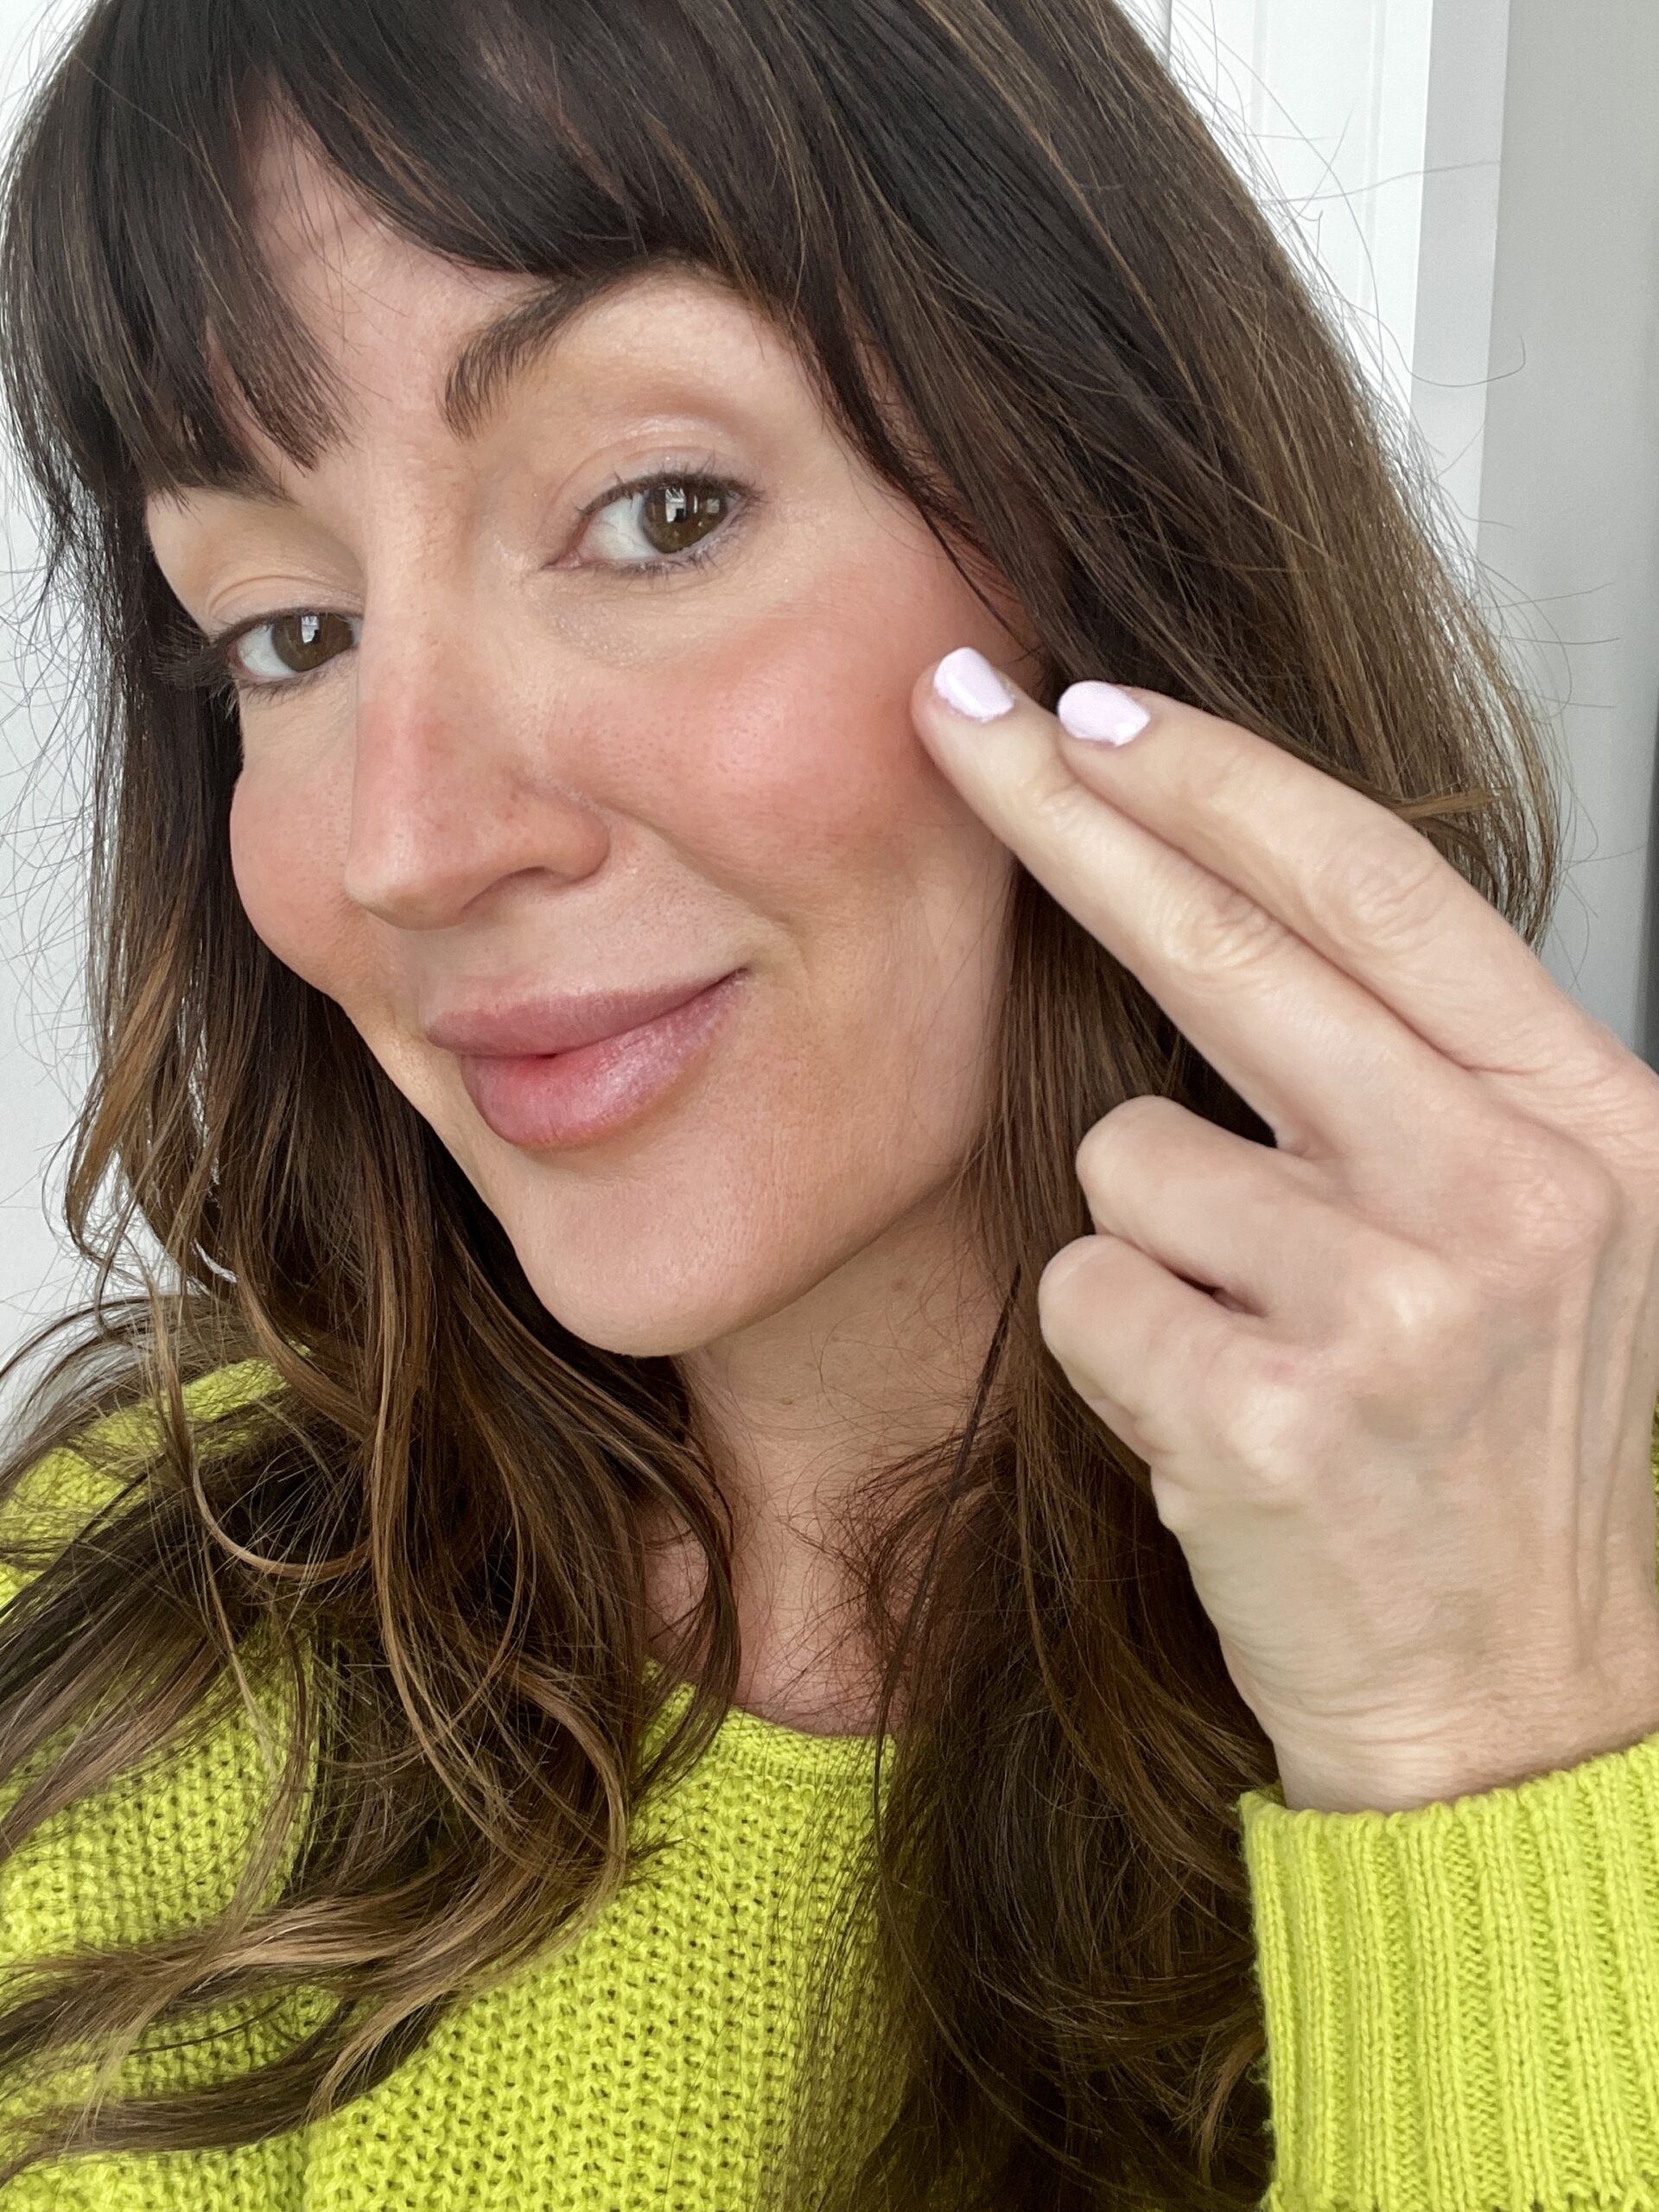
- and Blush. I’m using Laura Mercier Tinted Moisturizer Blush, $30, in Southbound.
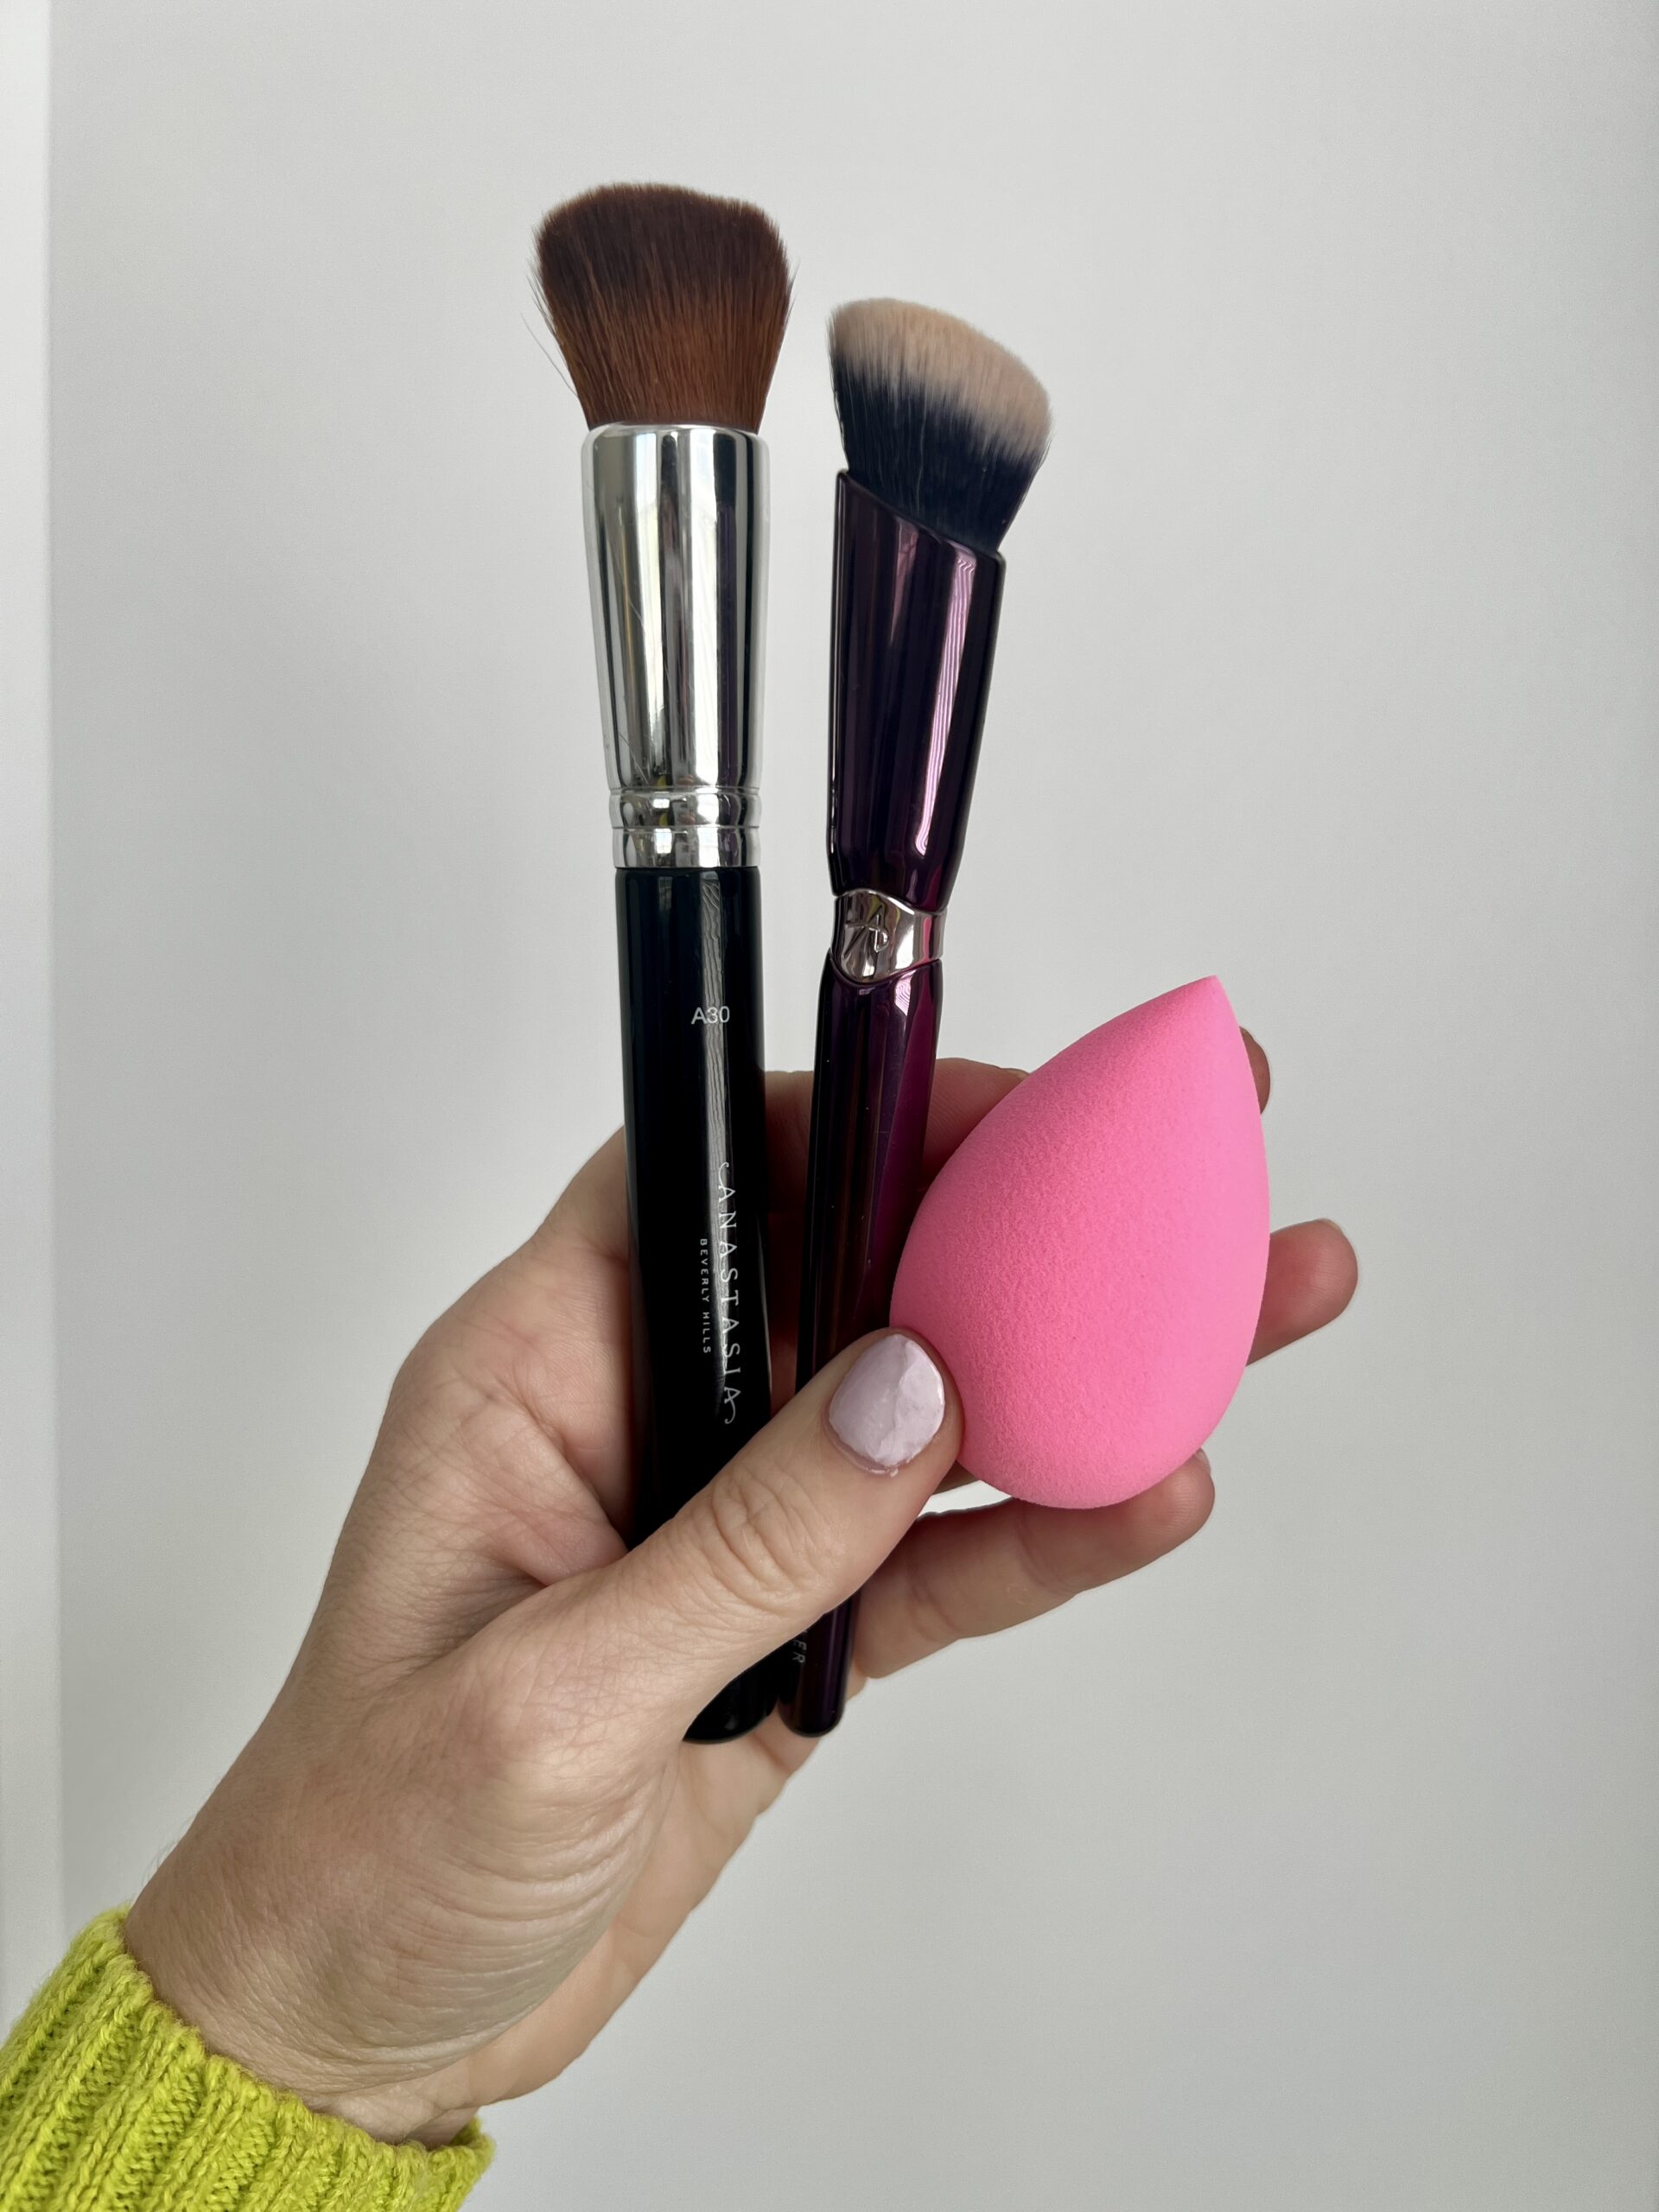
And don’t forget how important the application tools are going to be! I’ll be using:
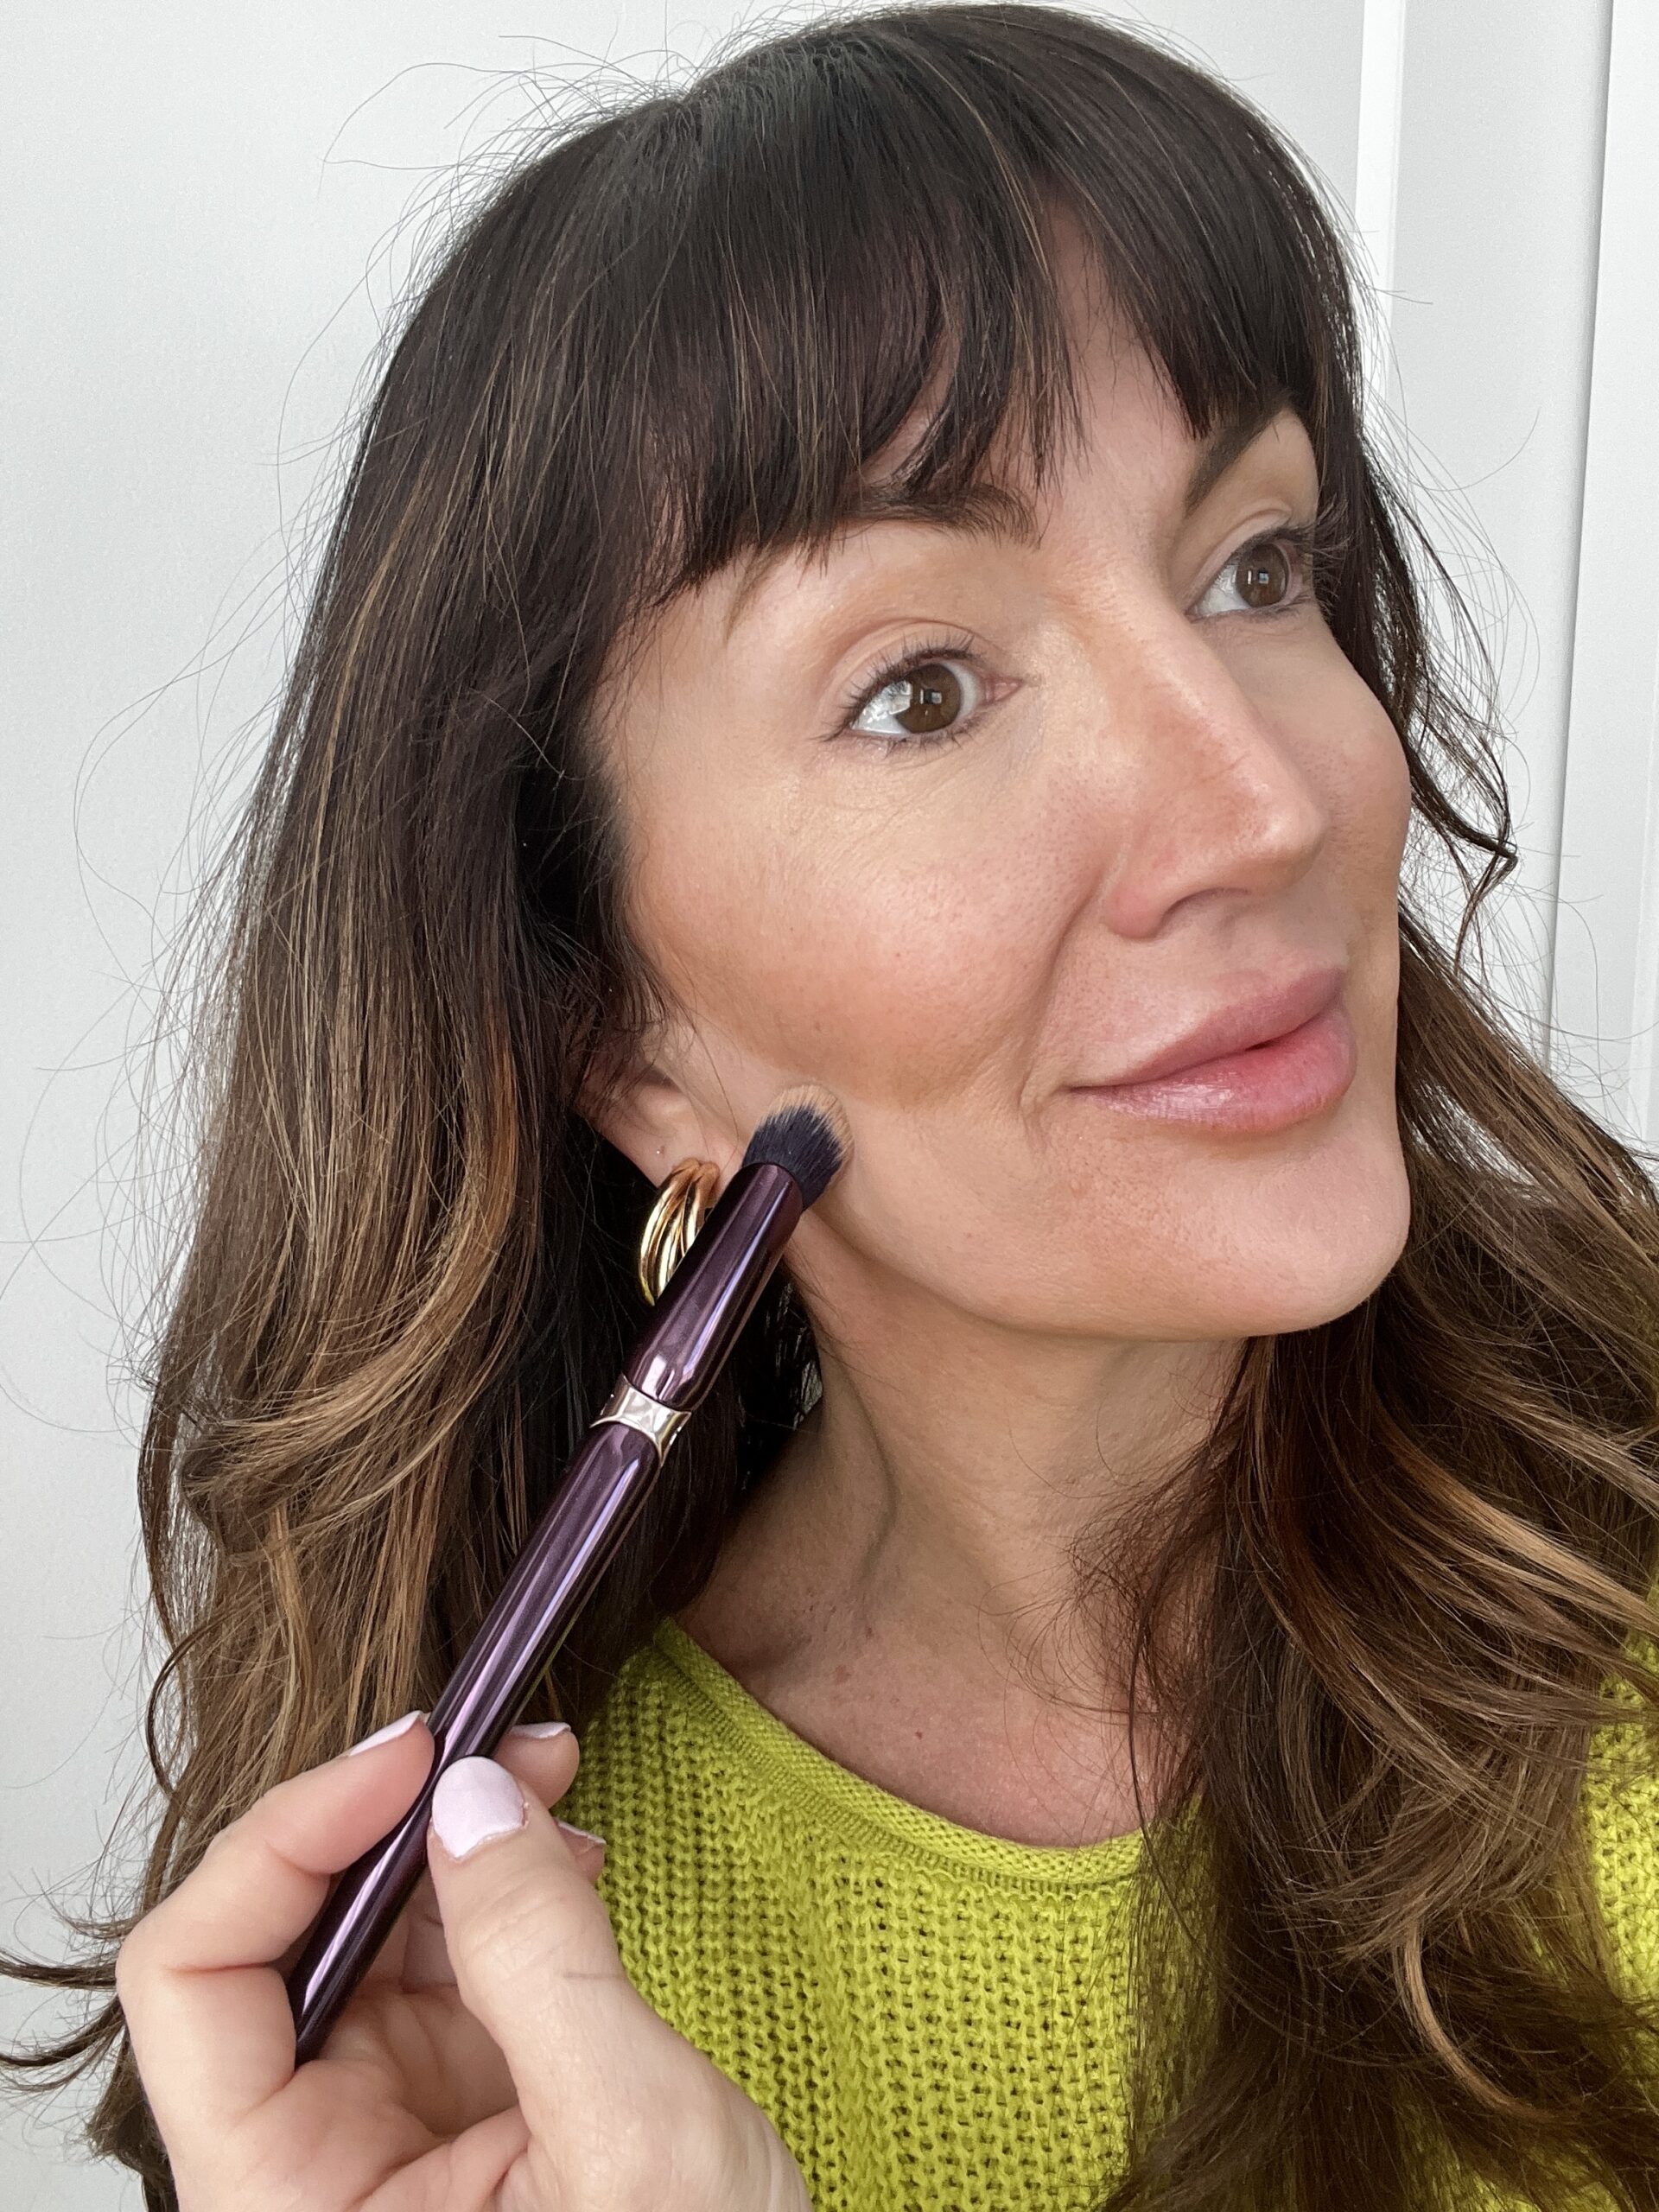
- the Anisa Beauty angled concealer brush, $28
- my Amazon Paw Paw beauty blender, $9 (the best affordable dupe to the real version!)
- the Anastasia Beverly Hills A30 buffing foundation brush, $24 (I love this brush)
Shop the products
Step 1: Lip Contour
Now for the fun part – let’s start underpainting!
Start with your contour first. I love this Milani face lift contour product because of its ease and small sponge applicator that you can place exactly where you want. I dot it along the sides of my nose, under my cheekbones, & temples, and around my jawline & chin. Even under my lower lip to create a shadow of a fuller lip.

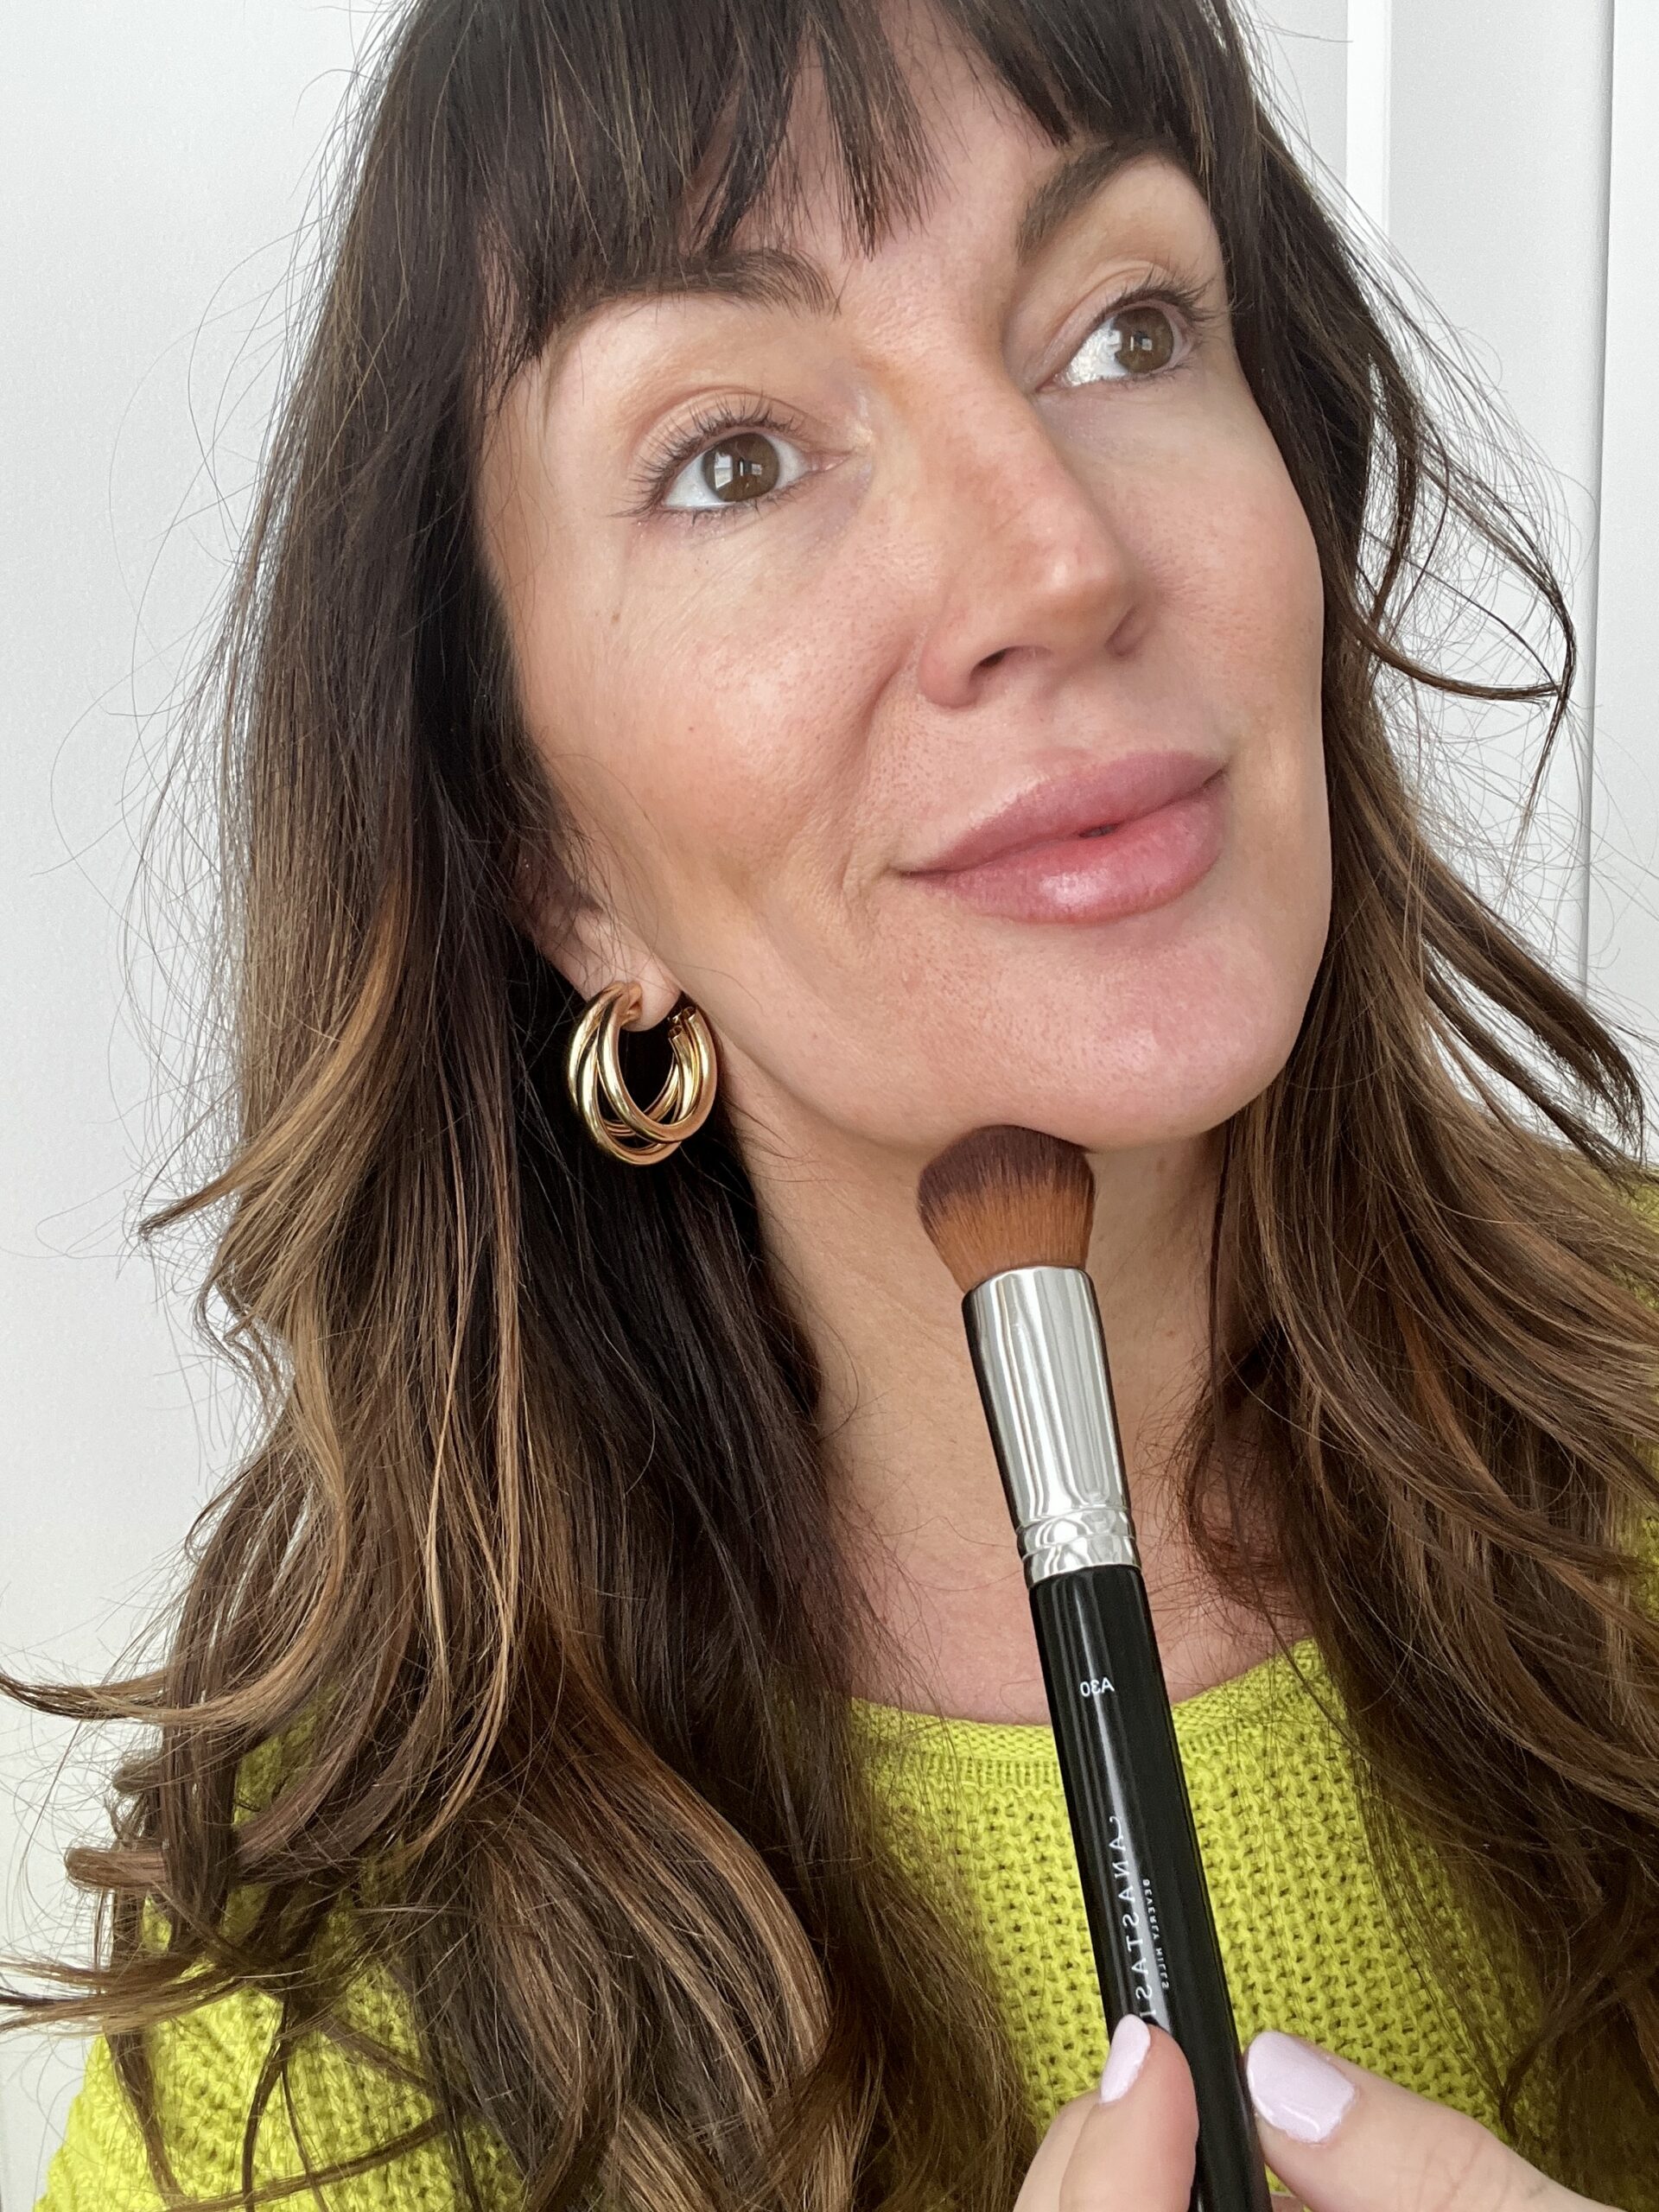
Then I blend it in with my Anastasia Kabuki foundation brush, keeping the areas nice and tight.
Step 2: Concealing
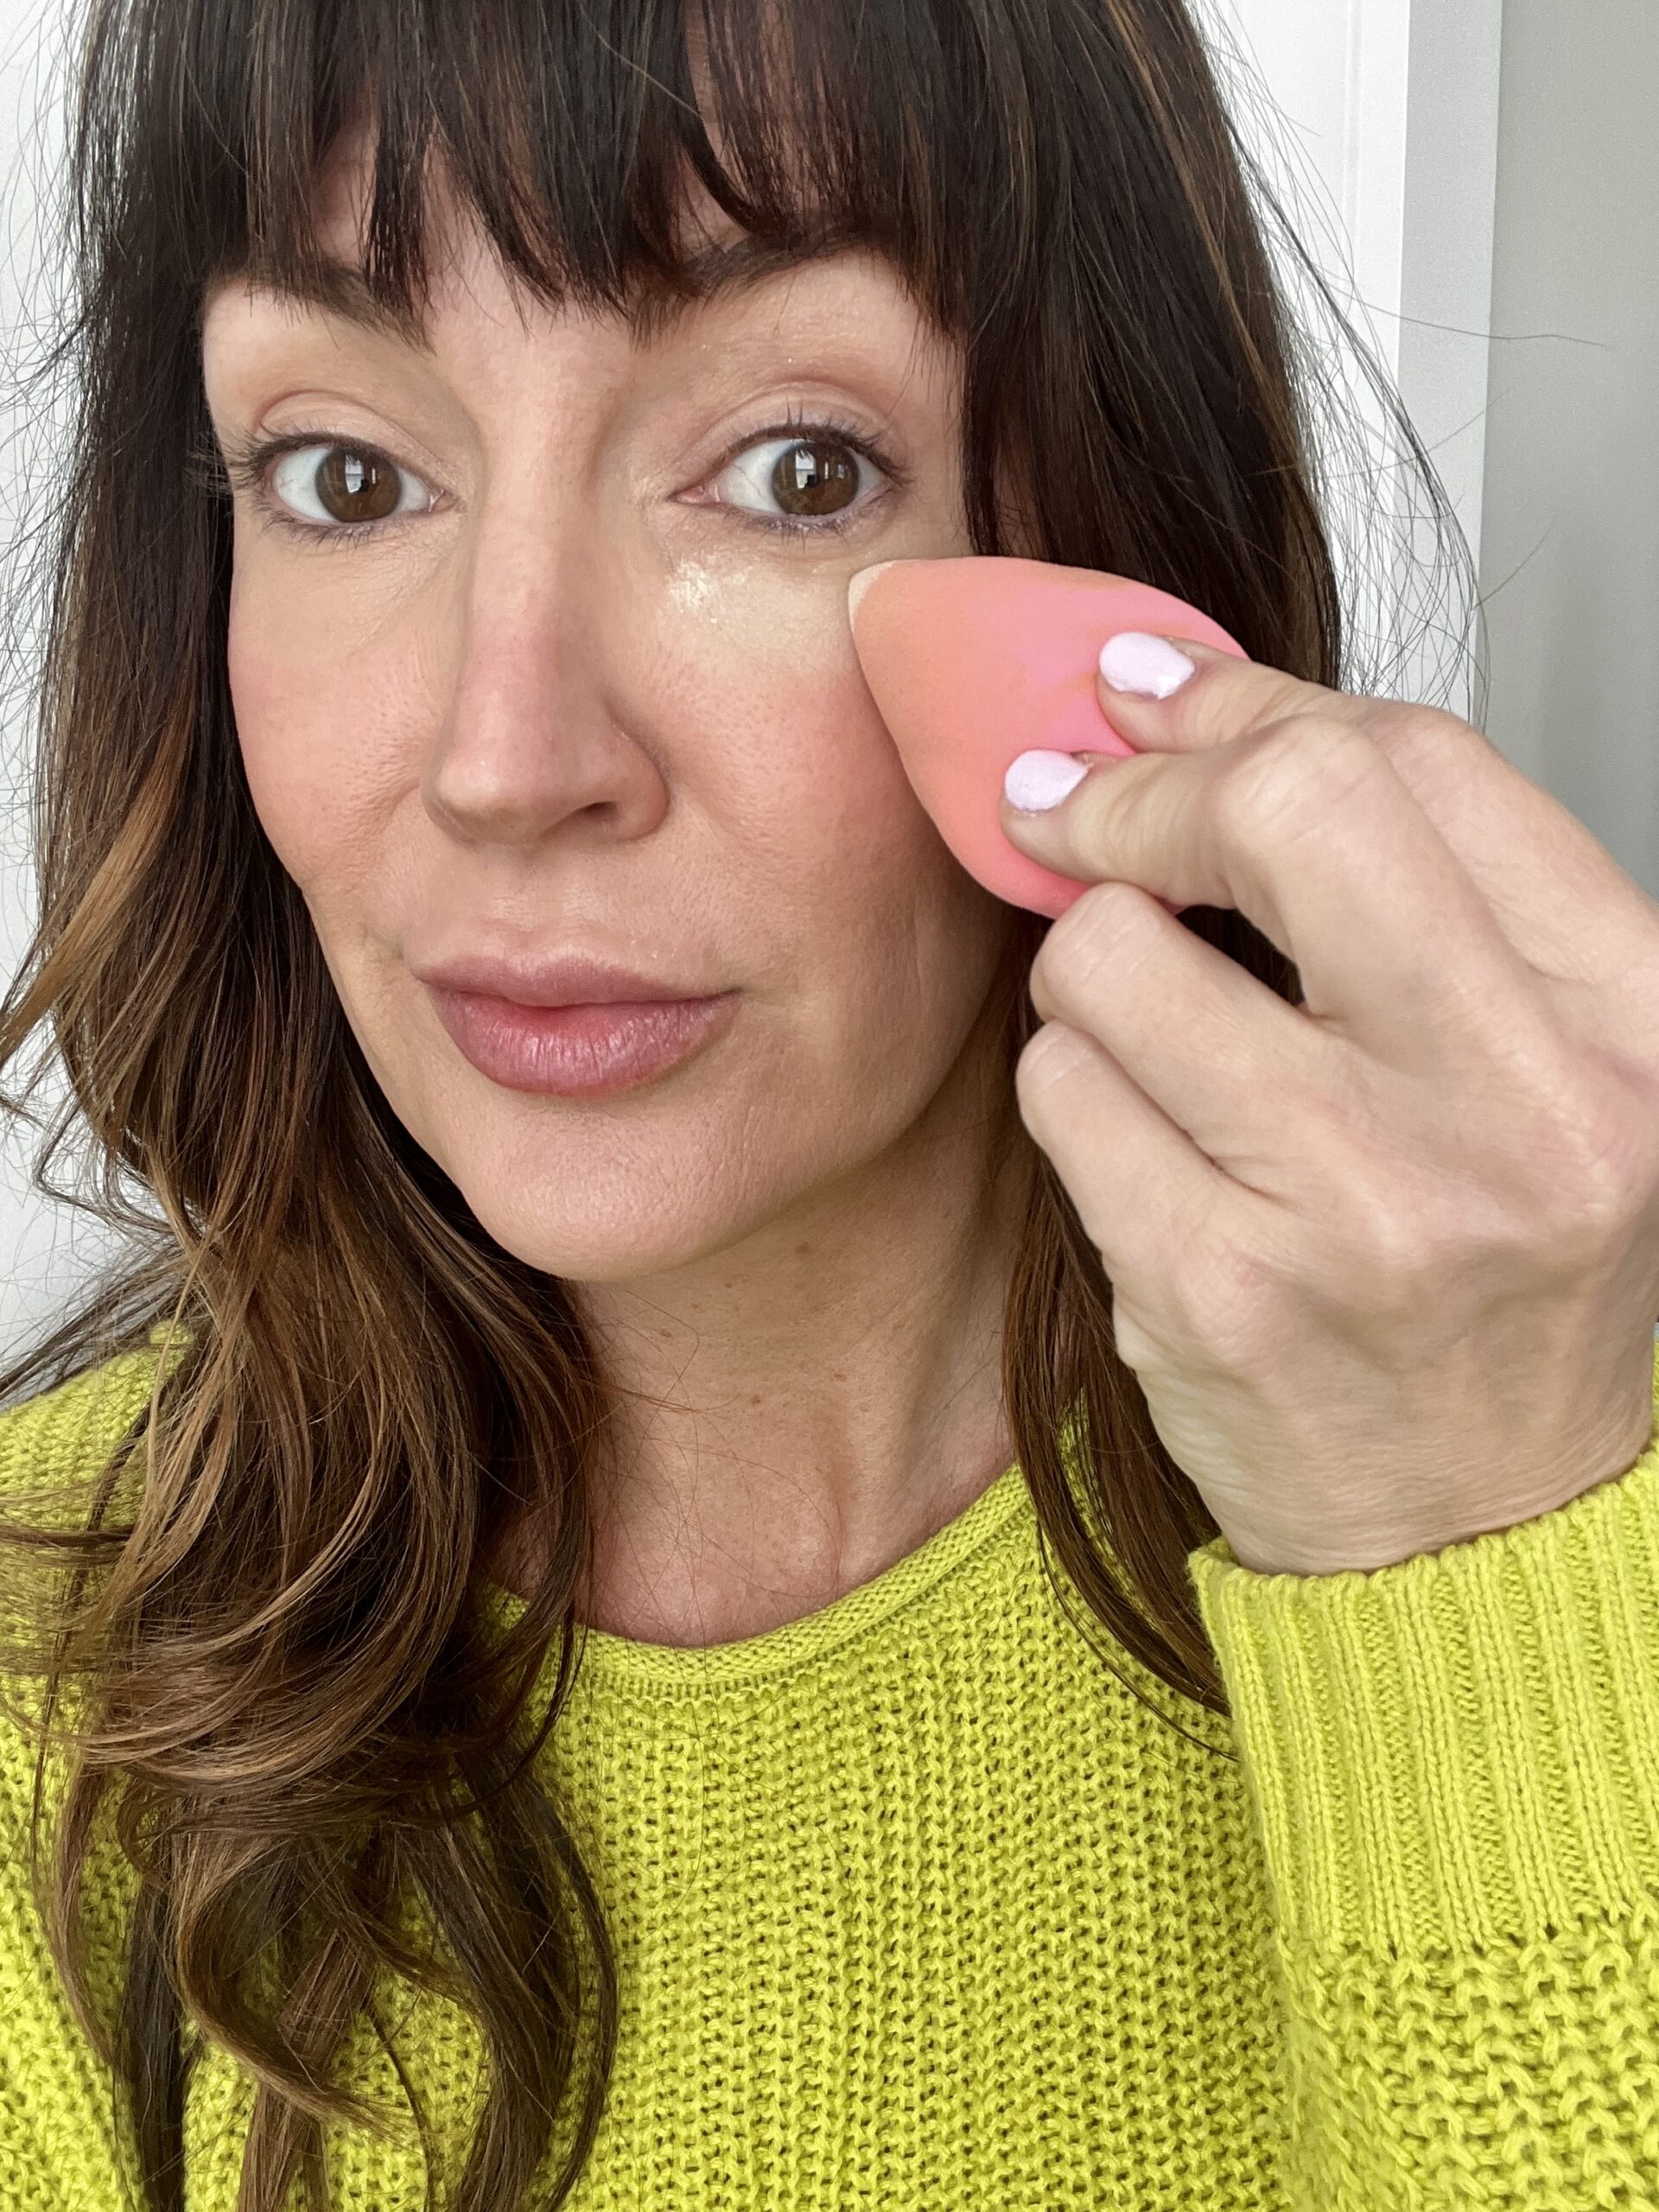
Now onto concealing. I place my concealer where I usually do underneath my eyes, just where I see darkness and hollowness under the eyes. Then if I want to add some highlights, I stripe it down my nose, then in the center of my chin, and underneath the cheek contour. Now blend that into the skin with the Anisa Beauty concealer brush which is perfect because it’s smaller with enough fullness to blend evenly.
Shop the products
Step 3: Cheek Color
Let’s add the cheek color and I’m applying my Laura Mercier blush right onto the apples of my cheeks and tapping it in. You can do this with your fingers or a cream blush brush. I actually used a combo of fingers and back to the Kabuki brush. I suggest going pretty heavy here.

Step 4: Finishing Touches
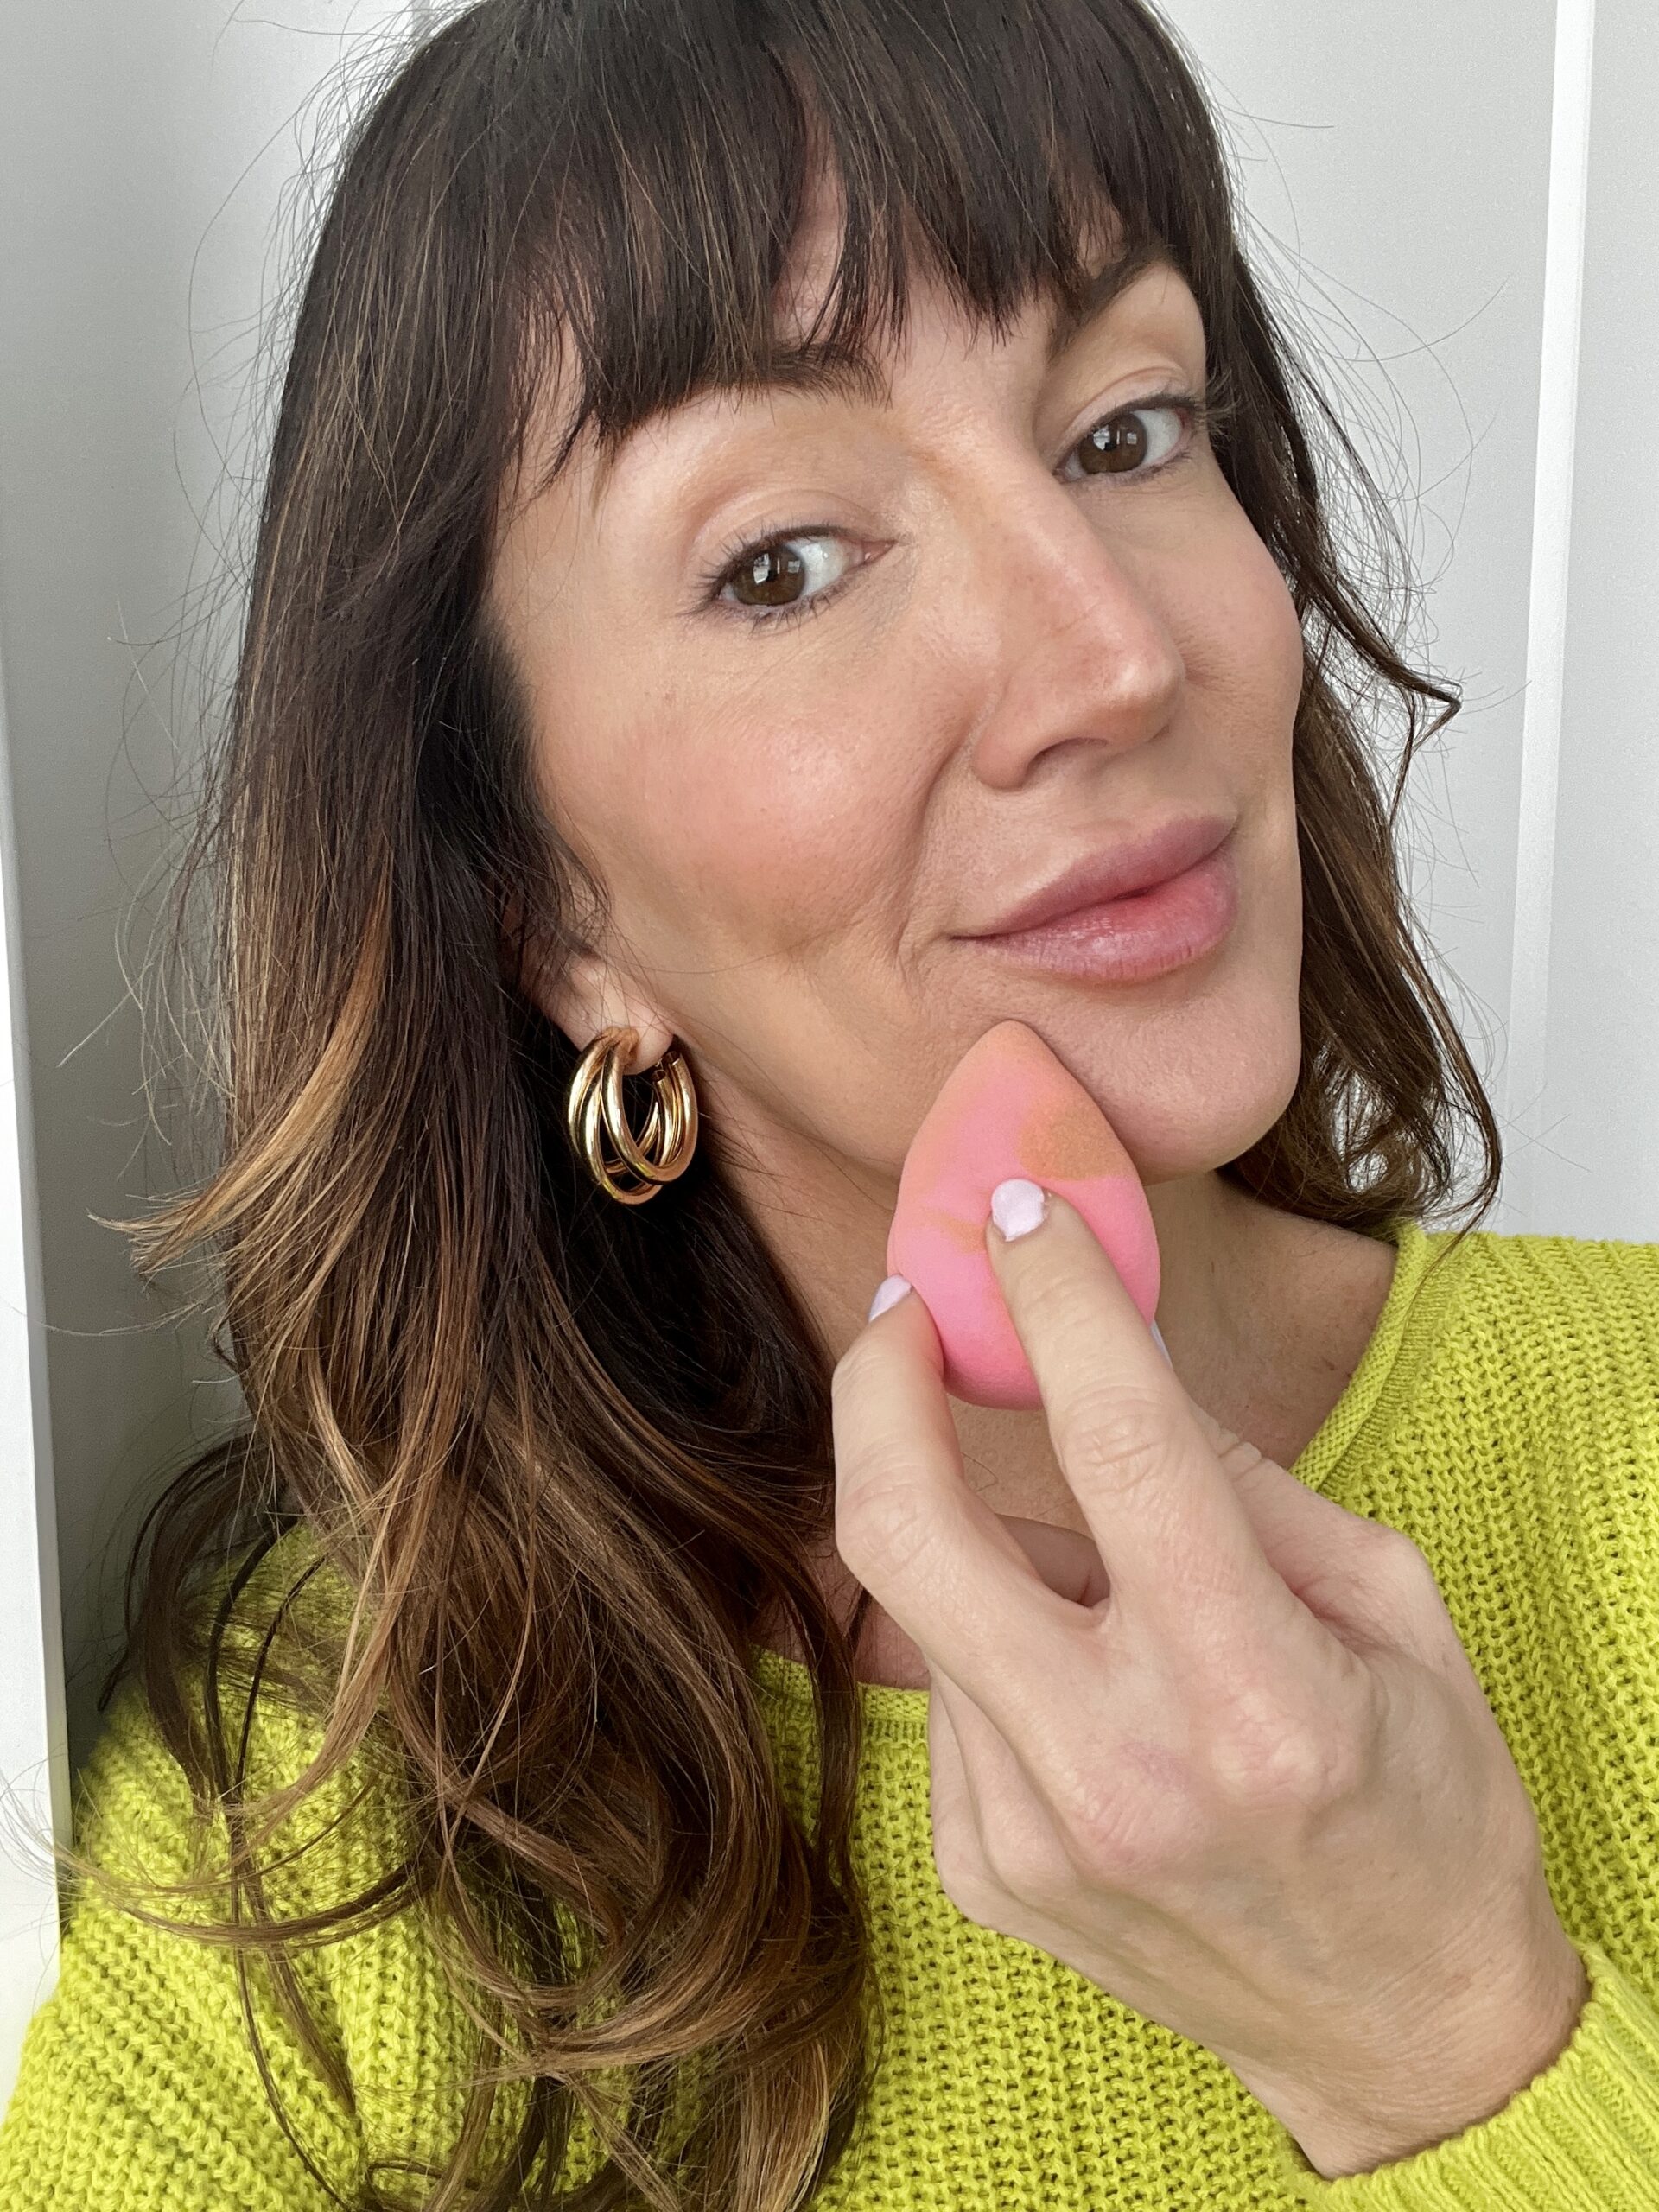
Now finish it off by adding your foundation and I dot it into open areas that have little contour and concealer. I used the L’Oreal Age Perfect Radiant Serum foundation in shade 35. It’s recommended to use a damp beauty blender sponge for this part and use a tapping motion into the skin to blend (instead of swiping which could get messy and disturb all of the previous placement of colors).
Once I did this, I used the damp beauty blender to add a little bit of my go-to Laura Mercier Talc free blurring loose powder, to set the concealer areas.
I like a bit more cheek color than this left me with, so I did tap a few extra dots of my liquid blush on top!

Shop the products
Final Thoughts
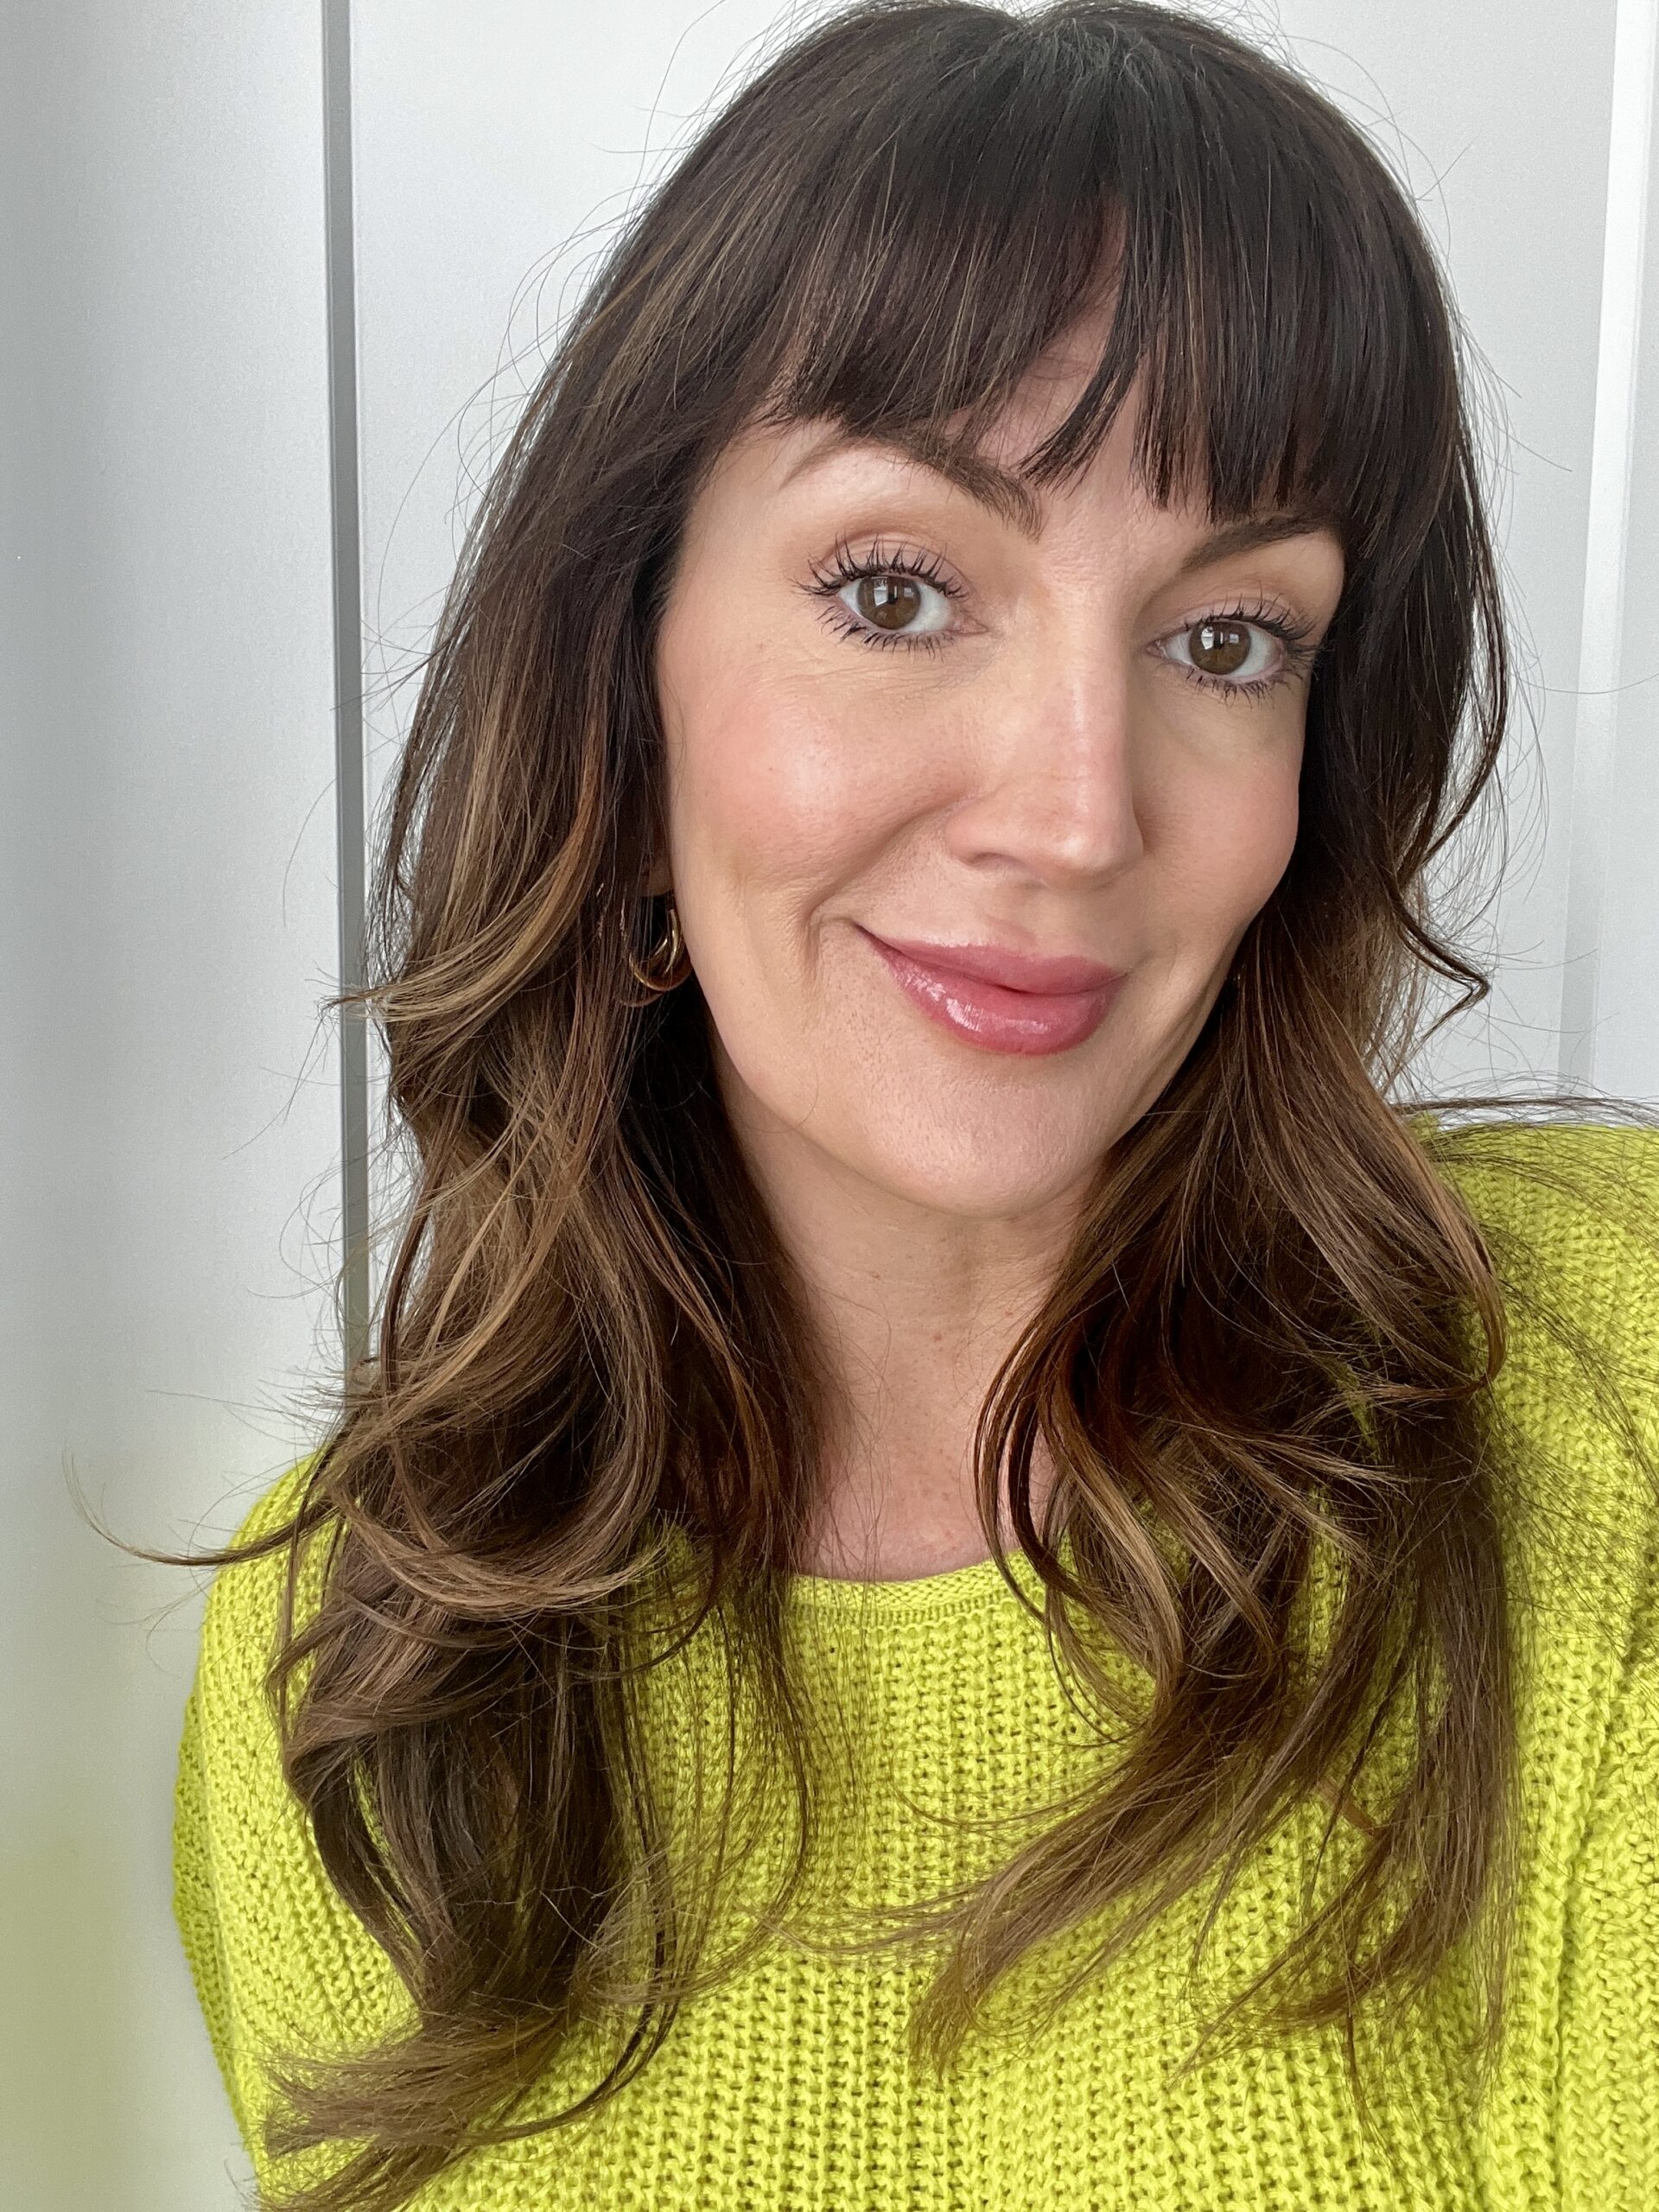
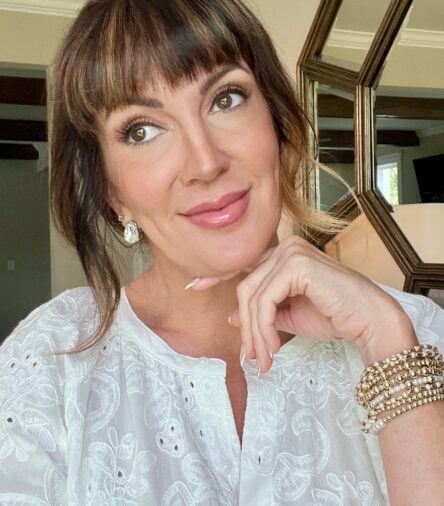
Final thoughts on this technique. It surprisingly did leave me with a soft, contoured but lifted look. It’s a super subtle approach to contouring for sure, so if that’s the look you’re going for, this technique is absolutely perfect. My skin looks luminous with a soft focus effect due to the use of all cream products as well.
What do you think? Have you done your makeup this way before or will you try it?
P.S. A lime green top is perfect for springtime right?! I found a couple of similar ones here: drop shoulder lightweight sweater from Shein and this cashmere v neck from Free People.
My gloss worn in this post at the very end look is “Ruby” by Maybelline Lifter Gloss – an all-time favorite.
Shop My Other Details
In Case You Missed It
This morning, Kelly shared What to Wear & Decorate for Easter. Click the title or image below to read the article.
What to Wear & Decorate For Easter






Jennifer, I’m definitely going to try this now that you’ve done this post! You’ve broken the steps down and shown products and tools to use. You glow! Thank you for this post!
This is a very pretty look- so fresh and luminous! I would like to try it. Could you share what “season” you are. I wonder if the colors would be right for me.