


Have you started putting holiday gatherings and festivities into your calendar yet?? I know I sure have! It’s the most wonderful, and busiest, time of the year when it comes to events that we might need (or just want) to get dressed up/fancier than usual. Which is why I wanted to share a super glam eye makeup technique today that anyone can try, the Halo Eye.

It just will take a bit of practice, the right products, and tools. *Speaking of products/tools, you still have time to check out my Sephora Savings Event guide post here. If you end up wanting to update your products to try out this look, a lot of the ones I mention below can be found at Sephora, and the savings will end on November 10th, so take advantage while you can.*
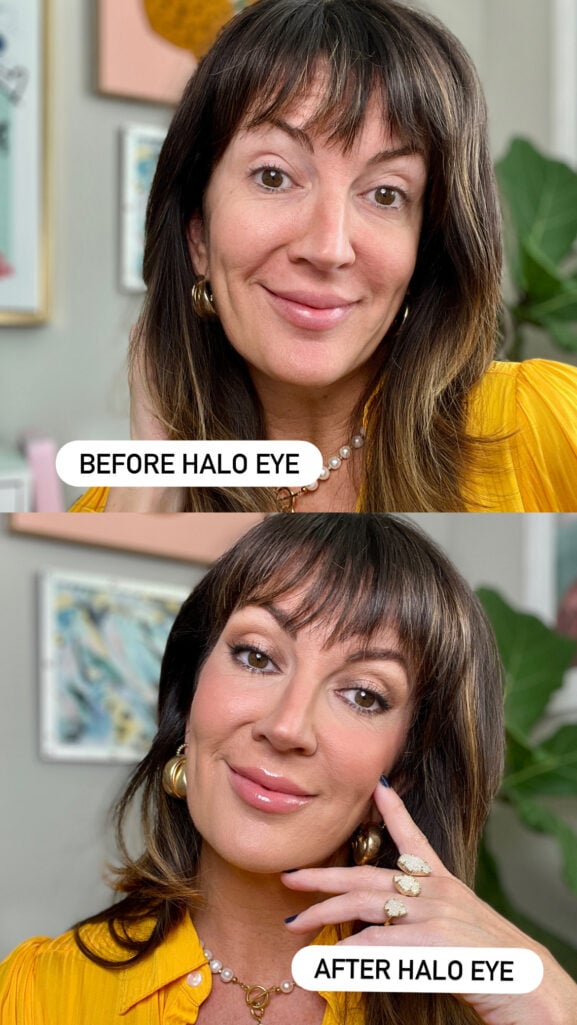
The halo eye is such a gorgeous technique because it instantly makes your lids look bigger, rounder, and more dimensional — especially flattering for women who want their eyes to pop in an unexpected way.
The whole secret? Darker shades on the inner + outer corners — with shimmering light in the center. It’s perfect for elevating your look with whatever your wardrobe is for the upcoming Thanksgiving festivities and beyond till the New Year!
Here’s an easy breakdown you can follow at home — no special makeup artist tricks required.
Shop the Post

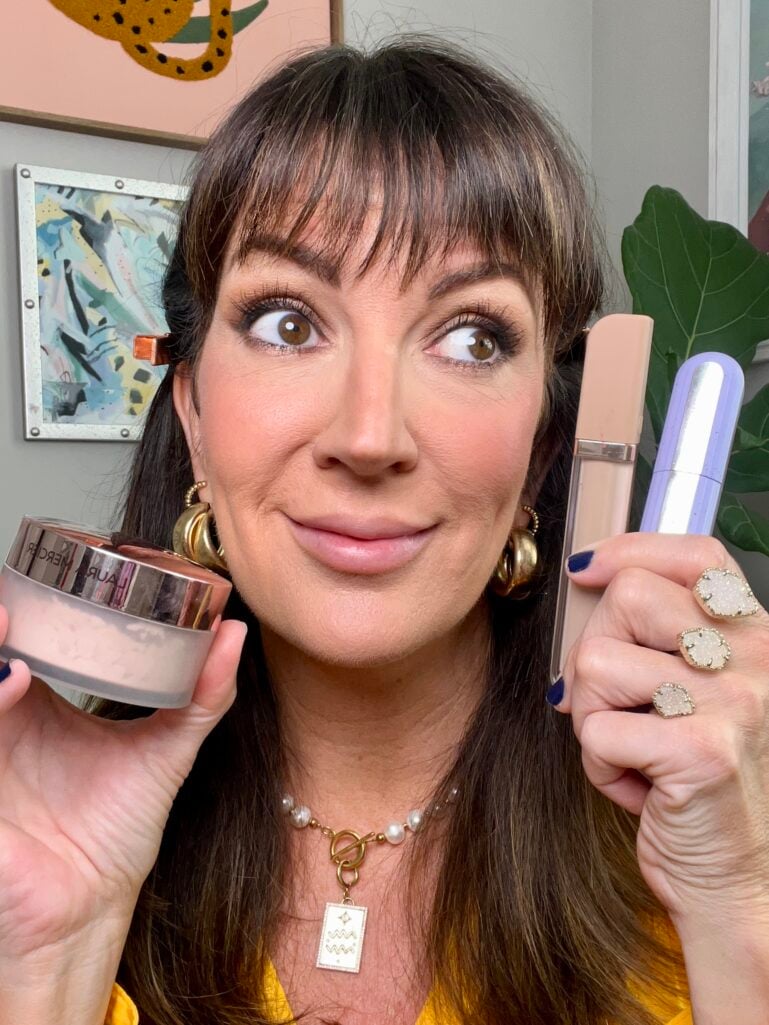
Here Are The Products You’ll Need
(linking my exact products I used in this post, but you can substitute your own if you have something similar):
- Eyelid primer – Urban Decay Primer Potion, $28
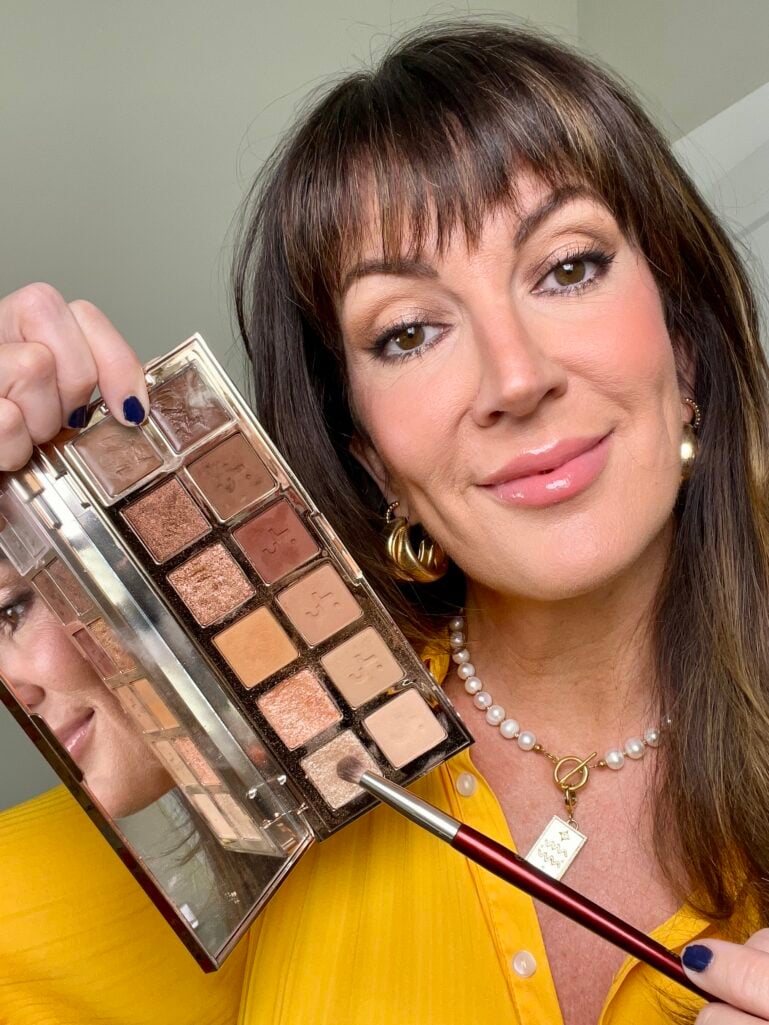
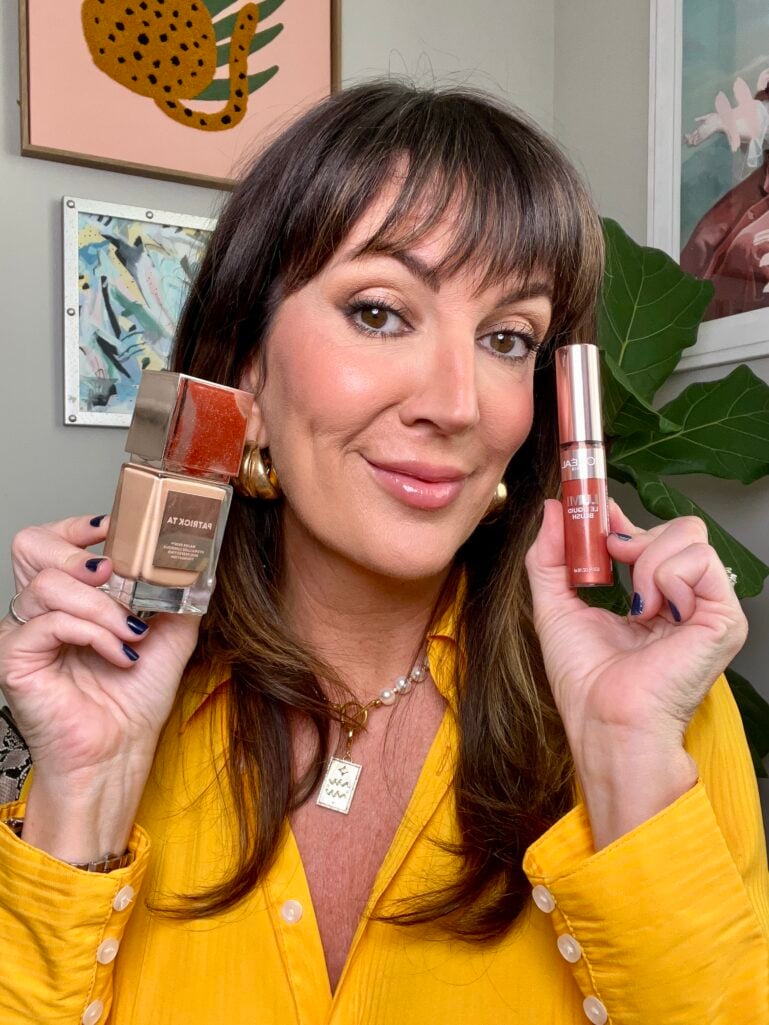
- Neutral matte transition shade of shadow (think taupe, soft tan, camel) – for the next three shadows, they were all in one palette, the Patrick Ta Multi Dimension Eye palette, $70
- Deeper matte shade of shadow (chocolate brown, plum, or black-brown)
- A shimmer or metallic shadow (champagne, gold, rose gold looks amazing on all ages)
- Small flat brush, rounded brush, blending fluffy brush, stiff shading brush – all brushes are by BK Beauty – A505 shimmer brush, 207 pencil blender brush, 203 shader brush, 204 smudge it brush
- Black or Brown Eyeliner – Urban Decay 24/7 waterproof liner in “Perversion”, $23
- Mascara – Maybelline The Falsies Surreal, $13
- Setting Spray – L’Oreal Infallible 36 hr makeup setting spray, $11
Halo Eye Step-By-Step Instructions:
1. Prime. Apply a thin layer of primer across the entire lid to prevent creasing & make the colors look richer.
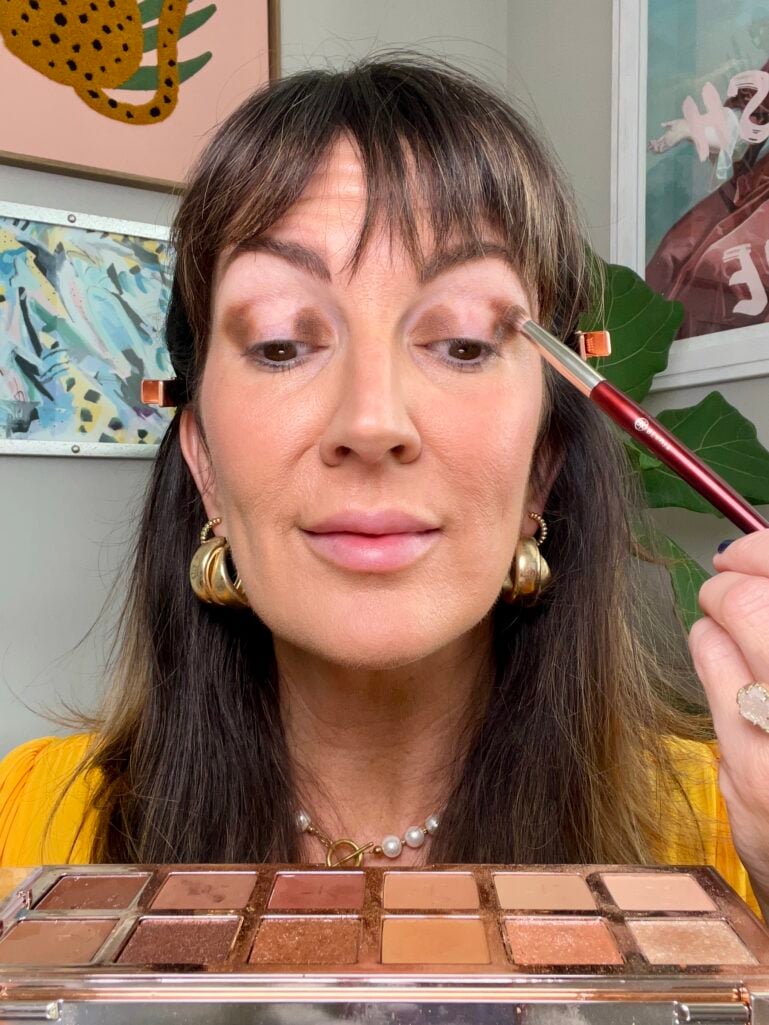
2. Place your depth. Take your darker matte shade and pack it on the inner and outer corners of your lid with your rounded brush. Don’t go too high — keep it lower than the crease so the shape stays rounded. I used the lighter cream brown first when using the Patrick Ta palette, then added the powder shadow, but you can go straight to the powder if you aren’t using this palette.
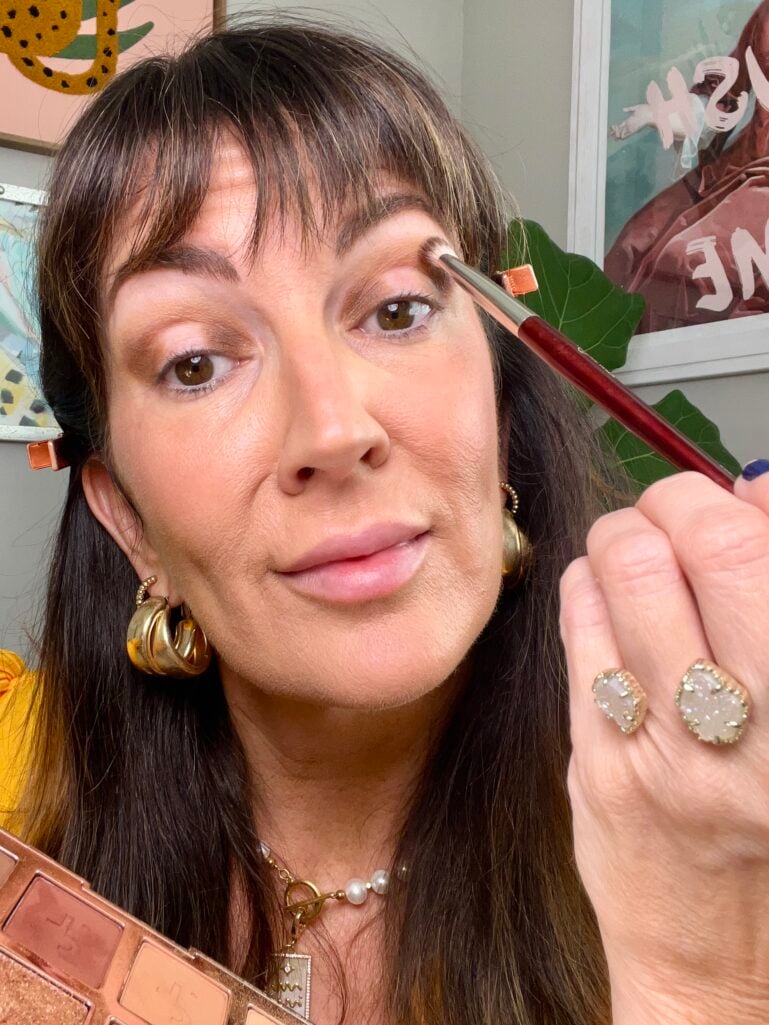
3. Create your foundation color. Use your blending brush, sweep your transition shade through the crease, hovering slightly above, but connecting the two darker areas. A transition/foundation shade is one that is lighter than the darker shadows in the inner + outer corners, but gives some cohesiveness to the look. This creates a soft haze that keeps everything looking blended — super important once the deeper shades go down.
4. Leave the middle OPEN. That center space is where the “glow” happens, so avoid putting dark shadow there.
Shop the Post
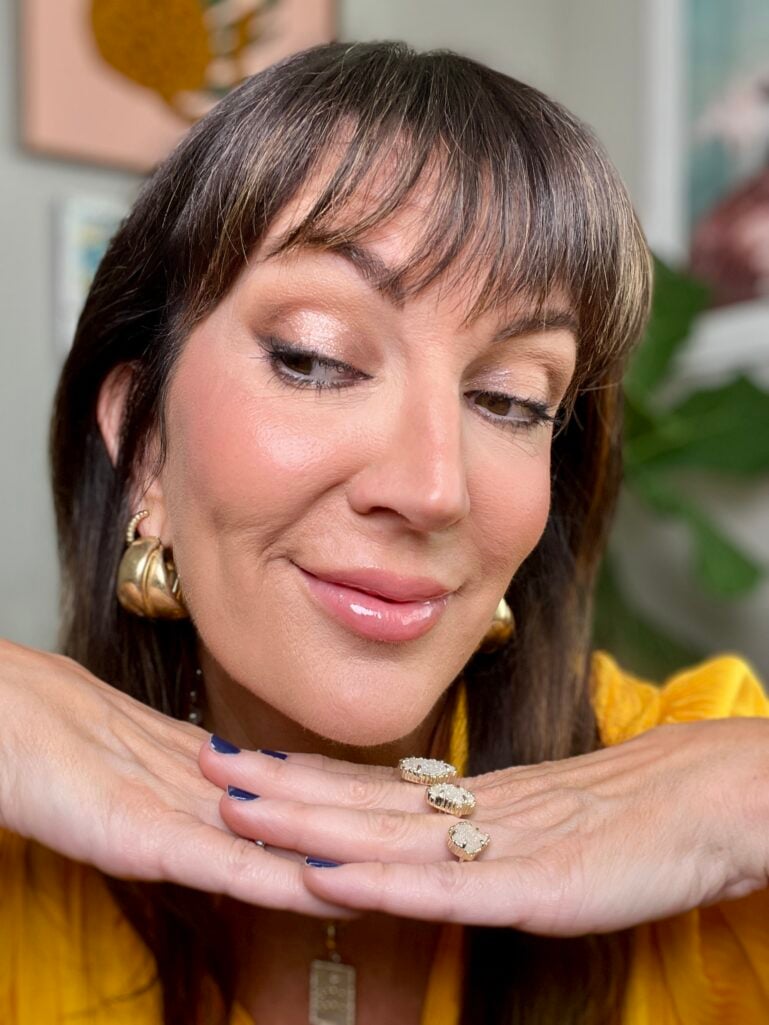
5. Press on the shine. With a small flat brush or your fingertip, tap your shimmer right in the center of your lid. Blend the edges lightly so it melts into the darker shades — you don’t want a harsh line. Add a touch of it also tightly around the tear duct area.
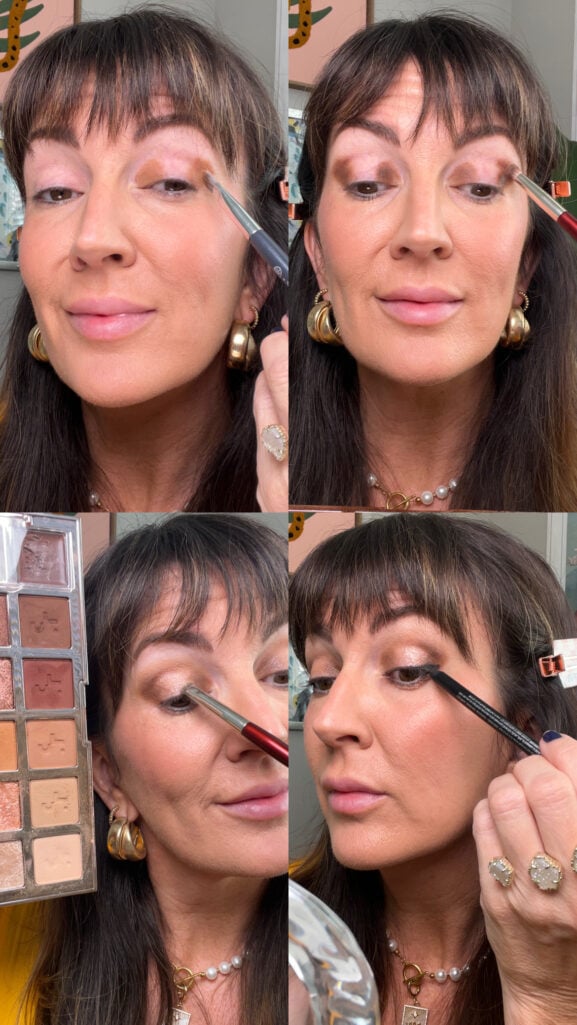
6. Repeat underneath. Add the deeper shade to the inner + outer lower lash line — leave the middle lower lash line soft + light with the shimmer there as well in between those lashes using the stiff smudging brush. Keeping that shimmer tucked tightly in the middle of the upper and lower lash line is such a key part of this look and brings it full circle.
7. Thin eyeliner. I used a deep black, but you can use brown too. Create the tiniest of winged liner just on the outer ⅓ of the lash line and blur with the smudge brush. Then, I also tightlined right underneath the upper lash line only.
8. Finish with mascara + setting spray. Wiggle plenty of mascara on top + bottom lashes for balance. And then once your entire makeup look is done, lock it in with a makeup setting spray since shimmer shadows can tend to travel if you don’t stick them in their place!
Shop the Post
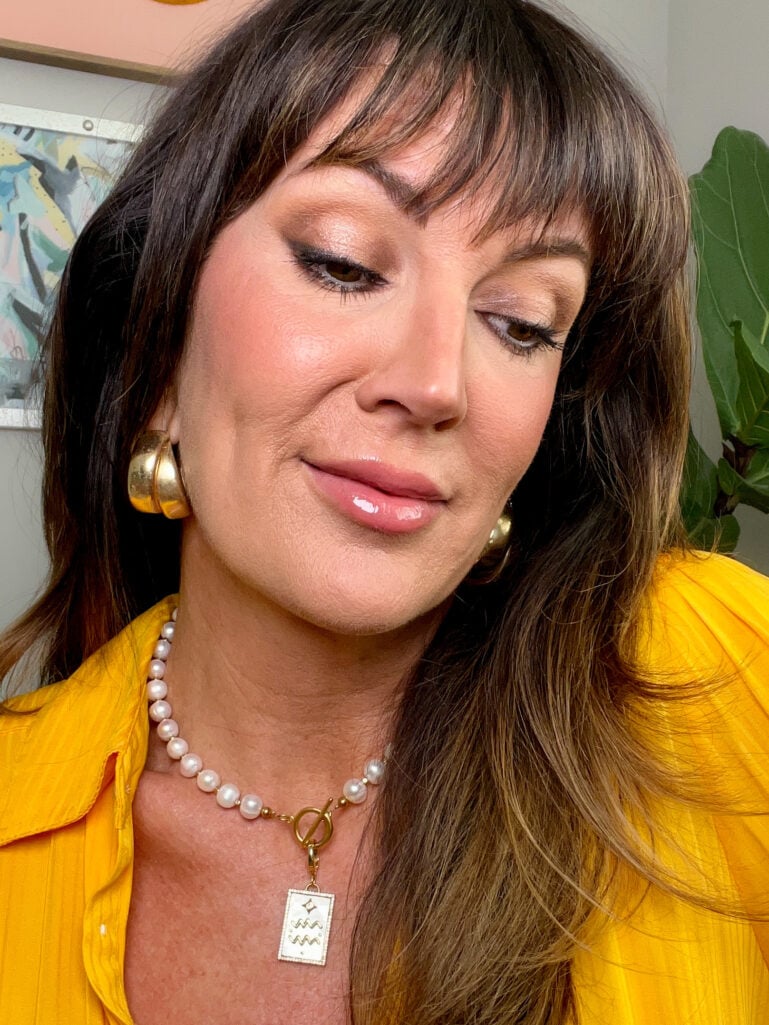
Pro tip: You don’t have to go with AS dark of shades as I did on the outer + inner corners, it will still work with lighter shades and a lighter hand! I just wanted to show the drama that CAN be.
Finishing Touches
I finished off my look with: Patrick Ta Major Skin Hydra Luxe Foundation in shade “12 peach”, $58, Natasha Denona Hyglam concealer (of course!) in shade N2,$30, Laura Mercier loose powder in “rose”, $48, L’Oreal Lumi Liquid blush in “glowy true rose”, $10 ( new favorite drugstore blush formula), and my lip cream is Buxom Cosmetics in “Hot Toddy” (this is a wonderful neutral shade that is easy for anyone to pull off – highly recommend this color), $25 // Similar yellow/mustard/orange silk shirts here Banana Republic, $119 and Boston Proper $60 here, Kendra Scott knuckle ring, $140, Clara pearl choker necklace, $130.

And yes, if you have hooded lids, you can still pull this off. Just be sure you take the shadows on your eyelid (both the matte and shimmery shade) up a tad bit higher than you initially thought. You should be able to clearly see the halo when you look straight ahead into a mirror.
That’s it — a halo eye is simply CONTRAST + GLOW in the right places! Will you try this technique out, or is it too intimidating? I’d love to know if you enjoy out-of-the-box makeup ideas every now and then.


Loved this!!! I do something very similar all the time. Love it! ♥️
Yay!! I’m so happy you feel comfortable with this style of eye makeup! it’s fun to wear.